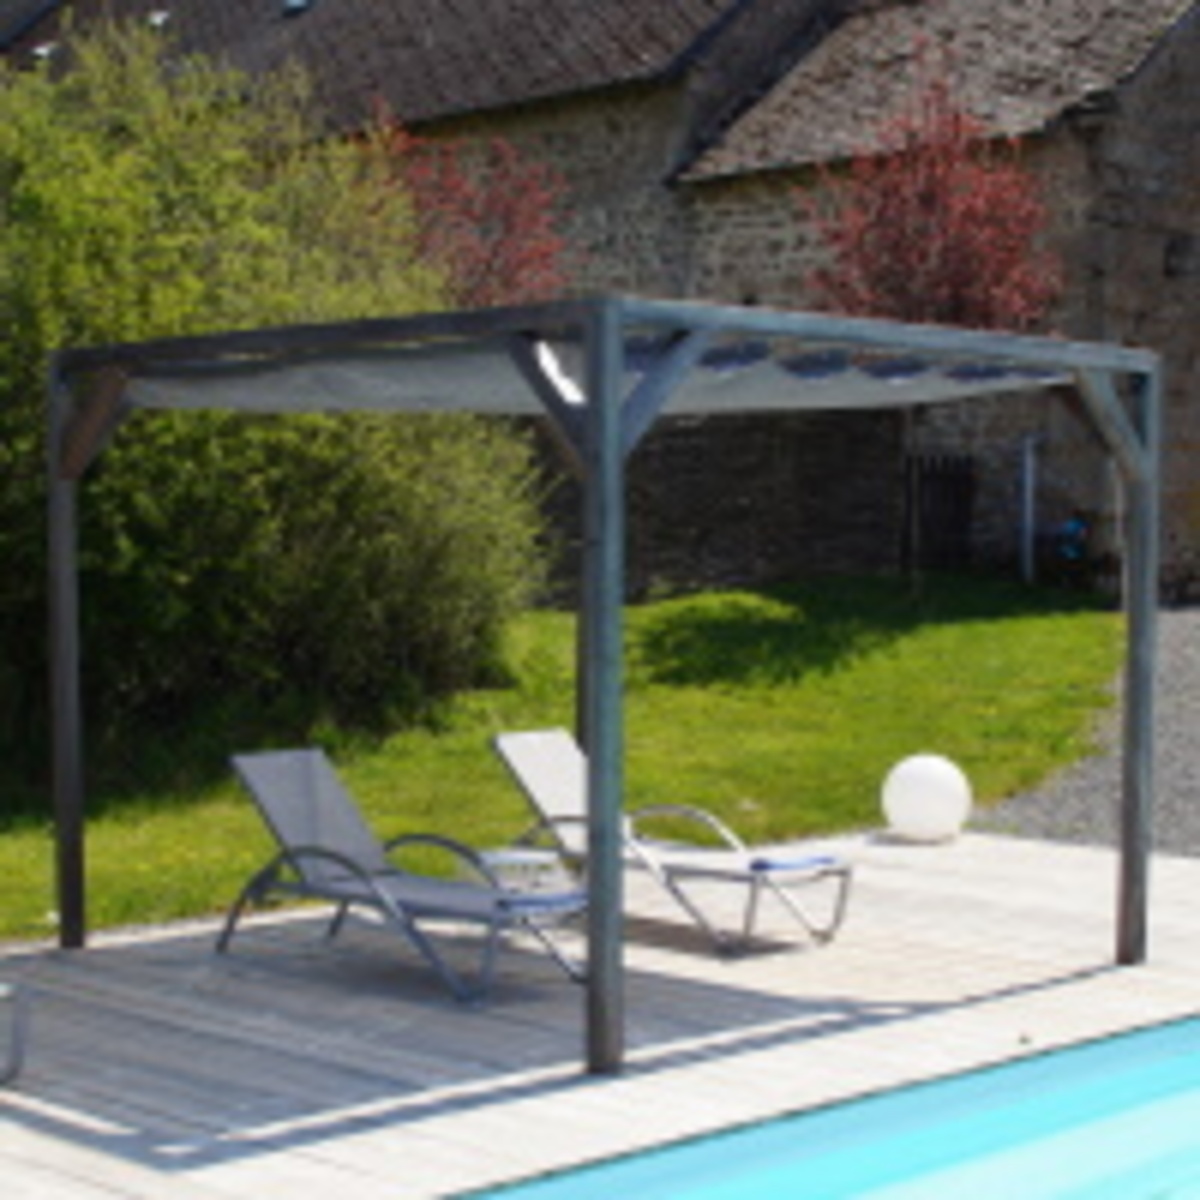
Nesling shade sail
A shade sail keeps you cool this summer!
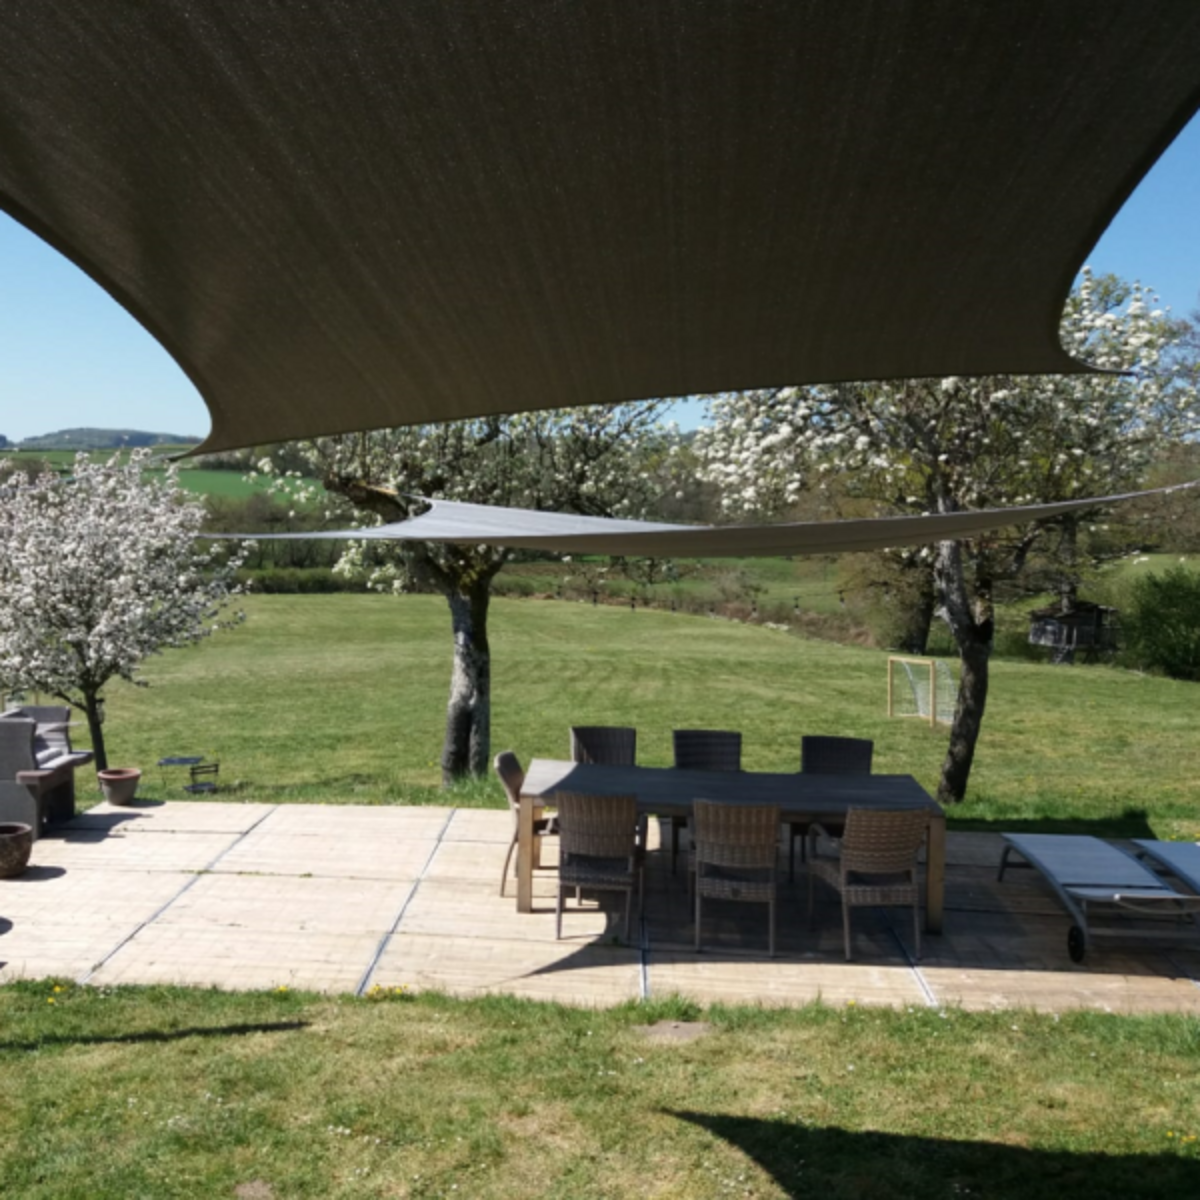

During summer we all want to take advantage of our garden, patio, sunny weather, long days and balmy summer evenings ... But during the hottest hours of the day, the sun can be uncomfortably hot and the heat can keep us from enjoying it to the maximum! That is why Vinuovo offers you various options to create an oasis of shade, coolness and tranquility in your garden with the help of various shade solutions!
Our shade solutions such as shade sails and of course pergolas can be used by both private customers as the demanding professionals. Some solutions also offer protection against a summer shower, very pleasant of course if you don't have to run immediately when it starts raining!
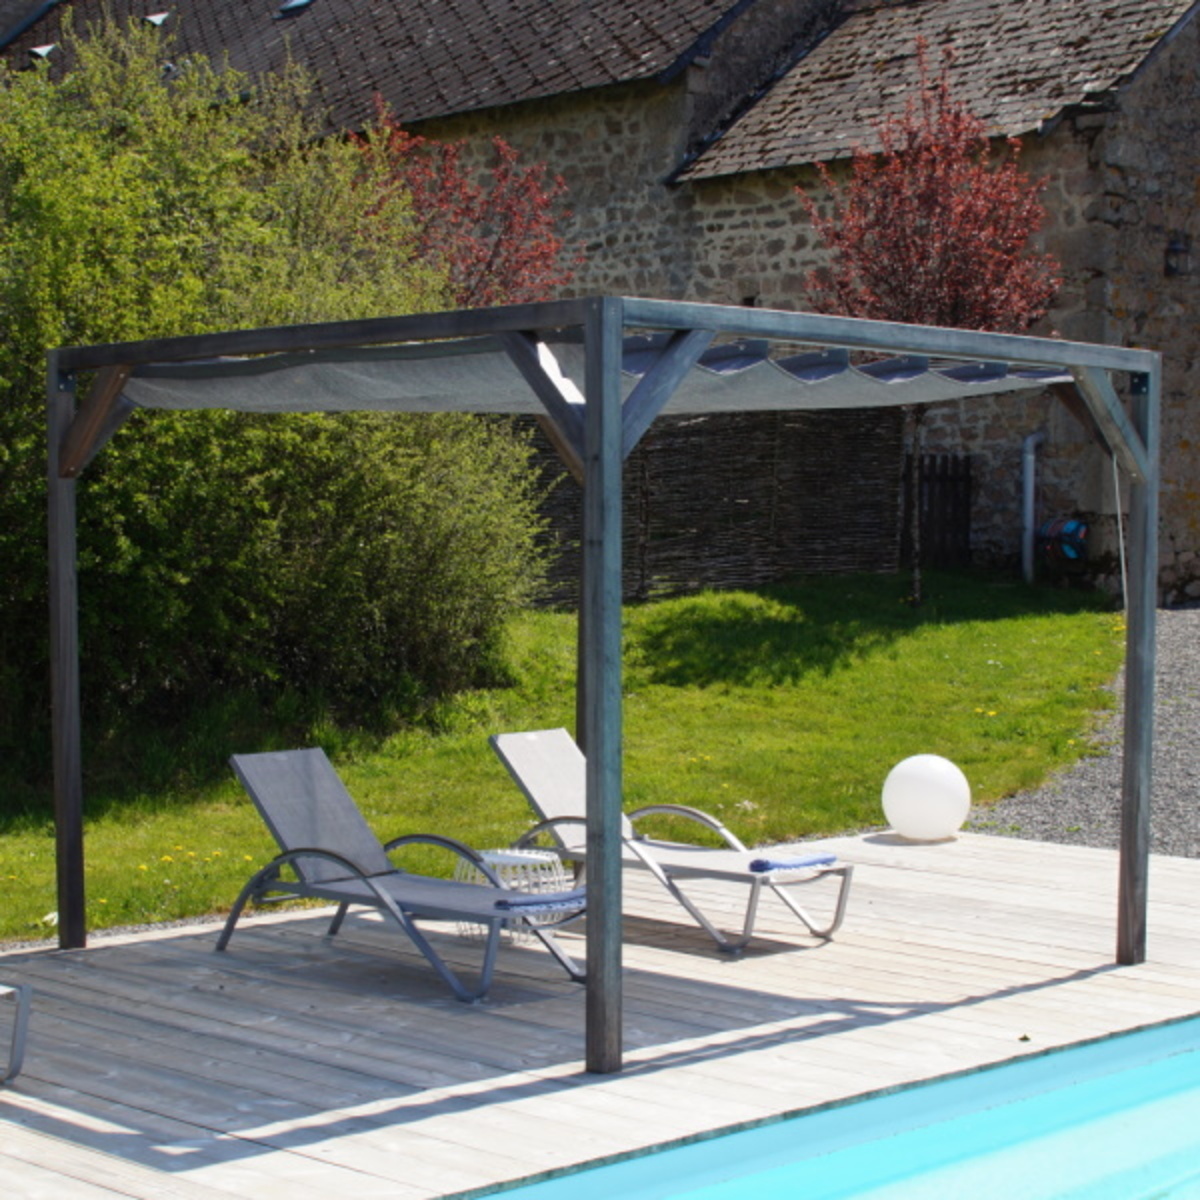
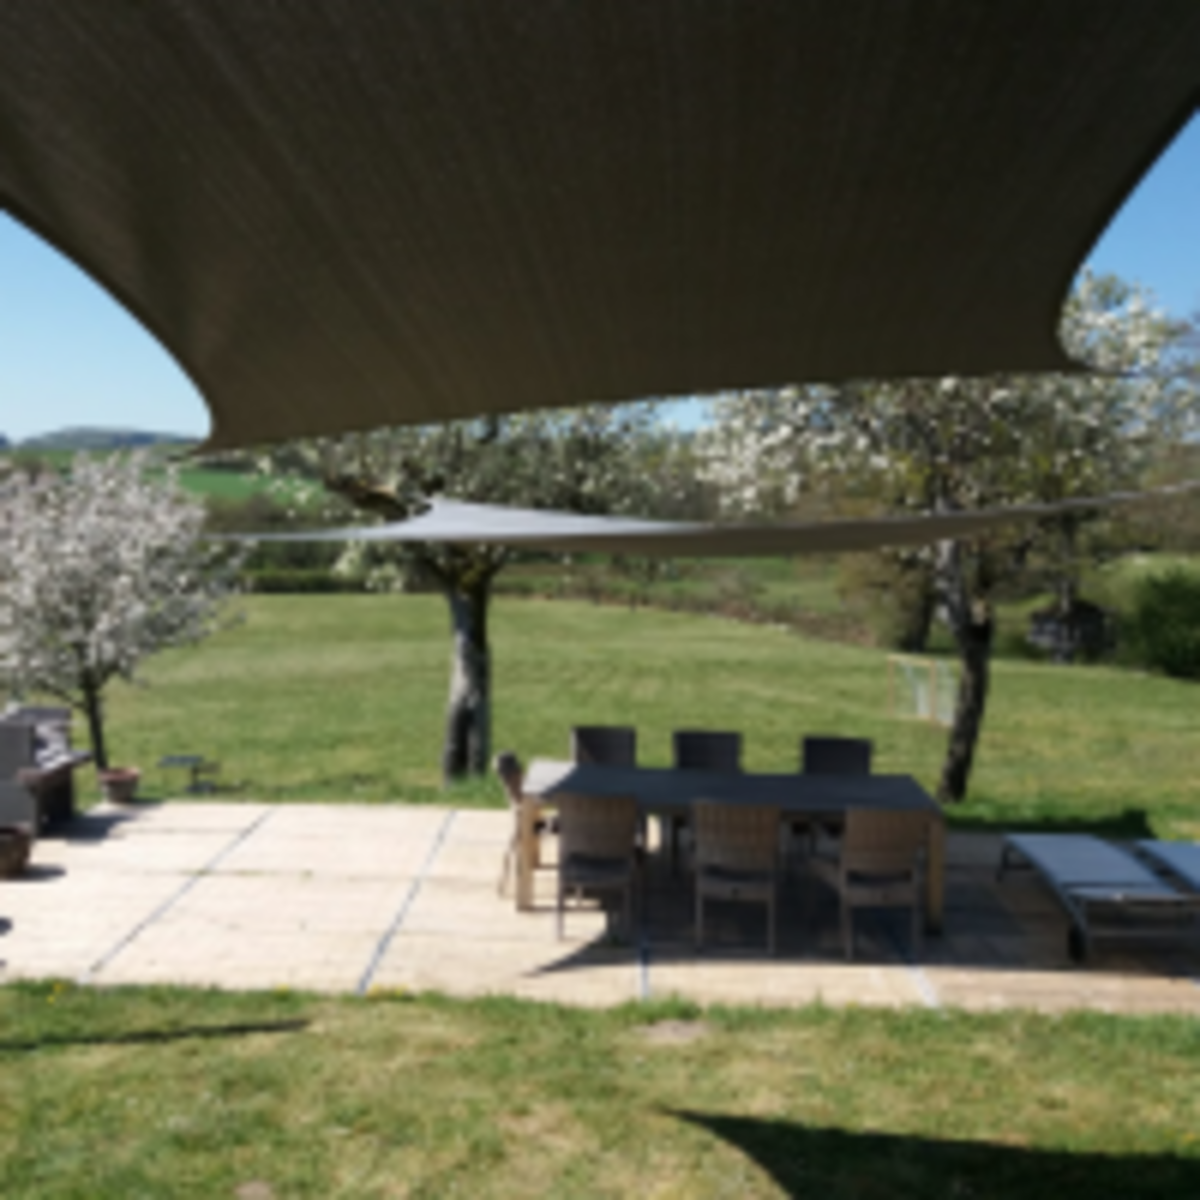
With the shade sails you can create different shade corners in your garden or on your patio to protect you and your friends, family and children from bright sun and harmful UV rays. For example, how about a shadow sail over the climbing area or the sandpit of your children? Above the pool? Patio? There is a suitable solution for everyone and if you have any questions, don't hesitate to contact our Customer Service . We are happy to help you, even when you need a customized solution!
The beautiful weather is coming up, don't get surprised by the first beautiful weather and prepare now, to have the best solution in place to enjoy your summer to the maximum as from the first day!
Sun shade sail Nesling Coolfit, square, triangle or rectangle.
The Coolfit shade sails by Nesling distinguish themselves from the competitors in various ways: the material of High density polyethylene with an open structure to catch less wind and the heat underneath can rise. A Nesling shade sail is equipped with high-quality stainless steel mounting eyes and reinforced with a belt of the same material as a car seat belt. A Nesling shade sail is simply of very high quality, since we sell Nesling (for over 10 years!), we never had 1 torn however many of our customers are in very windy locations!
The Coolfit shade sail is not waterproof, which means the heat under the shade sail can rise through it. The shade sail also lets some light through, so you don't feel like being under a tarpaulin. The shadow provided feels more like sitting under a tree where the sun slightly passes the leaves, very comfartable!
The Coolfit shade sail is fungicidal and easy to clean with lukewarm water, a soft brush and some green soap.
Nesling advises to disassemble the shade sail at wind force 5 or higher to prevent damage to the shade sail.
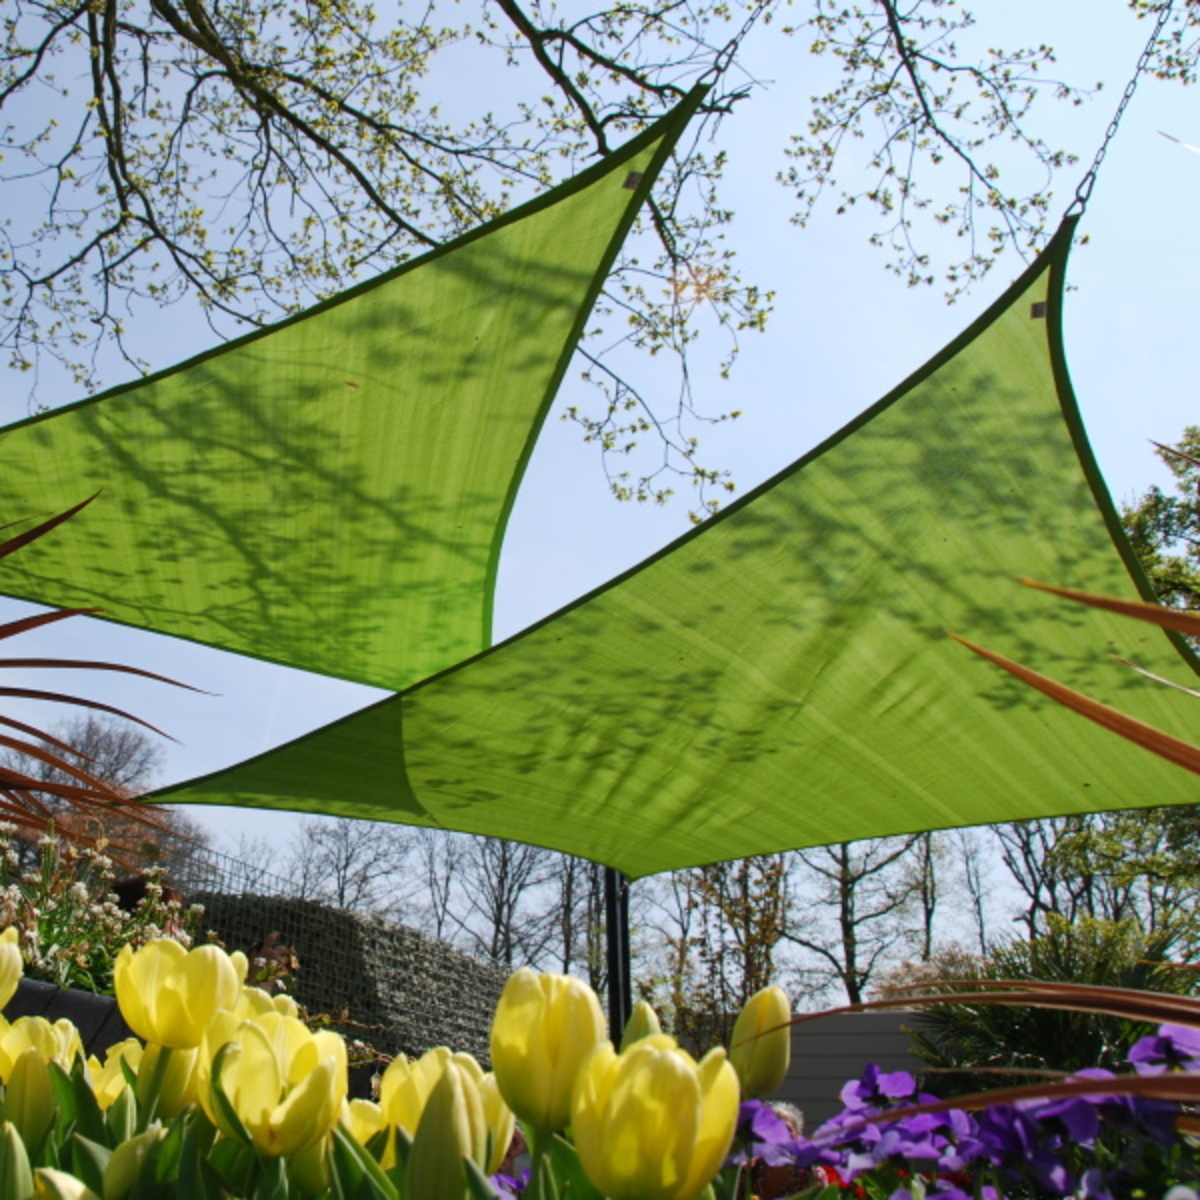
Please bear in mind that the sides of Nesling shading sail are curved which makes them easier to mount and this form can withstand a higher force of wind. This means that if you want to mount 2 shade sails next to each other, there remains open space between them.
Shade sail product specifications:
- Shade sail of High Density Poly Ethyleen, 285 gr/m²
- Reinforced with a belt of the same material as a car seat belt
- 8mm thick stainless steel fastening eyes
- Up to 95% protection against UV-rays
- Antifungal sail
- Easy to clean
- Dimensions: 360x360cm
- Warranty: 5 years

How to mount a nesling shade sail?
Vinuovo has been a reseller for Nesling shade sails for more then 10 years already and we have introduced the Nesling shade sails to the french market! We have installed dozens of them and provided hundreds of customers with advice!
You can buy a very expensive shade sail, but once badly mounted it might cause some severe problems. A correct installed shade sail, can remain in place all season long, from the first sun in spring up to the first snow at the end of the season (except for very heavy storms... (personally I have never demounted a shade sail due to heavy winds, however our offices are based upon a 500 meter high windy hill. We also have many customers in the south of France where the shade sails are exposed to the southern Mistral winds but never a Nesling shade sail has torned! If something goes wrong, it's always due to the fixations or bad mounting...)
However, it's not that hard to mount s shade sail, as long as you don't underestimate the force of heavy wind. Below we provide you with some tips and trics, please don't hesitate to contact our customer service if you need some additional information.
What do you need to mount a Nesling shade sail?
Shade sail post:
Almost anyone will need shade sail posts to mount a Nesling shade sail, unless you are able to install your shade sail between 2 walls of course!
We recommend our hard wood posts 9cm thick. Be carefull with pine-wood posts or thinner posts, in case of strong winds, they might break, snap or crack... We are able to supply you with hard wood posts in Angelim Vermelho, unfortunately we only ship them within France, as international shipping is very expensive due to their length.
What to take into account when mounting a shade sail?
Always mount your shade sail pole inclined, with an angle of 10°. As there will be much tension on the pole, the pole will bend slightly. If you install the pole straight up, the pole will be pulled out of the ground.
In case you have nice hard, tough soil, drill a Ø15cm wide hole under an angle of 15°, 80 to 100cm deep. Place the pole into the hole, push it up to an angle of 10° and fill up the hole with soil. Poor some water in the hole to compact the soil.
In case of weak soil, you realy need to use concrete or cement: dig a hole 80cm deep, 50cm wide, place you pole in it with an 10° angle, and fill up the whole with concrete or cement.
Fastening materials: Hint; only use stainless steel fastening materials; rust might leave mean stains on your shade sail!
Fastening eyes for post or wall mounting:
The type of fastening eye to choose strongly depends on the type of post or wall you are going to use.
There is however 1 rule that you should strongly consider; use welded eyes only! Most cheaper eyes are not welded and they will simply bend open in case of strong winds.
All Nesling eye bolts, anchors and pads have welded eyes, and you can chose between 3 different models:
- Welded eye bolt with nut M8, 10cm long
You can use this eye bolt in 2 different ways:
- to mount in a wooden pole with a section of 9cm max.
Drill a 8mm wide hole in your post, insert the eye bolt and fix it with the nut on the other side.
- to fix in a weak or hollow wall by using a chemical anchor.
Buy a chemical anchor set at your local hardware store, including injection sleeves of Ø15mm wide and minimum 10cm long.
Drill a Ø16mm wide hole in your wall, remove all the dust, push an injection sleeve in it and fill it up with the chemical anchor. Make sure the chemical anchor is pushed through the holes of the sleeve. Push immediately the eye bolt in it and let it harden as advised by the manufacturer of your chemical anchor. (normally 20/30 minutes.) This bolt wont move anymore. - Anchor with welded eye Ø14mm x 5cm
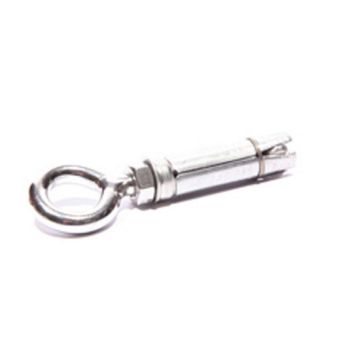
An anchor is well suited for hard stone or concrete
Drill a hole of Ø15mm in the wall, minimum 5cm deep, stick anchor in it, fasten the bolt and the anchor will expend within the wall, blocking itself. - Pad with welded eye
A pad with welded eye can be used on any flat surface like a wall or square pole.
Fix the pad with welded eye with 4 stainless steel screws and make sure those screws are very well tightened.
To mount a shade sail, you need as many eyes as the sail has corners. 3 eyes for a triangle, 4 eyes for a square shade sail.
Nesling also sells an aluminium rail with an adjustable eye. i won't recommend this rail as its made out of aluminium which is not very strong. I already had a broken rail myself due to heavy winds. In addition, their are not many people who adjust the height of a shade sail; you need to untighten your shade sail, alter the height, and retighten the sail. Please bear into account that once you change the height, the length of the chains is also to be altered, so not very practical in daily use...
Always mount your shade sail post inclined, with an angle of 10°. As there will be much tension on the pole, the pole will bend slightly. If you install the pole straight up, the pole will be pulled out of the ground.
In case you have nice hard, tough soil, drill a Ø15cm wide hole under an angle of 15°, 80 to 100cm deep. Place the post into the hole, push it up to an angle of 10° and fill up the hole with soil. Poor some water in the whole to compact the soil.
In case of weak soil, you realy need to use concrete or cement: dig a hole 80cm deep, 50cm wide, place you pole in it with an 10° angle, and fill up the whole with concrete or cement.
Snaphooks:
To connect your the eye of your shade sail to the eyes on the walls or posts, you will need snaphooks.
WARNING! Please assure that the hooks snaps correctly once you mount the assembly, else the hook will bend in heavy winds!
Pending on how you fix your shade sail, you'll need none, 1 or 2 snaphooks per corner, please find a list of potential fastening combinations below:
- shade sail eye > snaphook > eye bolt or eye pad = 1 snaphook
- shade sail eye > turnbuckle > eye bolt or eye pad = no snaphook
- shade sail eye > turnbuckle > chain > snaphook > eye bolt or eye pad = 1 snaphook
- shade sail eye > snaphook > chain > snaphook > eye bolt or eye pad = 2 snaphooks
HINT: prepare a drawing of your installation to count the number of snaphooks and other fastening materials you'll need.
Turnbuckles:
A high quality turnbuckle that is able to withstand high forces is essential when mounting a shade sail!
Use always minimum 2 turnbuckles when mounting a shade sail, preferably each one opposit of the other one: the turnbuckle will tighten the corner, so pulling on 2 sides of the shade sail.
HINT: I don't recommend the M8 turnbuckle, it's to light for a shade sail, that's why we only sell the M10 version.
HINT: Use ratchet straps to tighten your shade sail during installation, it allows you to adjust the length on each corner untill you are satisfied with the installation of your shade sail. Once everything in place, mount the fastening materials, tighten everything and release the strap afterwards.
Stainless steel chains:
You'll need some pieces of stainless steel chains to bridge the gaps between the walls and poles. when mounting the poles, allow yourself some additional space, at least 20 cm on each corner, but preferably more, to be able to adjust your shade sail. You will always encounter some stretch and additional space allows you to tighten you shade sail later on in the season.
Nesling stainless steel chains are sold with a standard lentgh of 2 meters, you can cut the chains with scissors for reinforcement bars or a grinder. Only cut the chains once your shade sail installation is completed!


