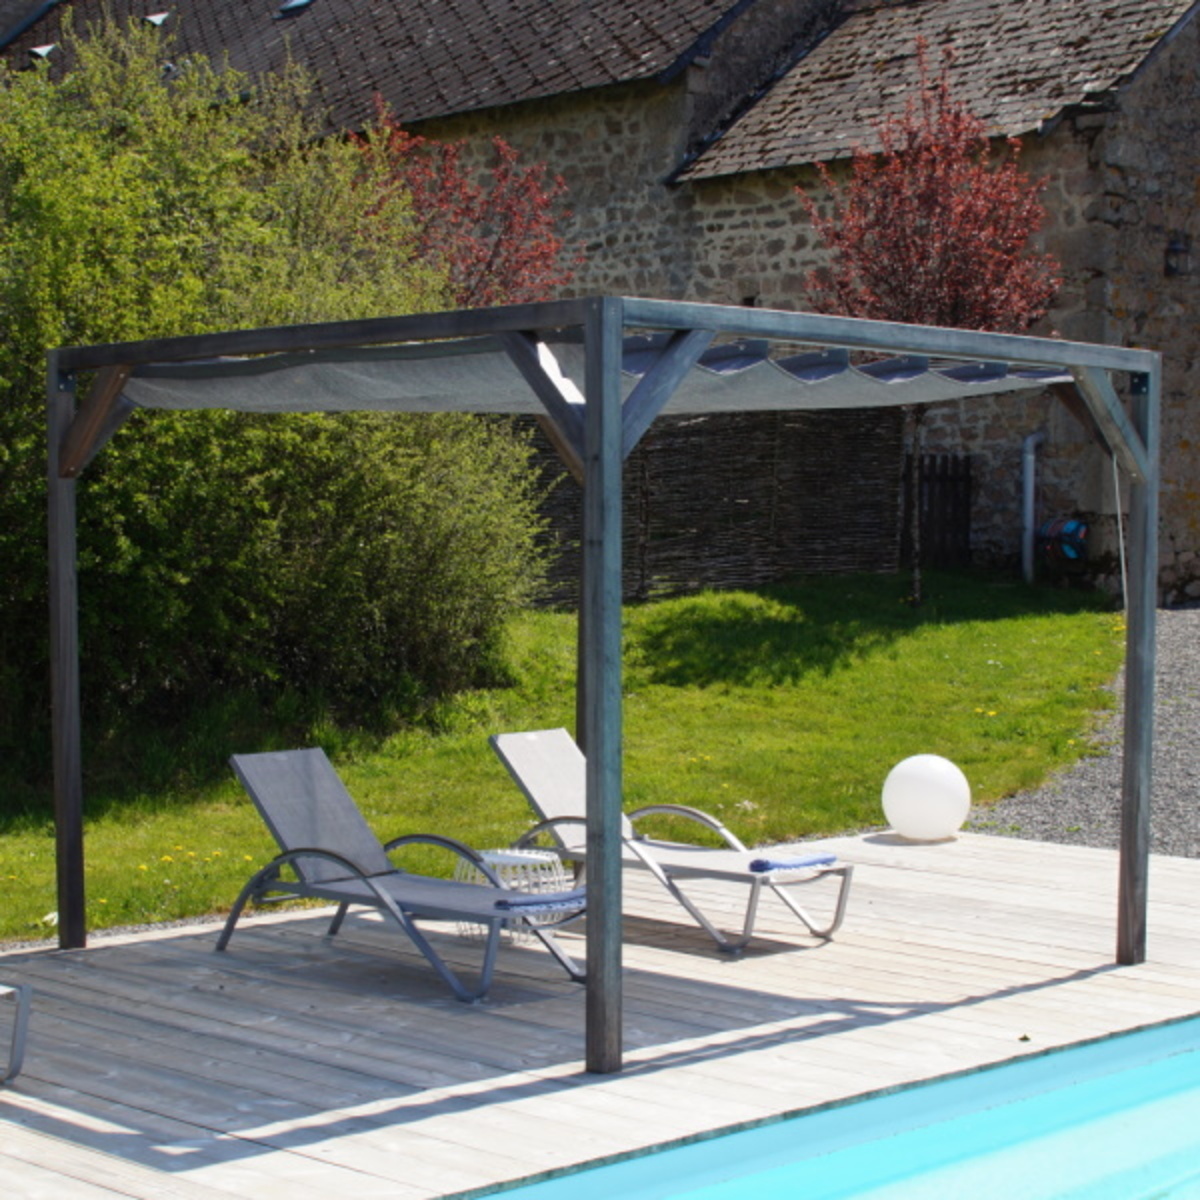
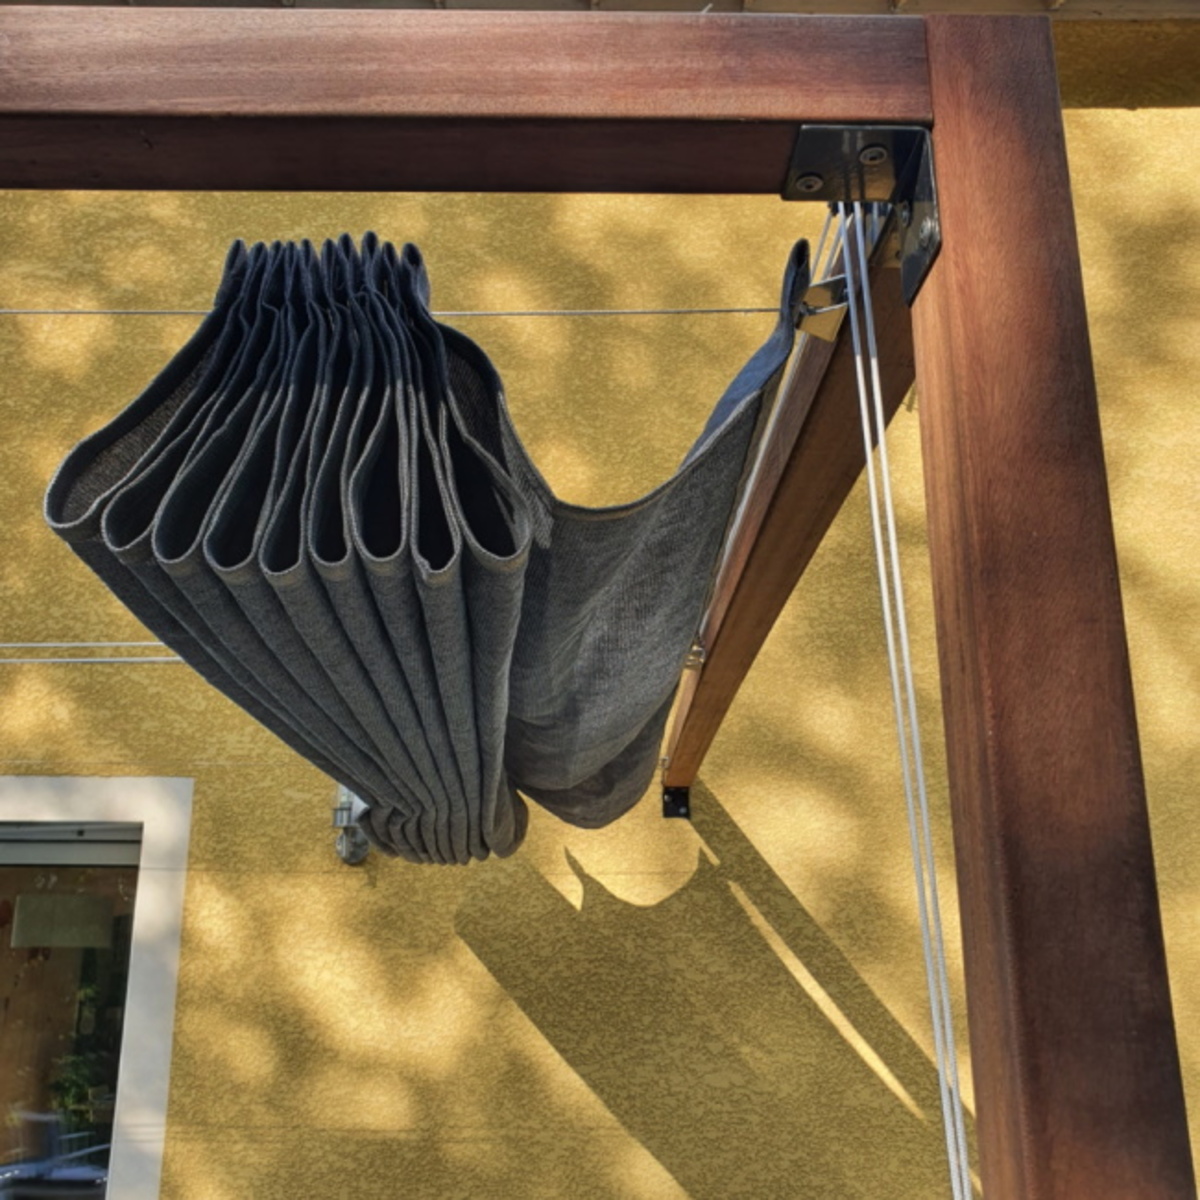
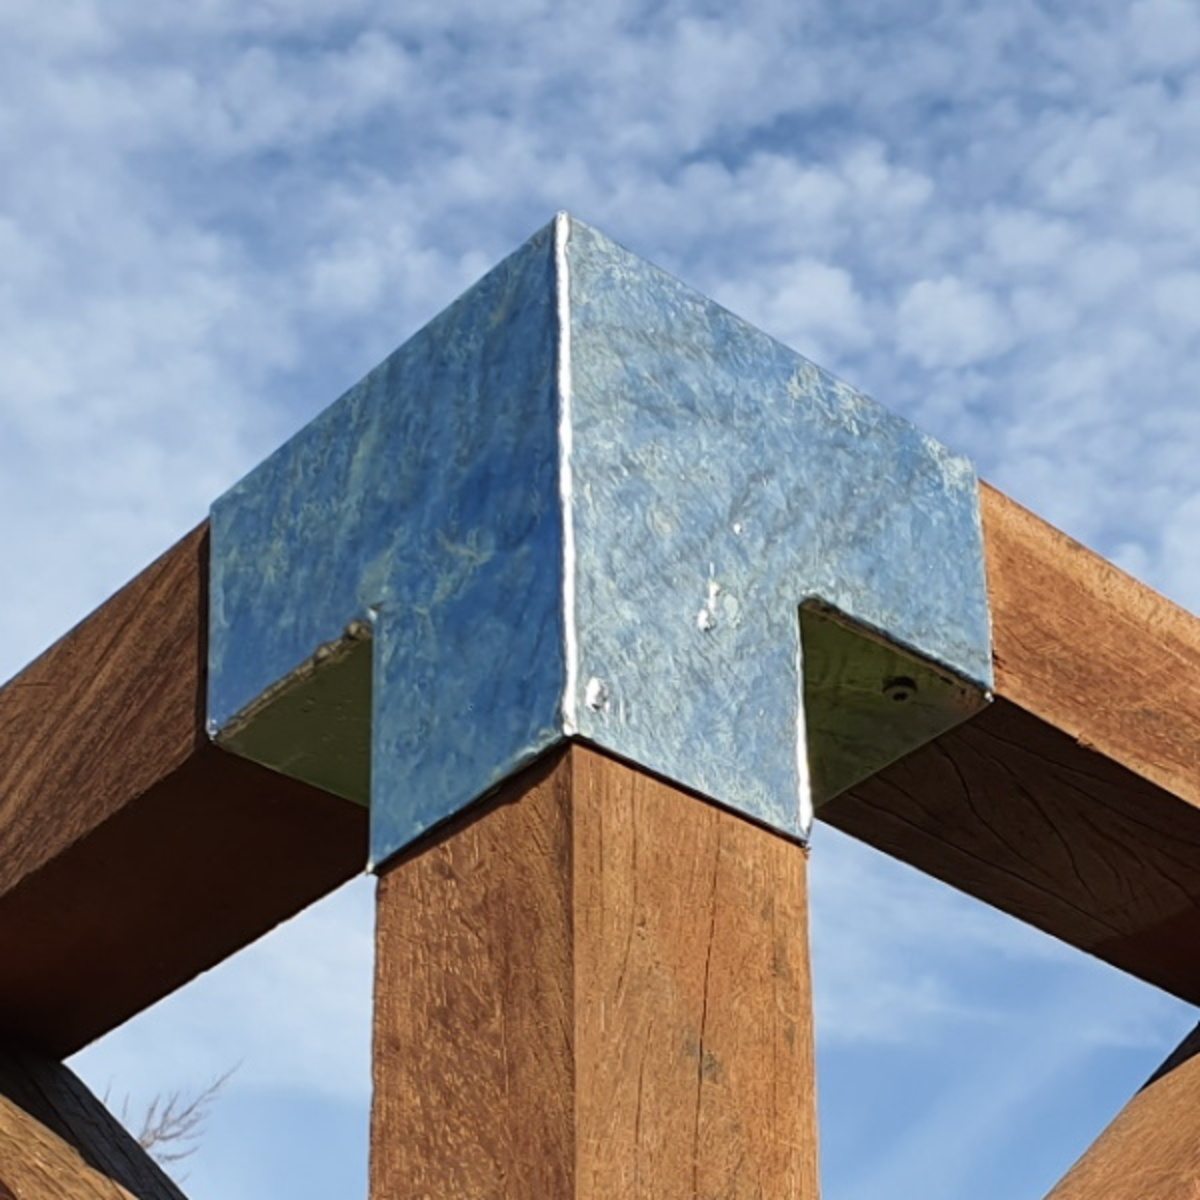
Nesling shade sail
Una vela ombreggiante vi terrà al fresco quest'estate!
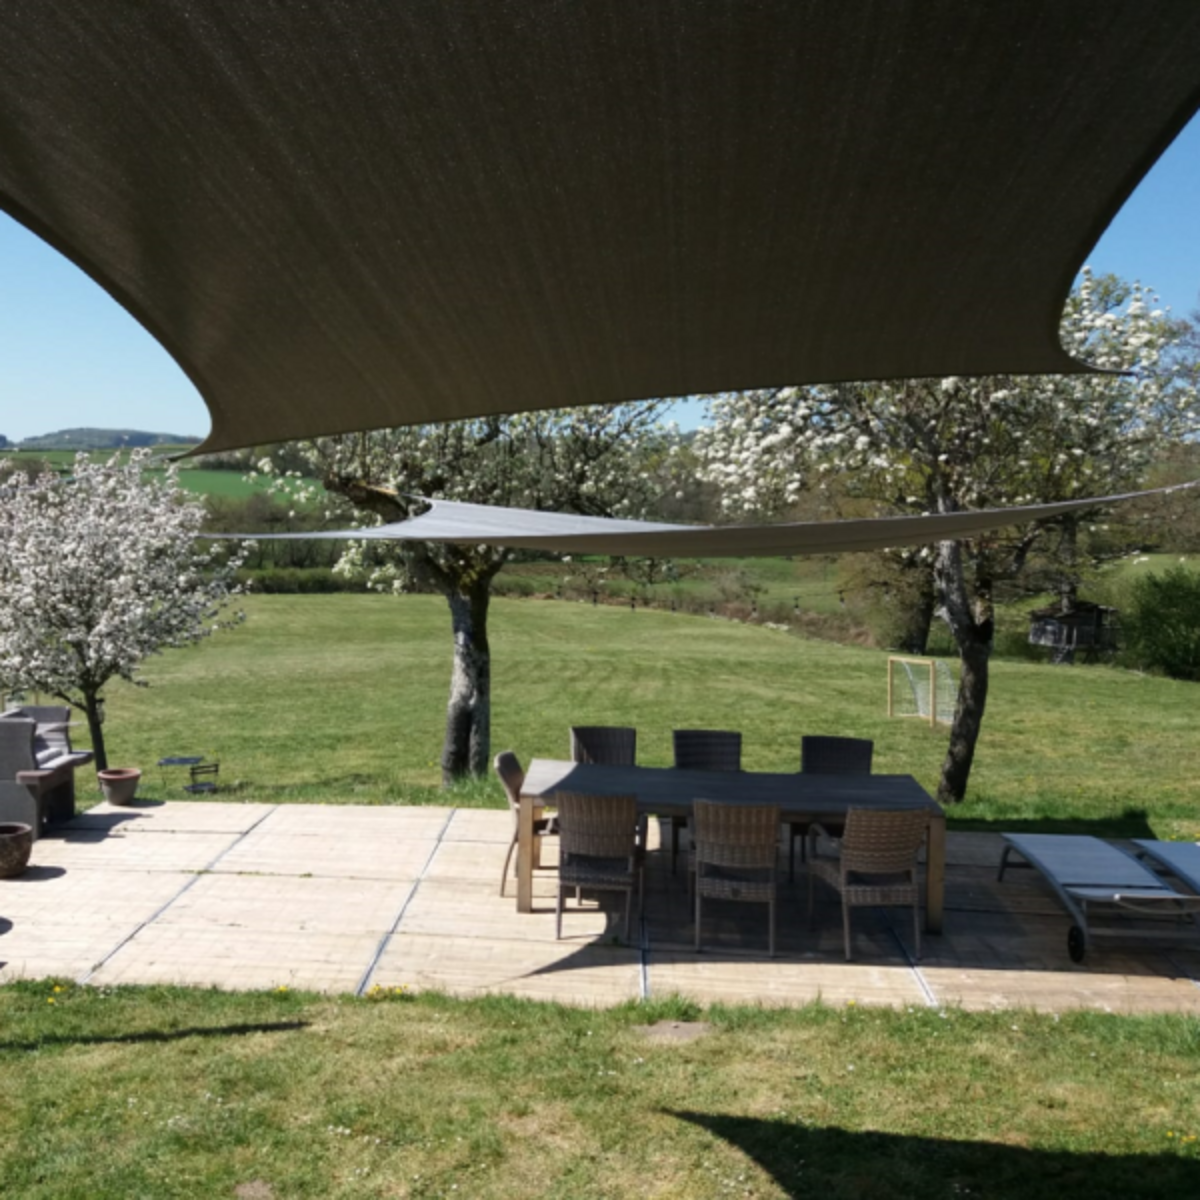

In estate tutti vogliamo approfittare del nostro giardino, del patio, del tempo soleggiato, delle lunghe giornate e delle miti serate estive... Ma durante le ore più calde della giornata, il sole può essere fastidiosamente caldo e il calore può impedirci di godercelo al massimo! Ecco perché Vinuovo vi offre diverse opzioni per creare un'oasi di ombra, freschezza e tranquillità nel vostro giardino con l'aiuto di varie soluzioni ombreggianti!
Le nostre soluzioni ombreggianti, come le vele ombreggianti e naturalmente le pergole, possono essere utilizzate sia dai privati che dai professionisti più esigenti. Alcune soluzioni offrono anche una protezione contro gli acquazzoni estivi, ovviamente molto piacevole se non si deve correre subito quando inizia a piovere!
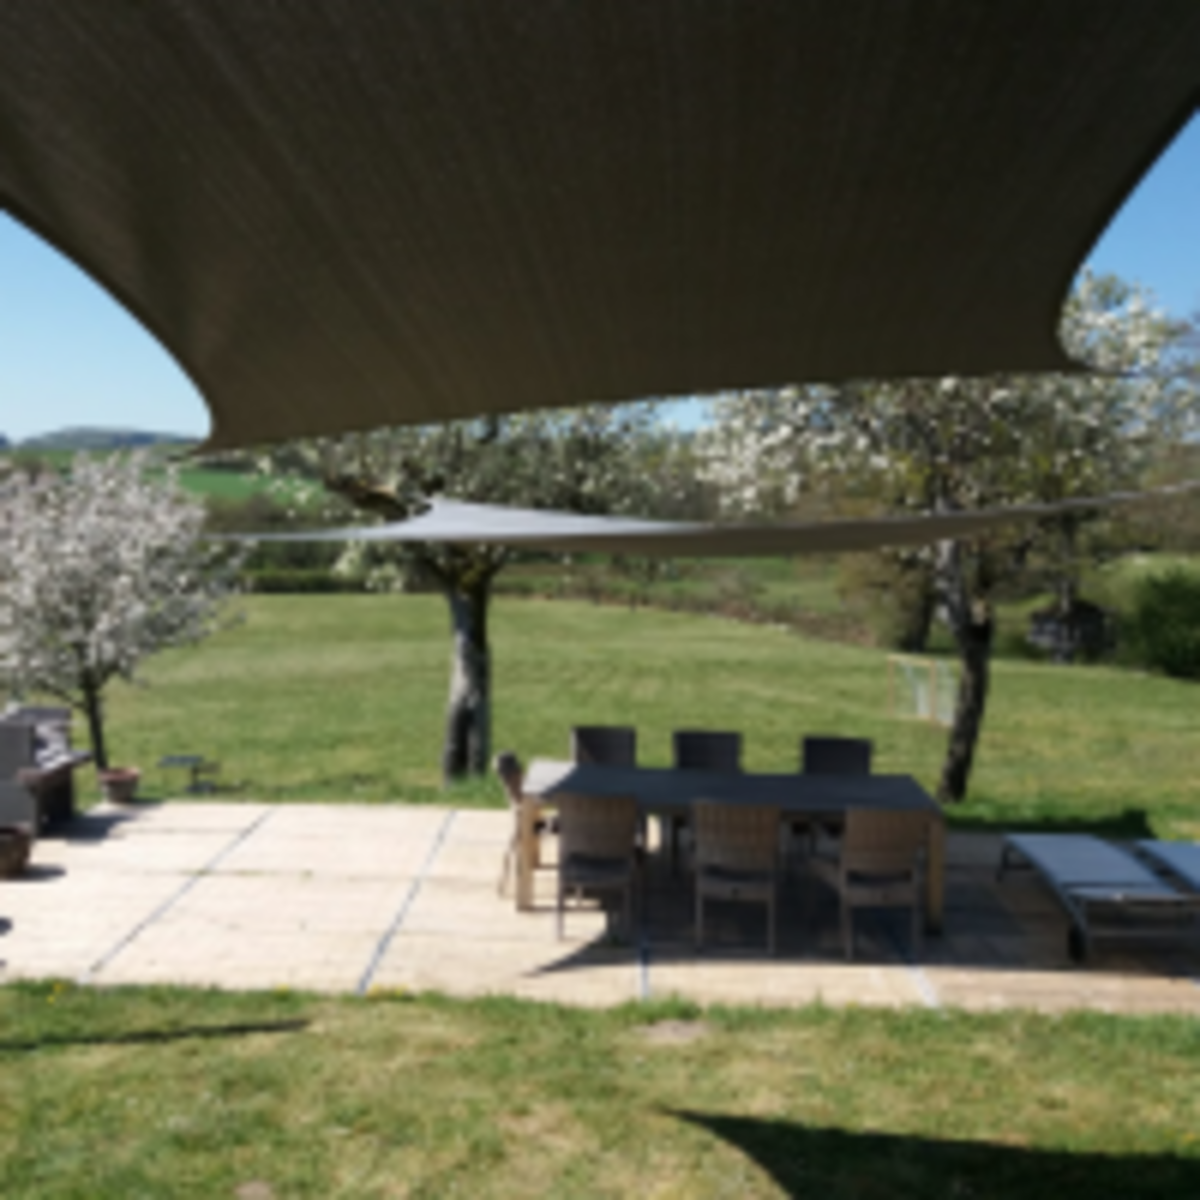
Con le vele ombreggianti potete creare diversi angoli d'ombra nel vostro giardino o nel vostro patio per proteggere voi, i vostri amici, la vostra famiglia e i vostri bambini dalla luce del sole e dai dannosi raggi UV. Ad esempio, che ne dite di una vela d'ombra sopra l'area giochi dei vostri bambini? Sopra la piscina? Sul patio? C'è una soluzione adatta a tutti e se avete domande, non esitate a contattare il nostro Servizio Clienti. Siamo felici di aiutarvi, anche quando avete bisogno di una soluzione personalizzata!
Il bel tempo è alle porte, non fatevi sorprendere dalle prime belle giornate e preparatevi subito, per avere la soluzione migliore per godervi l'estate al massimo fin dal primo giorno!
Vela parasole Nesling Coolfit, quadrata, triangolare o rettangolare.
Le vele ombreggianti Coolfit di Nesling si distinguono dalla concorrenza per diversi aspetti: il materiale di polietilene ad alta densità con una struttura aperta per catturare meno vento e il calore sottostante può salire. Una vela ombreggiante Nesling è dotata di occhielli di montaggio in acciaio inox di alta qualità e rinforzata con una cinghia dello stesso materiale della cintura di sicurezza dell'auto. Una vela ombreggiante Nesling è semplicemente di altissima qualità; da quando vendiamo Nesling (da oltre 10 anni!), non ne abbiamo mai avuta una strappata, anche se molti dei nostri clienti si trovano in luoghi molto ventosi!
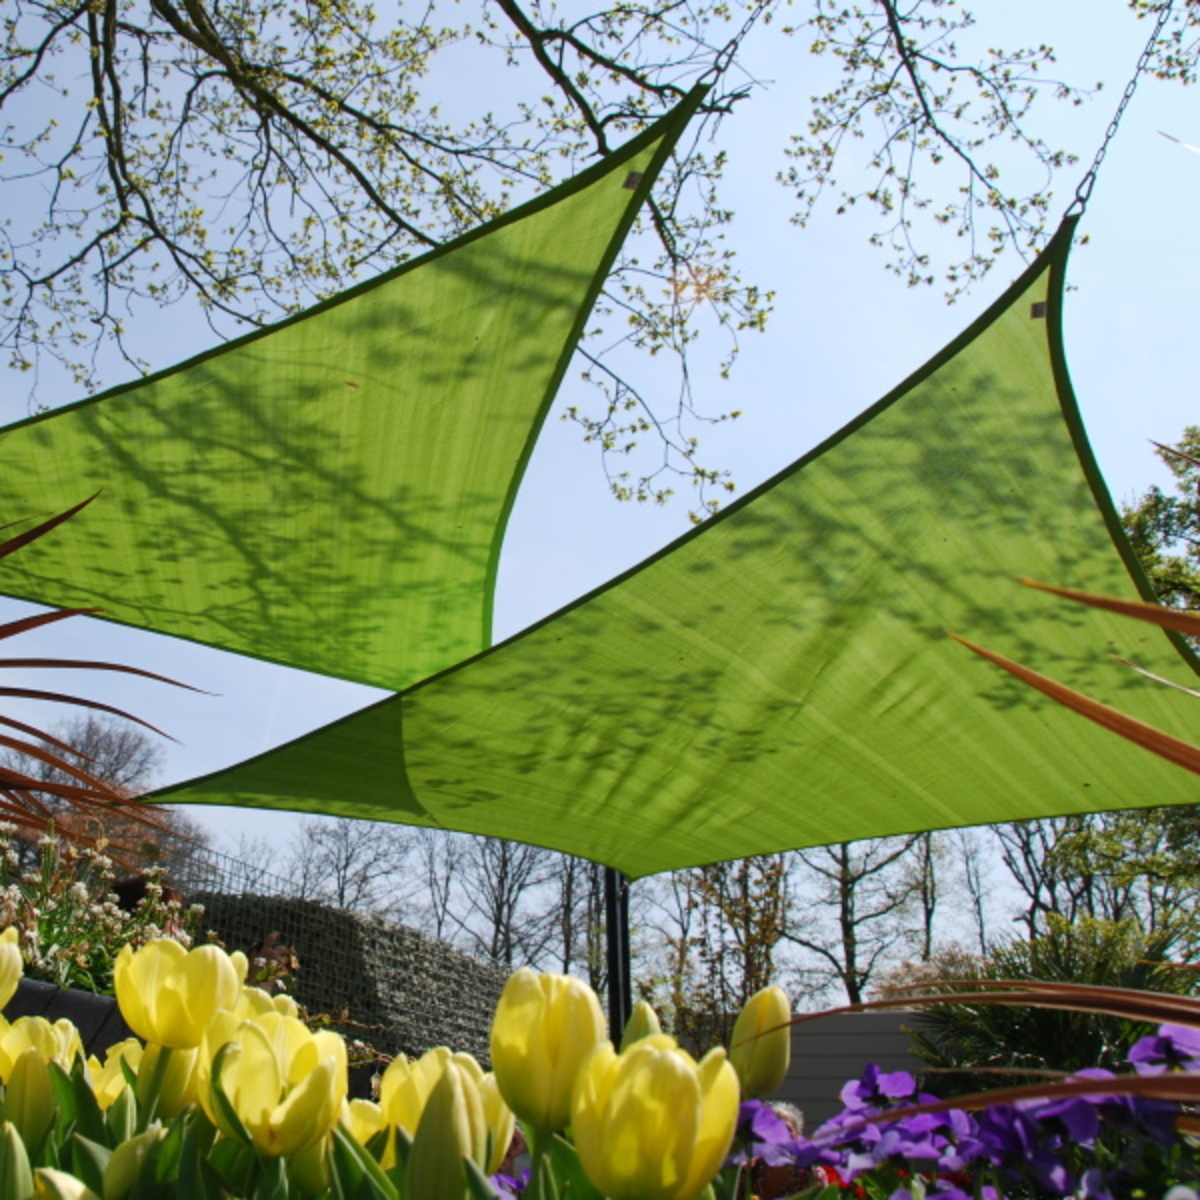
La vela ombreggiante Coolfit non è impermeabile, il che significa che il calore sotto la vela ombreggiante può salire attraverso di essa. La vela ombreggiante lascia passare anche un po' di luce, quindi non sembra di essere sotto un telo. L'ombra fornita è più simile a una seduta sotto un albero dove il sole passa leggermente tra le foglie, molto confortevole!
La vela ombreggiante Coolfit è fungicida e facile da pulire con acqua tiepida, una spazzola morbida e del sapone verde.
Nesling consiglia di smontare la vela ombreggiante in caso di vento di forza 5 o superiore per evitare di danneggiarla.
Tenete presente che i lati della vela ombreggiante Nesling sono curvi, il che ne facilita il montaggio e che questa forma è in grado di resistere a una maggiore forza del vento. Ciò significa che se si vogliono montare 2 vele ombreggianti una accanto all'altra, rimane uno spazio libero tra di esse.
Specifiche di prodotto delle vele ombreggianti:
- Vela ombreggiante in polietilene ad alta densità, 285 gr/m².
- Rinforzata con una cinghia dello stesso materiale della cintura di sicurezza dell'auto
- Occhielli di fissaggio in acciaio inox di 8 mm di spessore
- Protezione fino al 95% dai raggi UV
- Vela antimicotica
- Facile da pulire
- Dimensioni: 360x360cm
- Garanzia: 5 anni

Come montare una vela ombreggiante nesling?
Vinuovo è rivenditore di vele ombreggianti Nesling già da oltre 10 anni e abbiamo introdotto le vele ombreggianti Nesling nel mercato francese! Ne abbiamo installate decine e abbiamo fornito consulenza a centinaia di clienti!
È possibile acquistare una vela ombreggiante molto costosa, ma una volta montata male potrebbe causare gravi problemi. Una vela ombreggiante installata correttamente può rimanere al suo posto per tutta la stagione, dal primo sole in primavera fino alla prima neve alla fine della stagione (tranne in caso di tempeste molto forti... (personalmente non ho mai smontato una vela ombreggiante a causa di venti forti, tuttavia i nostri uffici si trovano su una collina ventosa alta 500 metri. Abbiamo anche molti clienti nel sud della Francia, dove le vele ombreggianti sono esposte ai venti meridionali del Mistral, ma mai una vela ombreggiante Nesling si è strappata! Se qualcosa va storto, è sempre a causa dei fissaggi o del cattivo montaggio...).
Tuttavia, non è così difficile montare una vela ombreggiante, a patto di non sottovalutare la forza del vento forte. Qui di seguito vi forniamo alcuni consigli e tecniche, ma non esitate a contattare il nostro servizio clienti se avete bisogno di ulteriori informazioni.
Cosa serve per montare una vela ombreggiante Nesling?
Vela ombreggiante:
Quasi tutti hanno bisogno dei pali per monate una vela ombreggiante Nesling, tranne se possono installarla tra 2 pareti. Consigliamo i nostri pali in legno duro 9 cm di spessore. Attenzione hai pali più sottili perchè in caso di forte vento possono rompersi spezzarsi o inclinarsi.. Siamo in grado di fornirvi i pali in legno duro di Angelim Vermelho, ma purtroppo li spediamo solo in Francia, poiché la spedizione internazionale è molto costosa a causa della loro lunghezza.
Che cosa prendere in conto quando si monta una vela ombreggiante?
Montate sempre il palo della vela ombreggiante inclinato, con un angolo di 10°. Poiché la tensione sul palo è elevata, il palo si piegherà leggermente. Se si installa il palo dritto, il palo verrà estratto dal terreno.
Se il terreno è bello duro e resistente, praticare un foro largo 15 cm con un angolo di 15° e profondo da 80 a 100 cm. Inserite il palo nella buca, spingetelo verso l'alto con un angolo di 10° e riempite la buca con il terreno. Versare un po' d'acqua nella buca per compattare il terreno.
In caso di terreno debole, è necessario utilizzare cemento o calcestruzzo: scavare una buca profonda 80 cm e larga 50 cm, inserirvi il palo con un angolo di 10° e riempire il tutto con cemento o calcestruzzo.
Materiali di fissaggio: Suggerimento: utilizzare solo materiali di fissaggio in acciaio inox; la ruggine potrebbe lasciare delle macchie sul paralume!
Occhielli di fissaggio per il montaggio su palo o a parete:
Il tipo di occhiello di fissaggio da scegliere dipende fortemente dal tipo di palo o di parete che si intende utilizzare.
C'è però una regola da tenere fortemente in considerazione: utilizzare solo occhielli saldati! La maggior parte degli occhielli più economici non sono saldati e si piegheranno semplicemente in caso di vento forte.
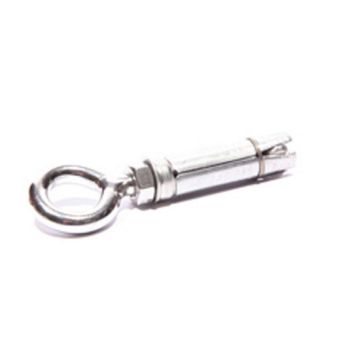
Tutti i tasselli ad occhiello, gli ancoraggi e le piastre Nesling sono dotati di occhielli saldati e si può scegliere tra 3 diversi modelli:
- Tassello a occhiello saldato con dado M8, lunghezza 10 cm
È possibile utilizzare questo golfare in 2 modi diversi:
- per il montaggio in un palo di legno con una sezione massima di 9 cm.
Praticare un foro largo 8 mm nel palo, inserire il tassello a occhiello e fissarlo con il dado sull'altro lato.
--fissare in una parete debole o cava utilizzando un ancoraggio chimico.
Acquistate un set di ancoraggi chimici presso il vostro ferramenta di fiducia, comprensivo di manicotti per iniezione di Ø15 mm di larghezza e lunghi almeno 10 cm.
Praticate un foro di Ø16 mm nella parete, rimuovete la polvere, inserite il manicotto di iniezione e riempitelo con l'ancorante chimico. Assicurarsi che l'ancorante chimico venga spinto attraverso i fori del manicotto. Spingere immediatamente il bullone a occhiello e lasciarlo indurire come consigliato dal produttore dell'ancorante chimico (in genere 20/30 minuti). (Questo bullone non si muoverà più. - Tassello con occhiello saldato Ø14mm x 5cm
Il tassello è adatto per la pietra dura o il calcestruzzo.
Praticare un foro di Ø15 mm nella parete, profondo almeno 5 cm, inserirvi l'ancoraggio, fissare il bullone e l'ancoraggio si espanderà all'interno della parete, bloccandosi da solo. - Tassello con occhiello saldato
Il cuscinetto con occhiello saldato può essere utilizzato su qualsiasi superficie piana, come una parete o un palo quadrato.
Fissare il cuscinetto con occhiello saldato con 4 viti in acciaio inox e assicurarsi che siano ben serrate.
Per montare una vela ombreggiante, sono necessari tanti occhielli quanti sono gli angoli della vela. 3 occhielli per un triangolo, 4 occhielli per una vela ombreggiante quadrata.
Nesling vende anche una guida in alluminio con un occhiello regolabile. Non consiglio questa guida perché è fatta di alluminio, che non è molto resistente. Io stesso ho già avuto un profilo rotto a causa del forte vento. Inoltre, non sono molte le persone che regolano l'altezza di una vela ombreggiante; è necessario slegare la vela ombreggiante, modificare l'altezza e serrare nuovamente la vela. Tenete conto che una volta cambiata l'altezza, anche la lunghezza delle catene dovrà essere modificata, quindi non è molto pratico nell'uso quotidiano...
Montate sempre il palo della vela ombreggiante inclinato, con un angolo di 10°. Poiché ci sarà molta tensione sul palo, il palo si piegherà leggermente. Se si monta il palo dritto, il palo si staccherà dal terreno.
Se il terreno è bello duro e resistente, praticare un foro largo 15 cm con un angolo di 15° e profondo da 80 a 100 cm. Inserite il palo nella buca, spingetelo verso l'alto con un angolo di 10° e riempite la buca con il terreno. Inumidire il tutto per compattare il terreno.
In caso di terreno debole, è necessario utilizzare cemento o calcestruzzo: scavare una buca profonda 80 cm e larga 50 cm, inserirvi il palo con un angolo di 10° e riempire il tutto con cemento o calcestruzzo.
Moschettoni:
Per collegare l'occhiello della vela ombreggiante agli occhielli delle pareti o dei pali, sono necessari dei ganci a scatto.
ATTENZIONE! Assicuratevi che i ganci scattino correttamente una volta montato il gruppo, altrimenti il gancio si piegherà in caso di vento forte!
A seconda di come fissate la vostra vela ombreggiante, avrete bisogno di nessuno, 1 o 2 moschettoni per angolo; di seguito trovate un elenco di possibili combinazioni di fissaggio:
- occhiello della vela ombreggiante > moschettone > golfare o golfare = 1 moschettone
- occhiello della vela ombreggiante > tenditore > golfare o golfare = nessun moschettone
- occhiello della vela oscurante > tenditore > catena > moschettone > golfare o golfare = 1 moschettone
- occhiello della vela ombreggiante > moschettone > catena > moschettone > golfare o golfare = 2 moschettoni
SUGGERIMENTO: preparate un disegno della vostra installazione per contare il numero di moschettoni e altri materiali di fissaggio necessari.
Tenditori:
Un tenditore di alta qualità, in grado di resistere a forze elevate, è essenziale quando si monta una vela ombreggiante!
Utilizzate sempre almeno 2 tenditori quando montate una vela ombreggiante, preferibilmente uno opposto all'altro: il tenditore stringerà l'angolo, tirando così su due lati della vela ombreggiante.
SUGGERIMENTO: non consiglio il tenditore M8, è troppo leggero per una vela ombreggiante, per questo vendiamo solo la versione M10.
SUGGERIMENTO: utilizzare le cinghie a cricchetto per stringere la vela ombreggiante durante l'installazione, in modo da poter regolare la lunghezza su ogni angolo fino a quando non si è soddisfatti dell'installazione della vela ombreggiante. Una volta posizionato il tutto, montare i materiali di fissaggio, stringere il tutto e rilasciare la cinghia.
Catene in acciaio inox:
Quando montate i pali, lasciate un po' di spazio in più, almeno 20 cm su ogni angolo, ma preferibilmente di più, per poter regolare la vostra vela ombreggiante. Si verifica sempre un certo allungamento e lo spazio aggiuntivo consente di stringere la vela ombreggiante più avanti nella stagione.
Le catene Nesling in acciaio inox sono vendute con una lunghezza standard di 2 metri; potete tagliare le catene con le forbici per le barre di rinforzo o con una smerigliatrice. Tagliate le catene solo una volta completata l'installazione della vela ombreggiante!


