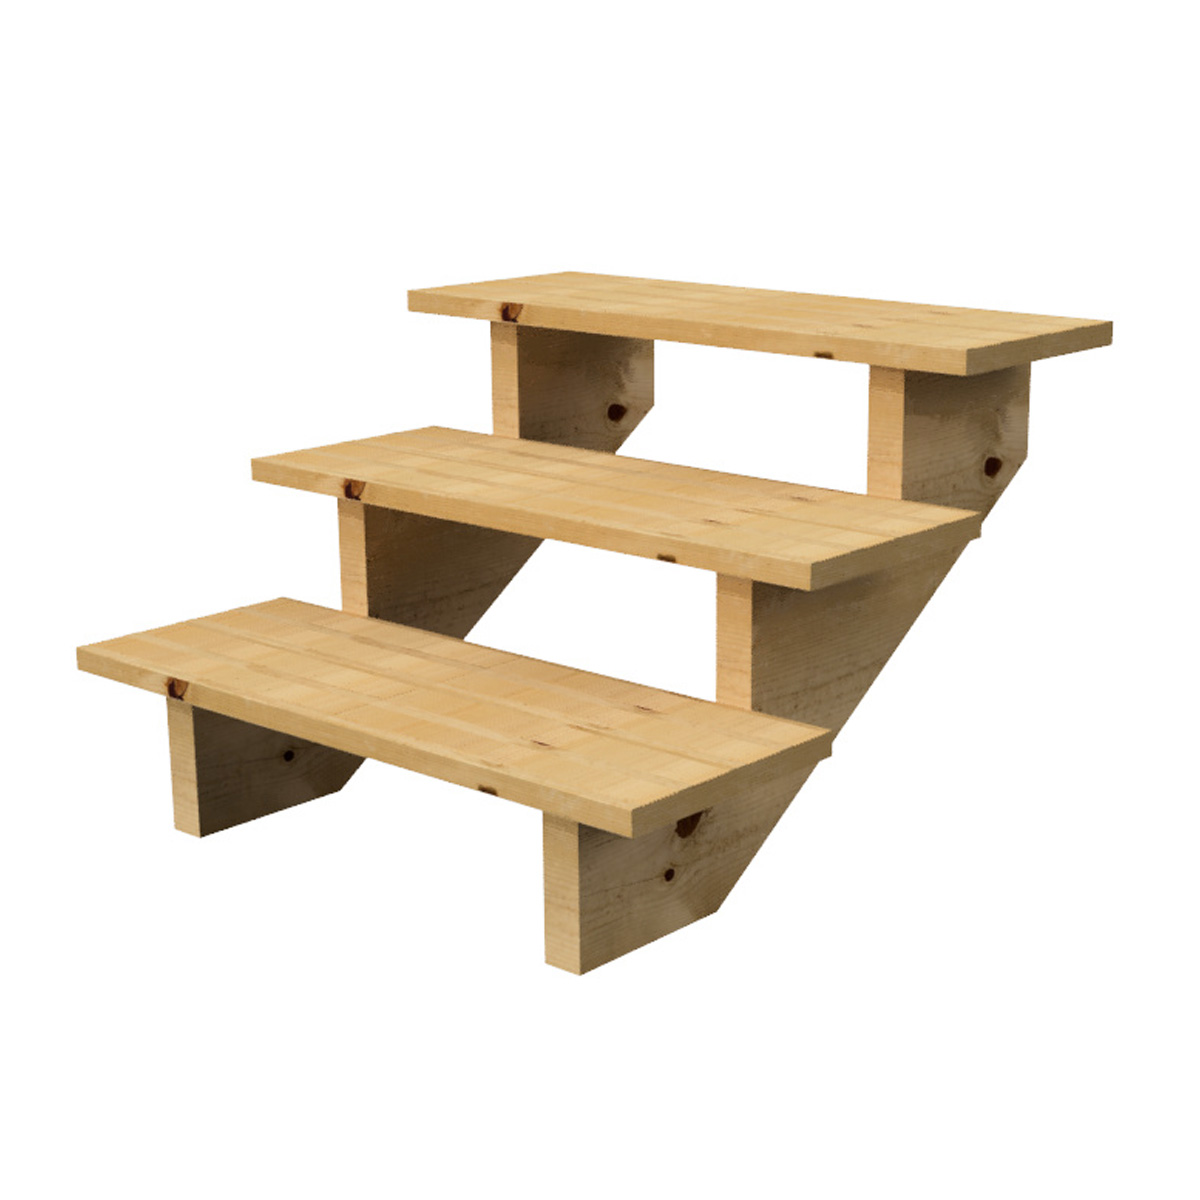
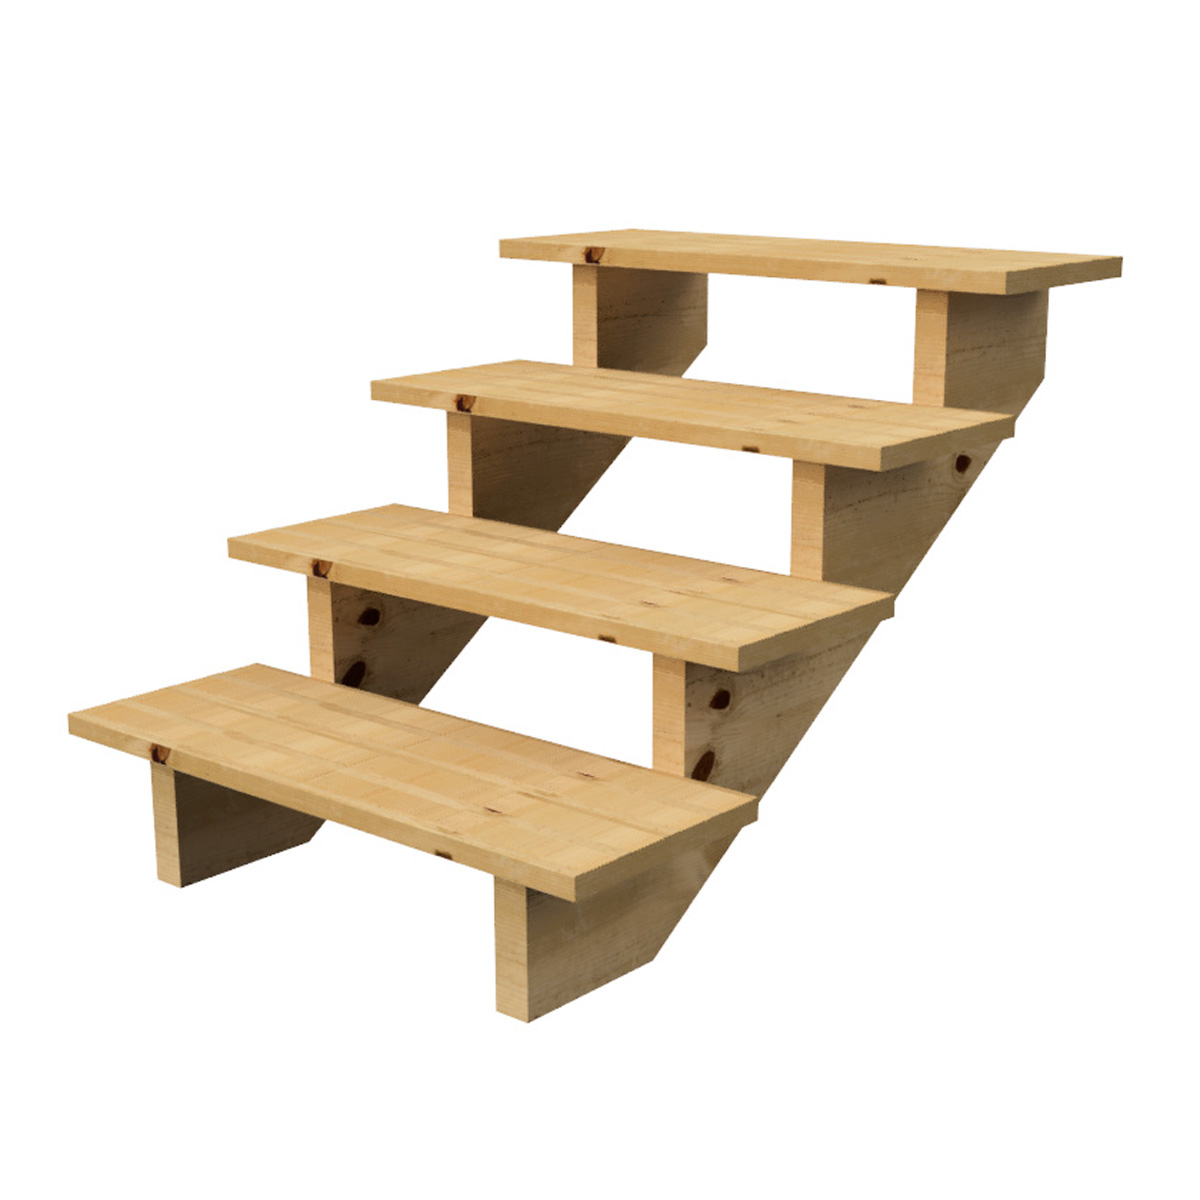
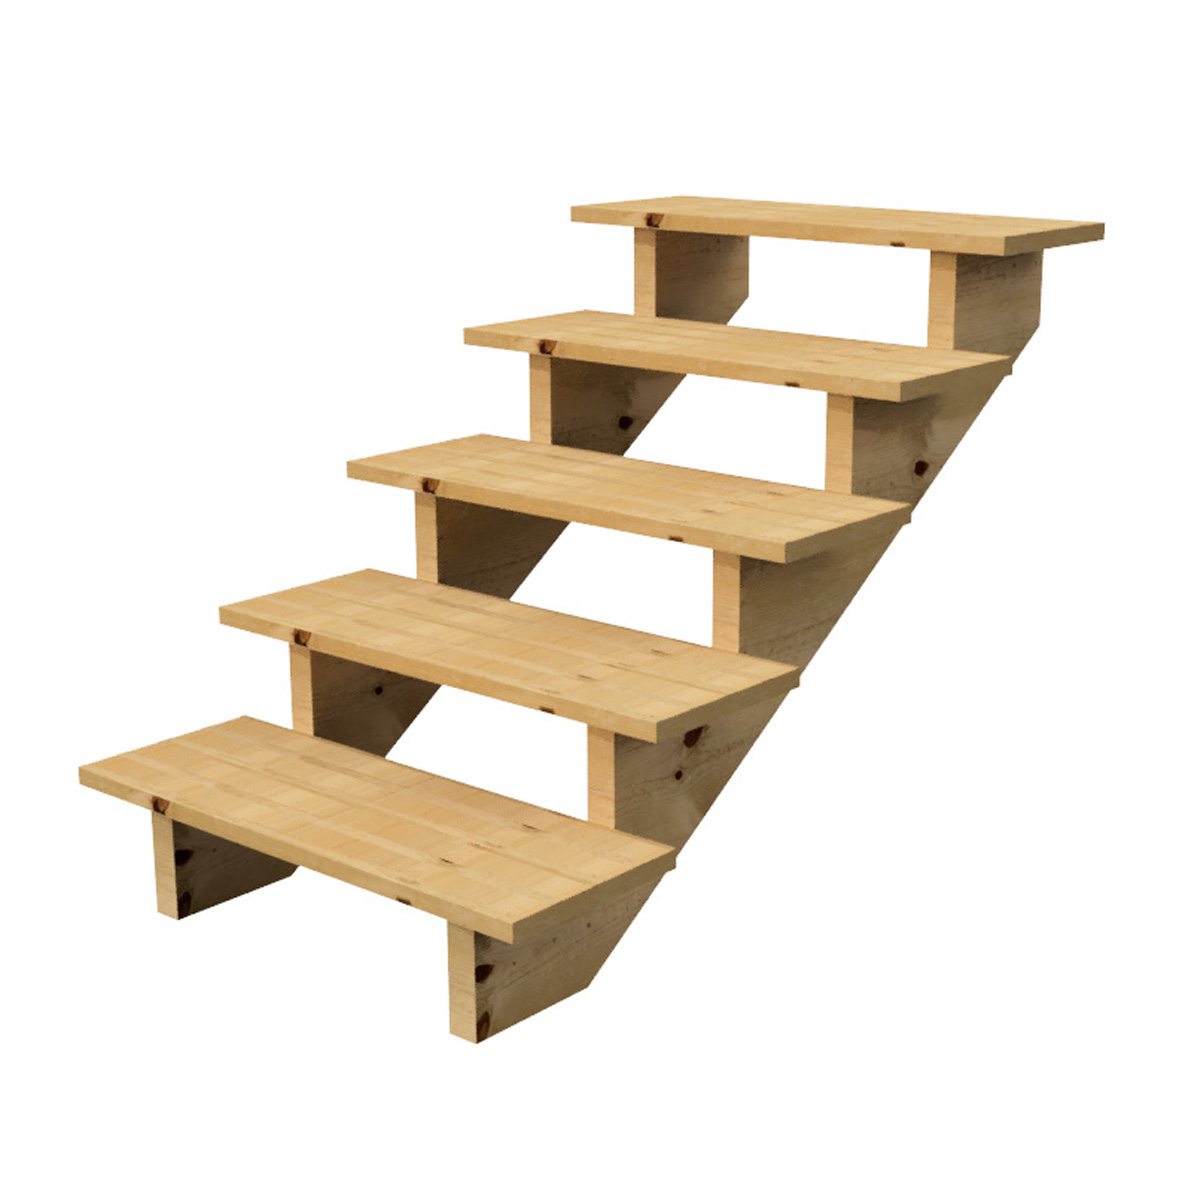
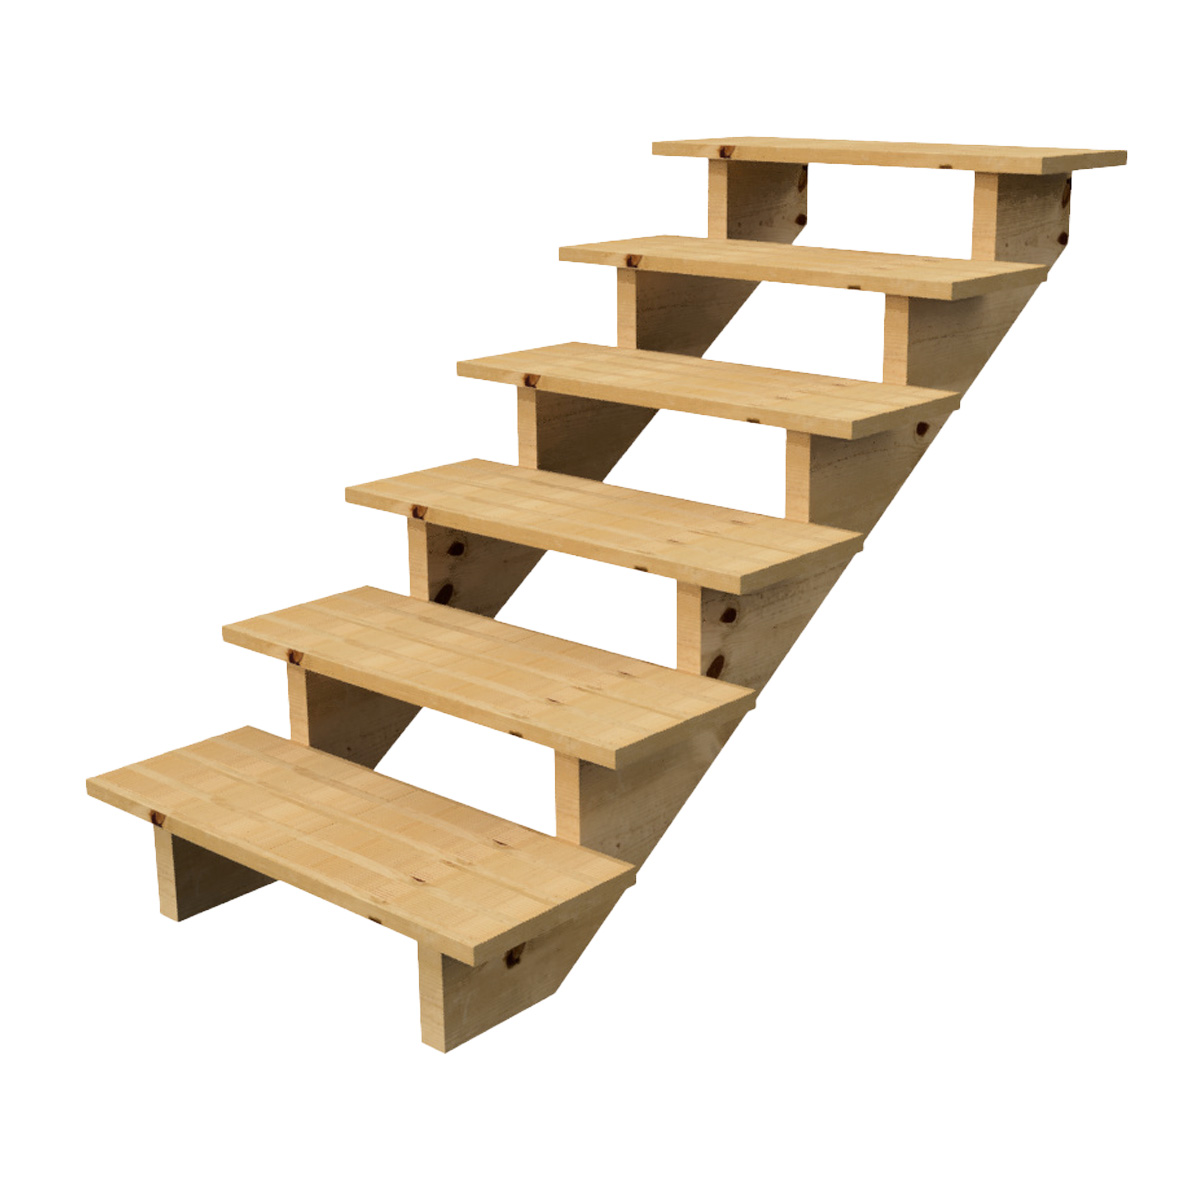
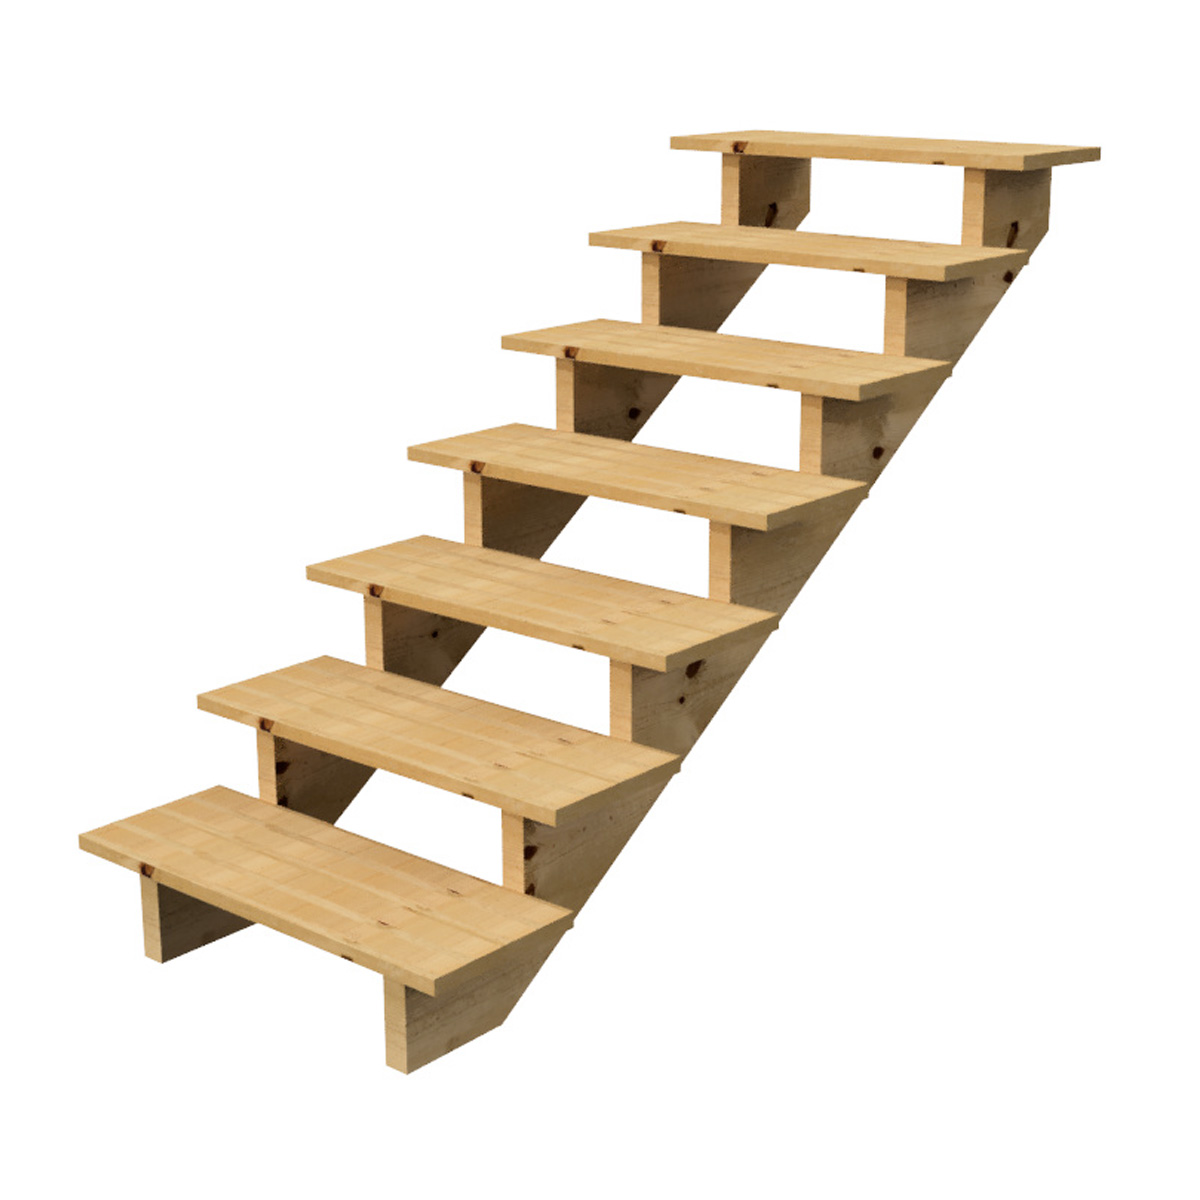
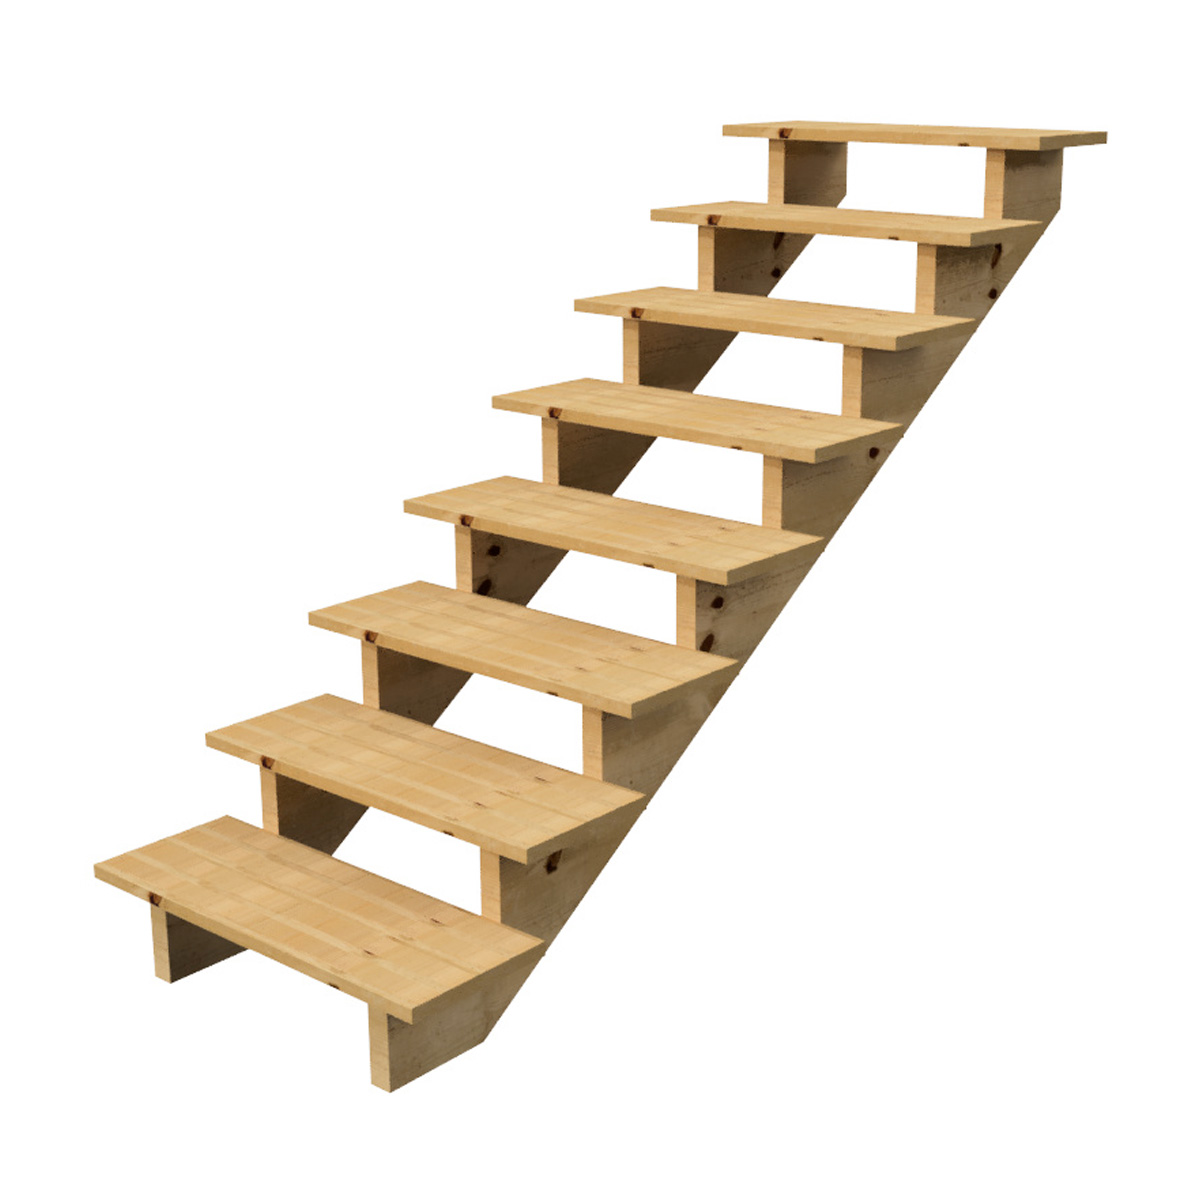
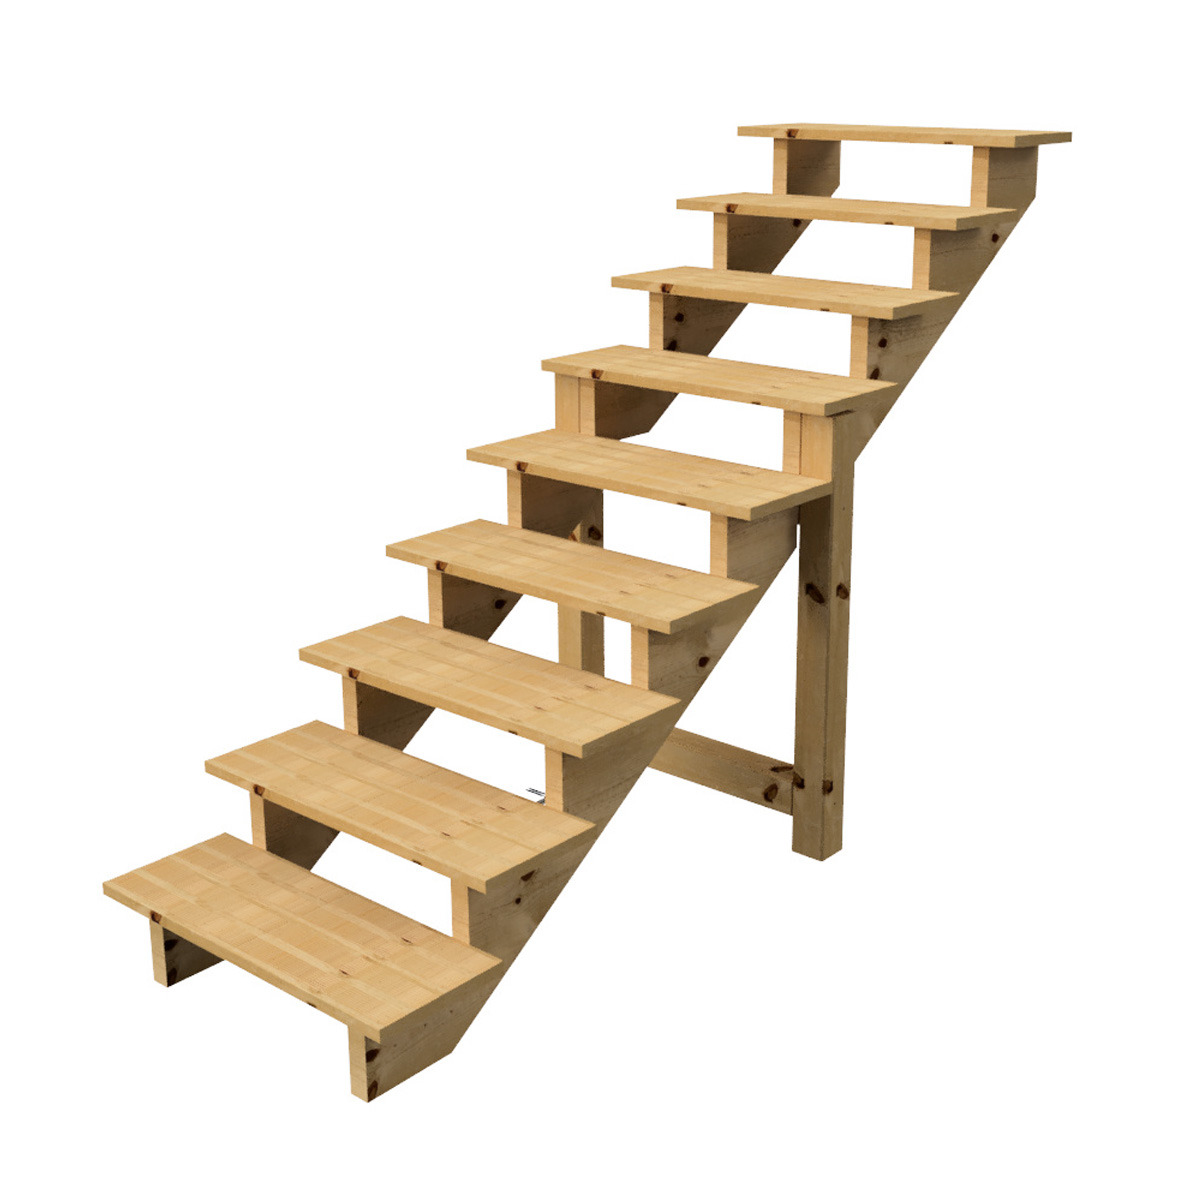
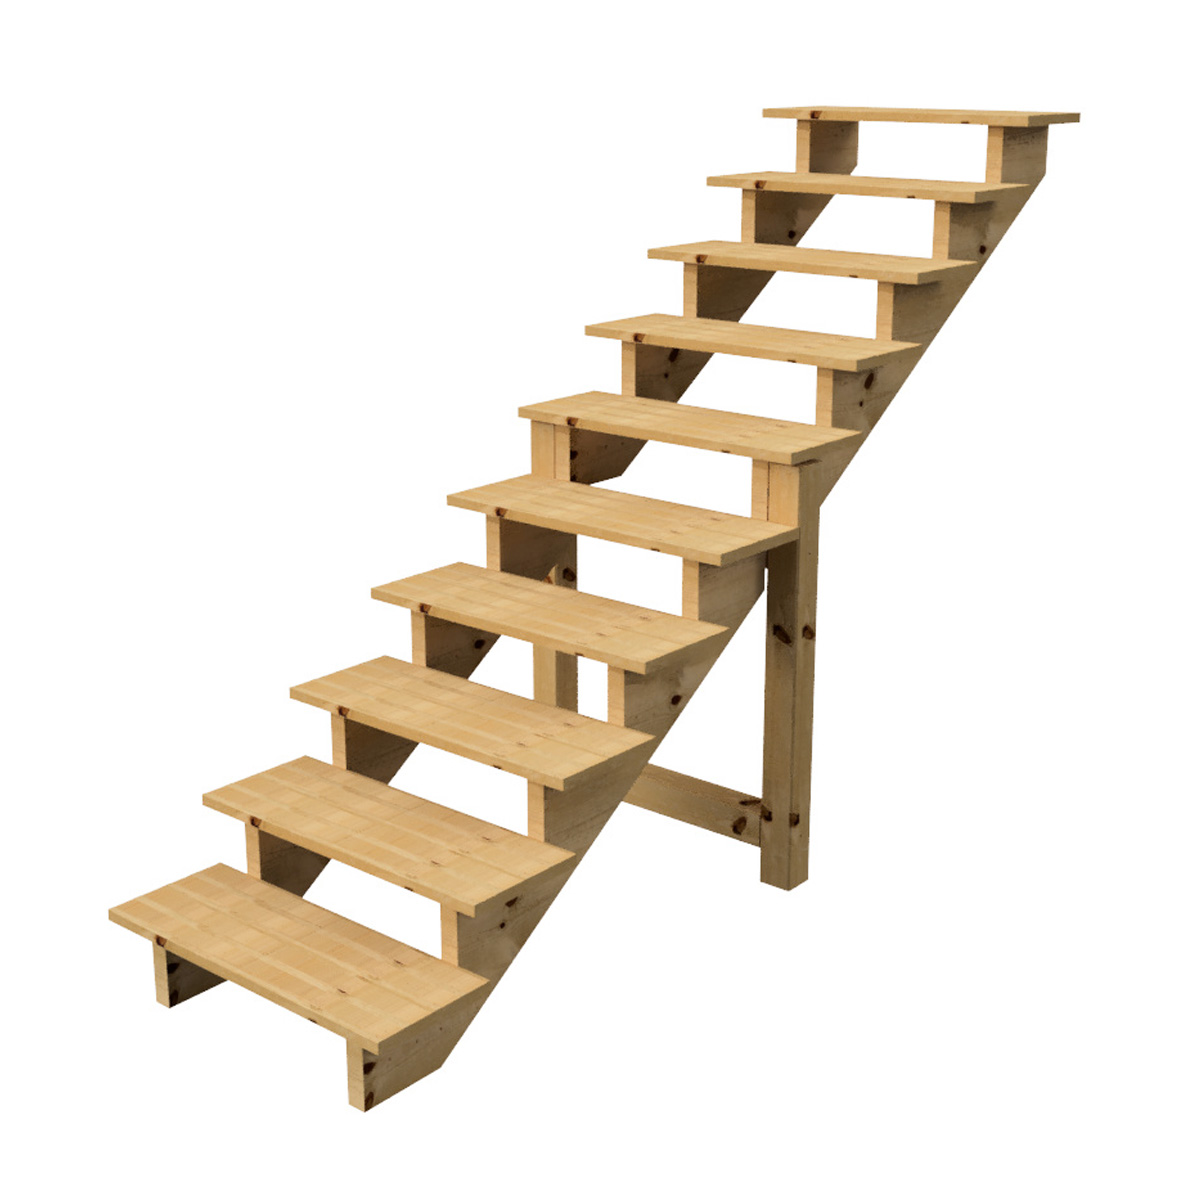
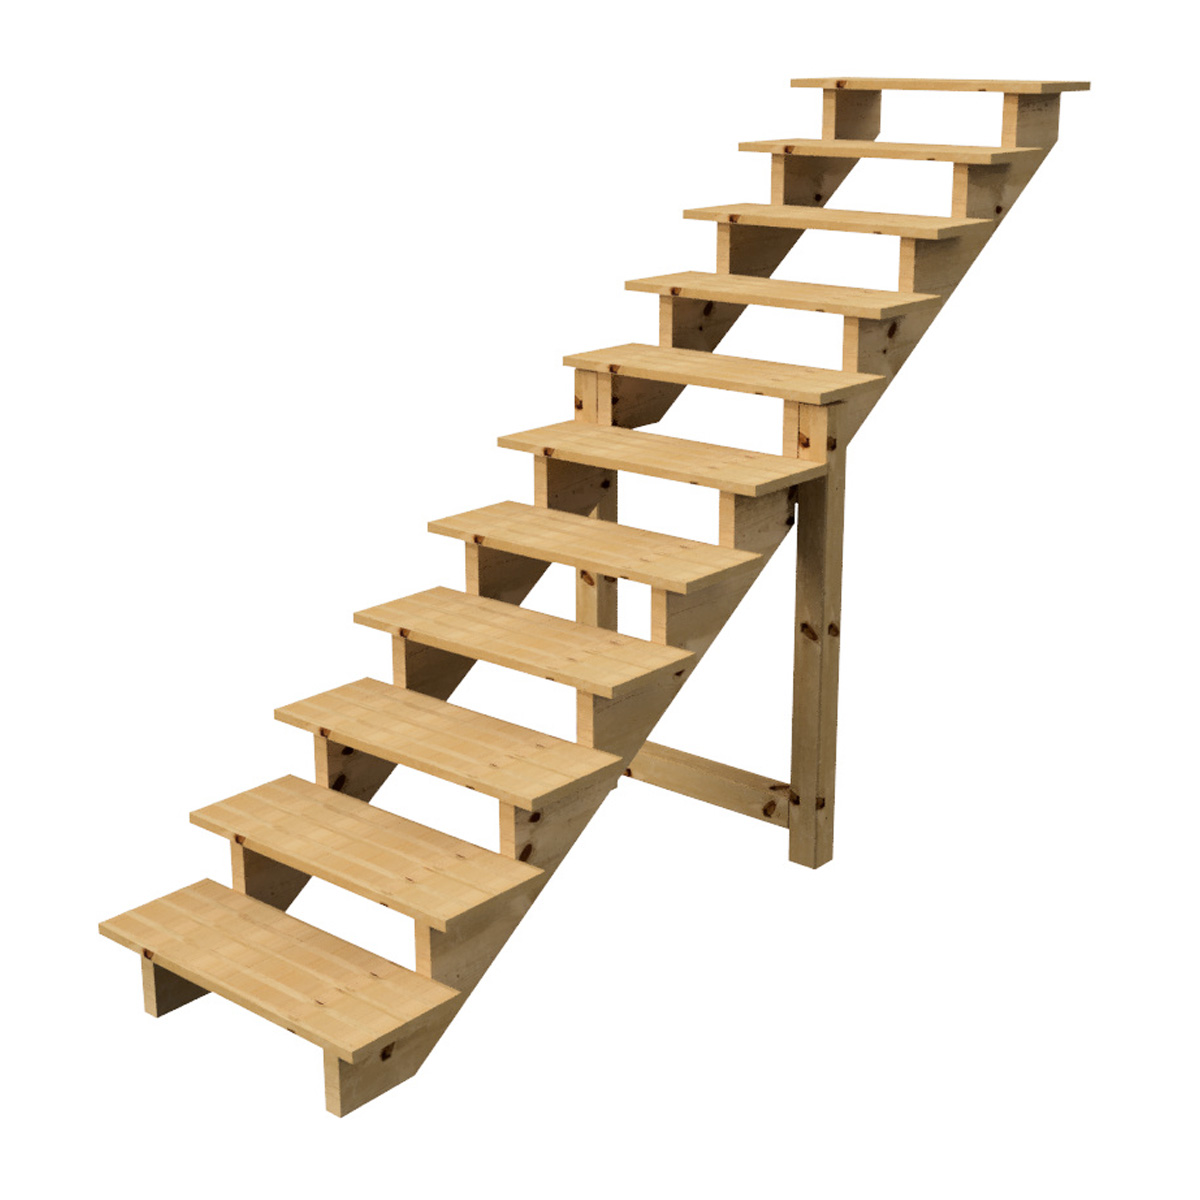
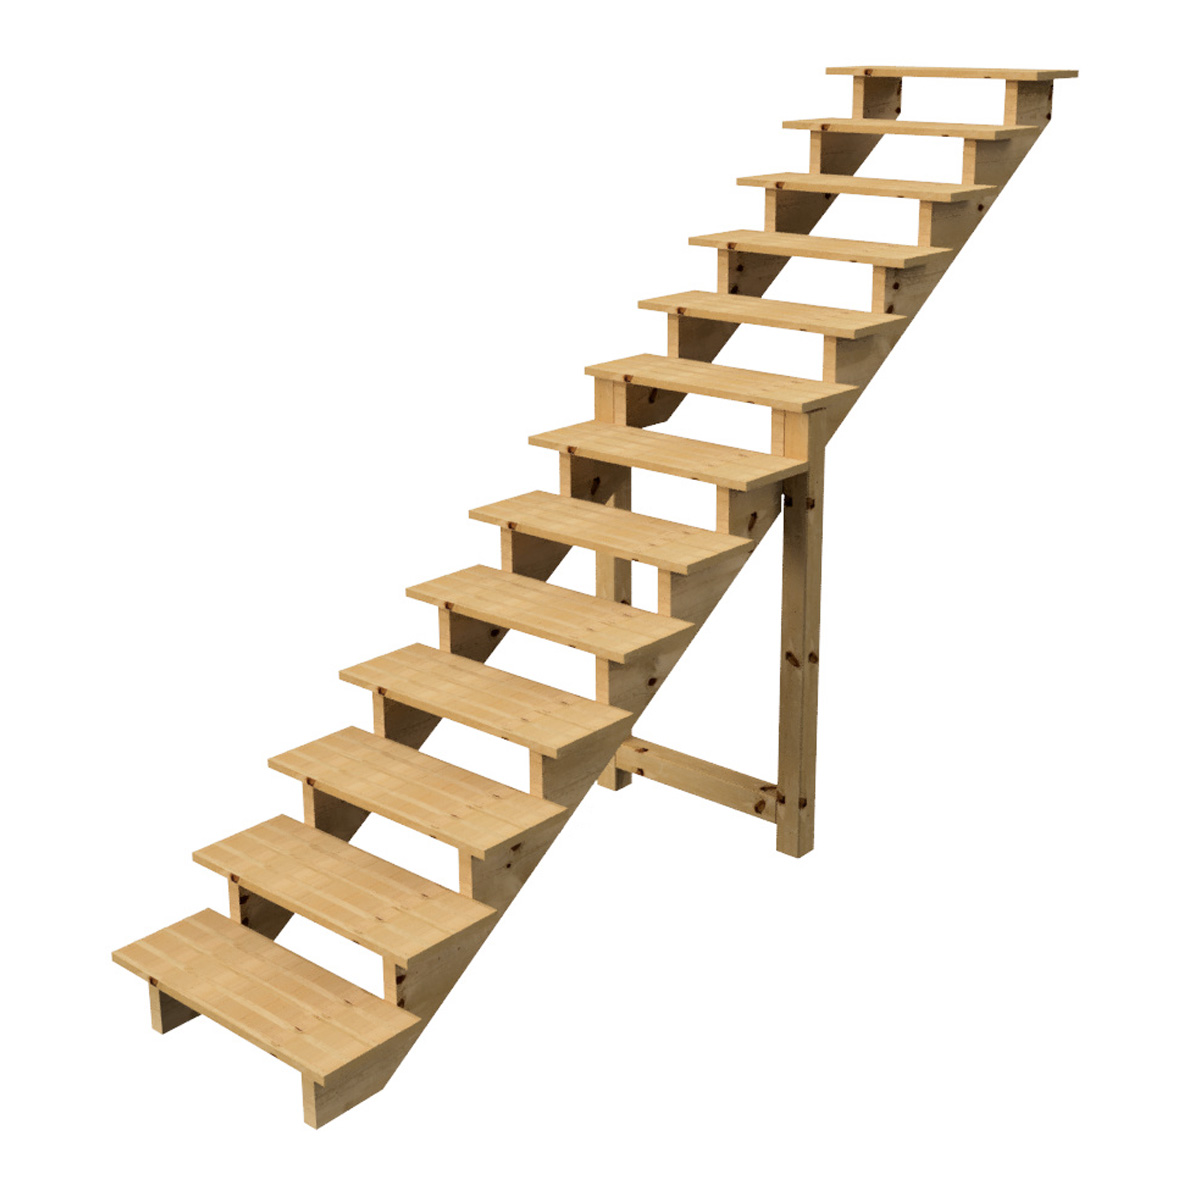
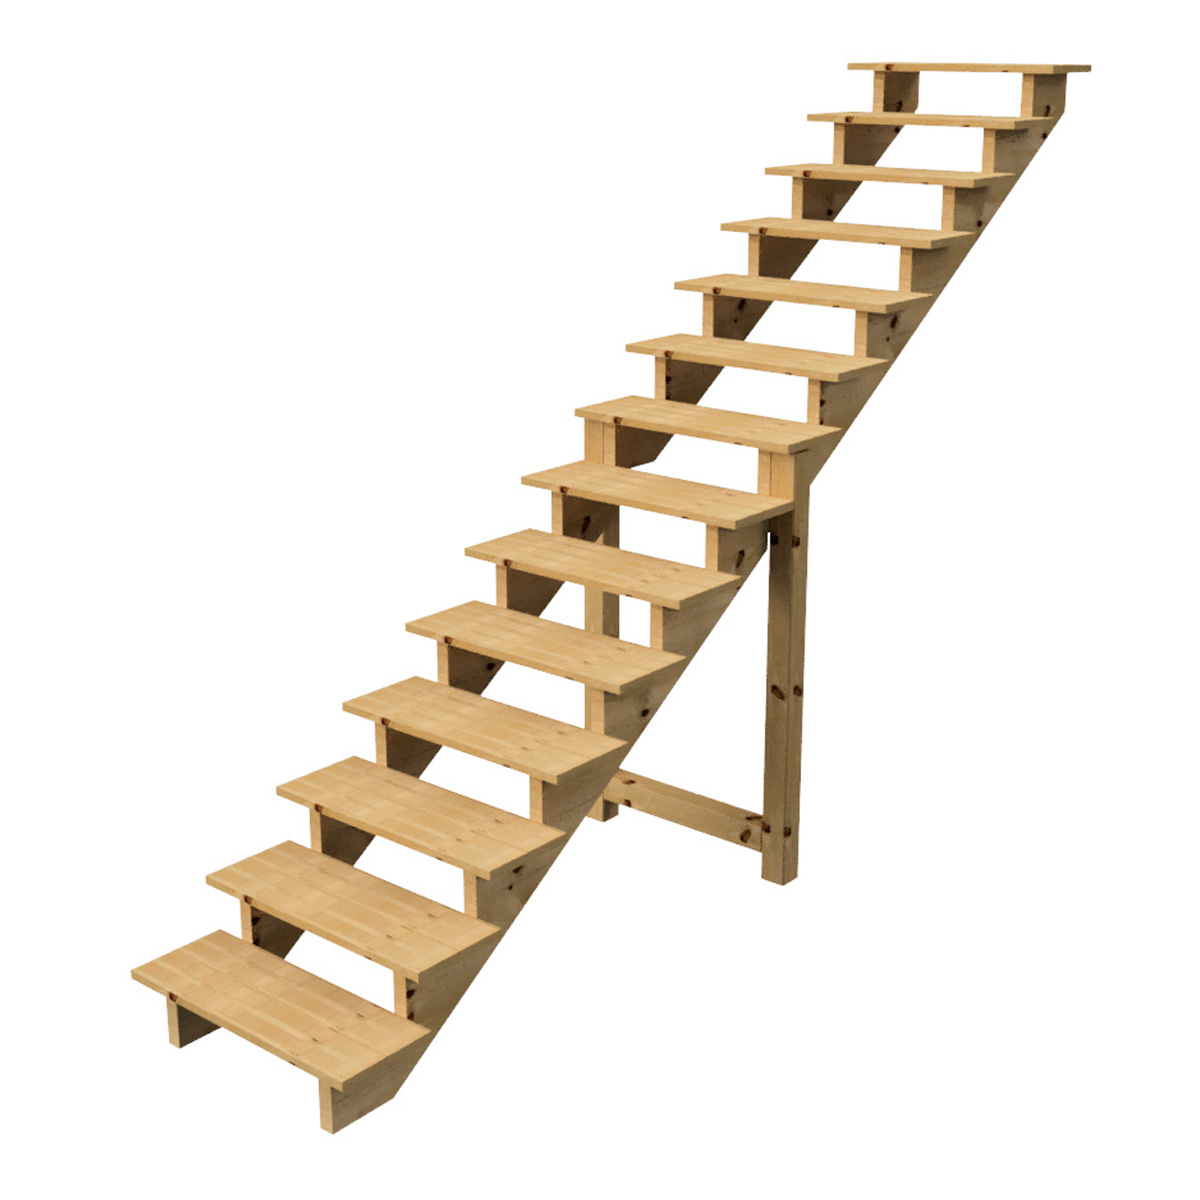
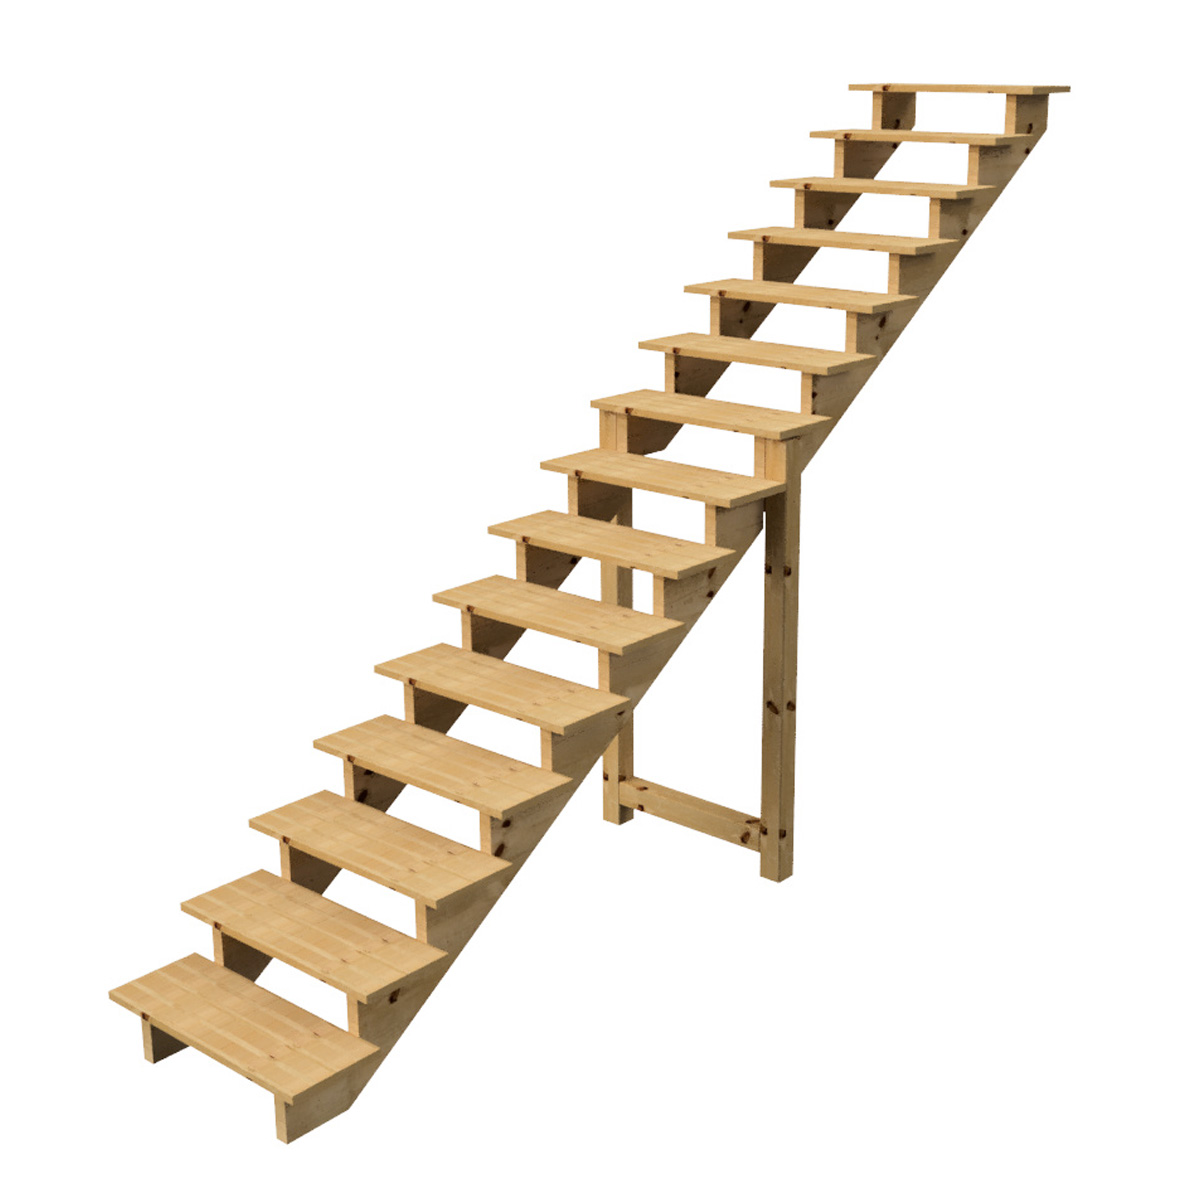
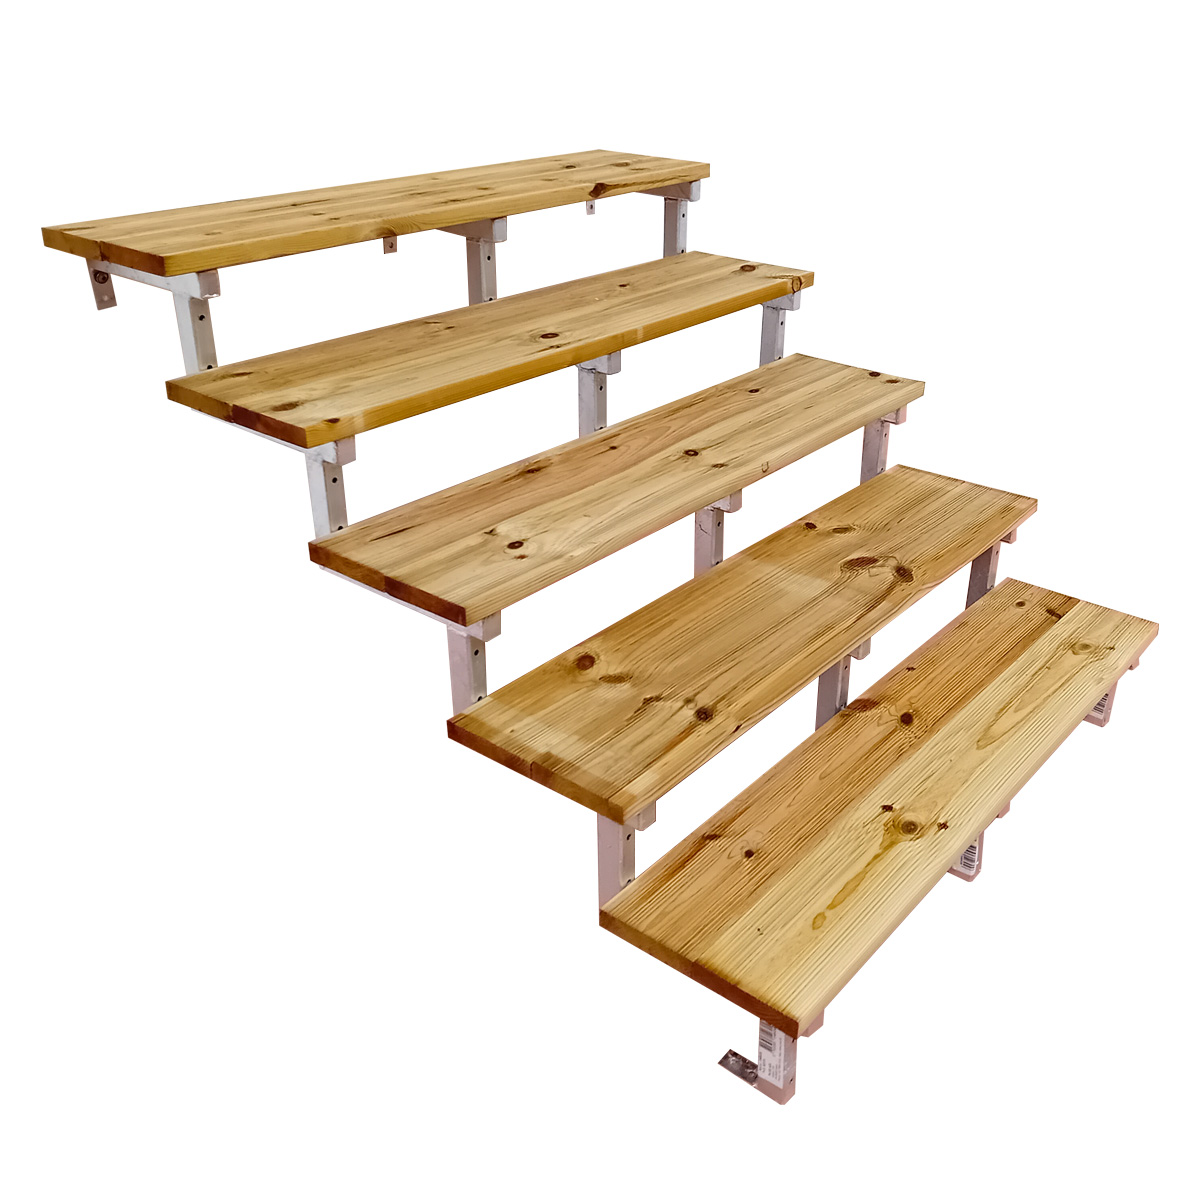
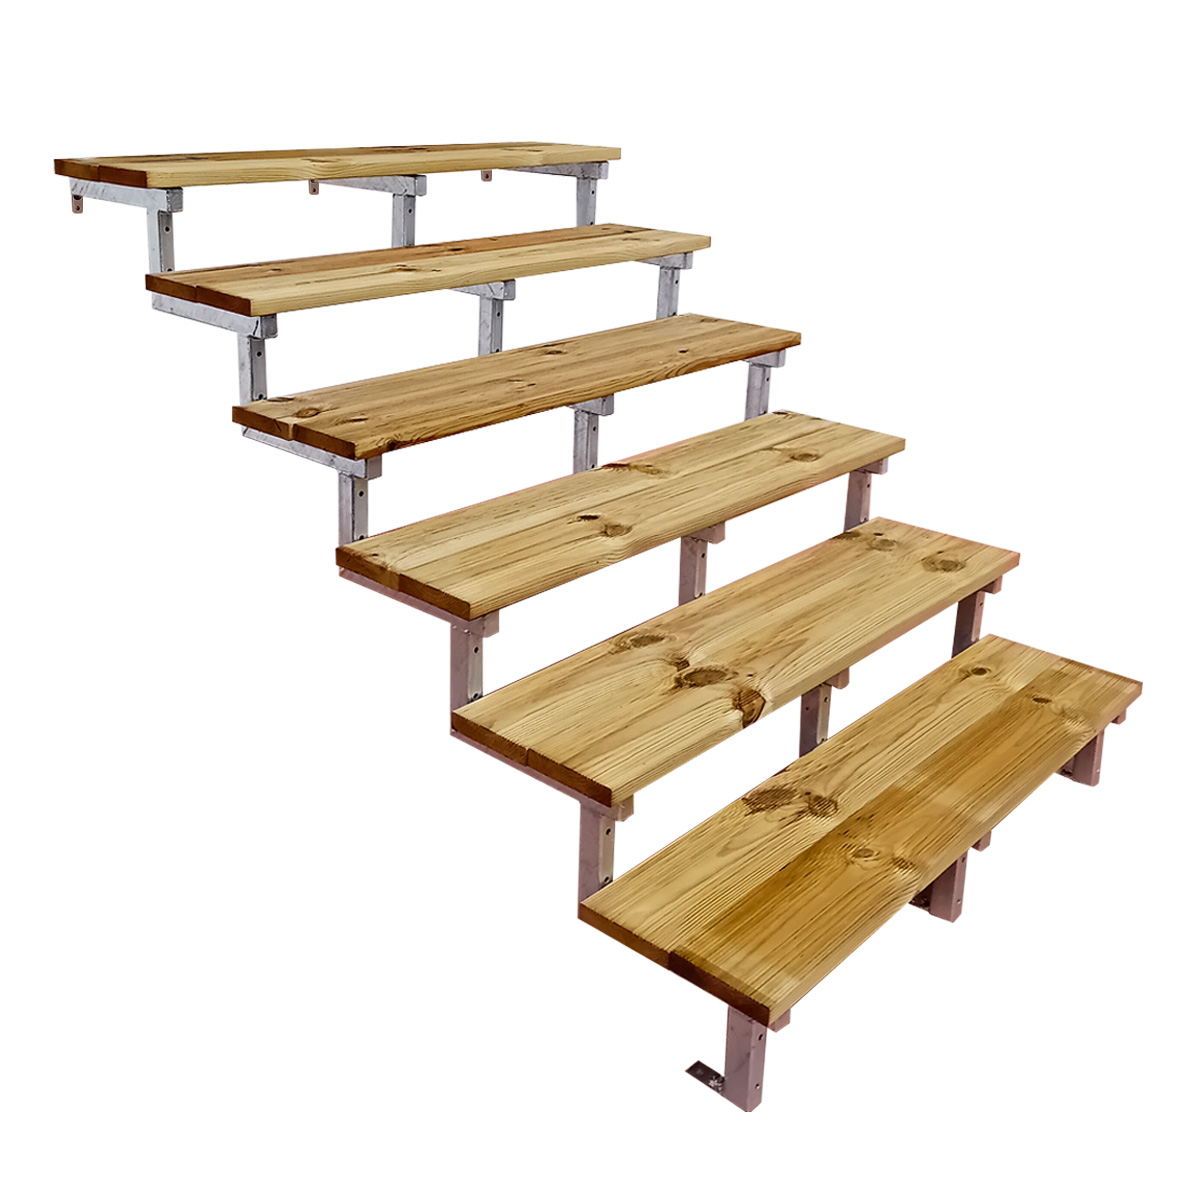
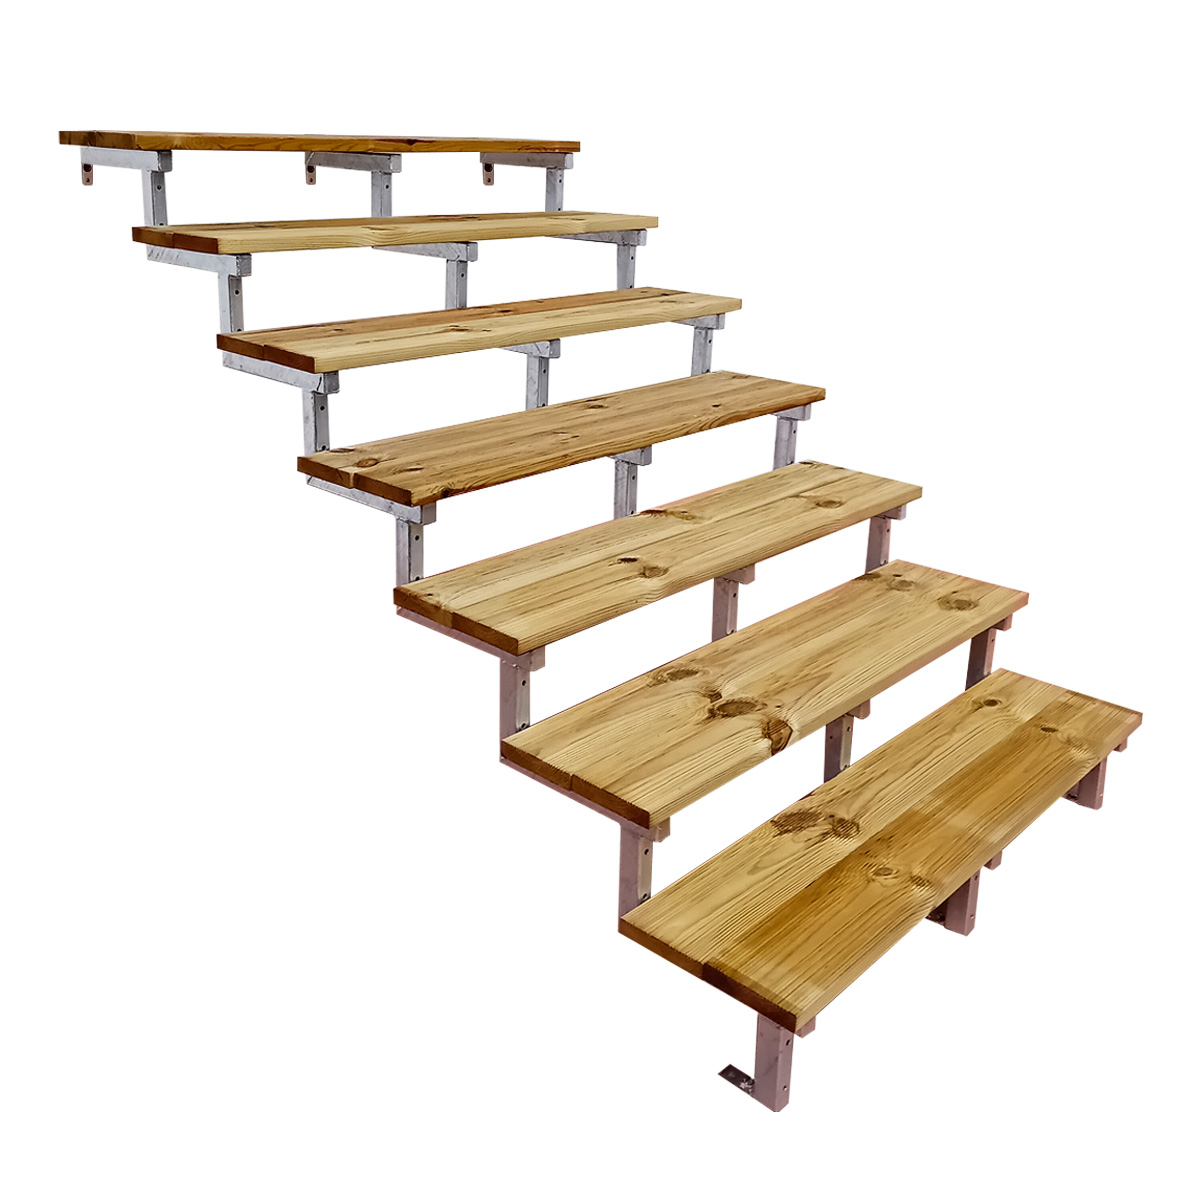
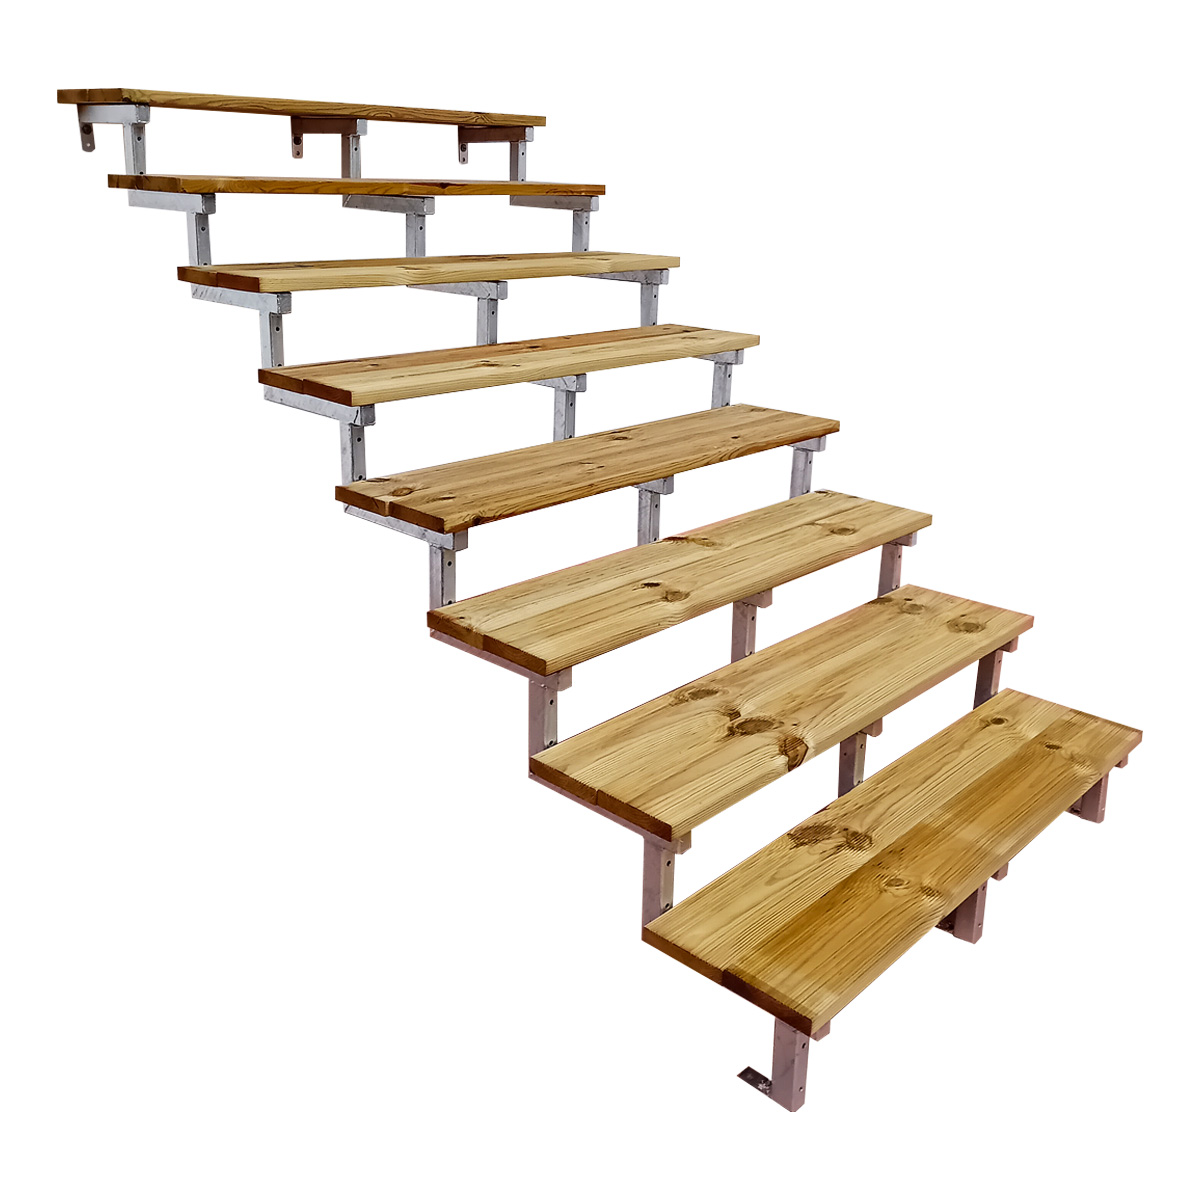
Deck stairs
Deck stairs from Vinuovo: with elegance and functionality - ready for immediate assembly!
Beautify your garden or patio/terrace by easily eliminating height differences with our exclusive prefabricated outdoor steps made out of wood or steel. With our do-it-yourself kits, installing new wooden outdoor steps is an easy thing!
Our outdoor steps are not only a practical solution to connect your front door with the garden, your entrance, your terrace or balcony with the outdoor area, but they add also a touch of unique beauty and design to your space. You can choose between the warm elegance of wood or the modern power and design of steel/metal to create a space with the outdoor steps what reflects your unique style.
You can now buy wooden deck stairs from VINUOVO and transform your space, your garden with style and functionality. Give your home an unique element with our outdoor steps - the perfect mix of practicality and contemporary design.
Vinuovo offers you outdoor stair kits.

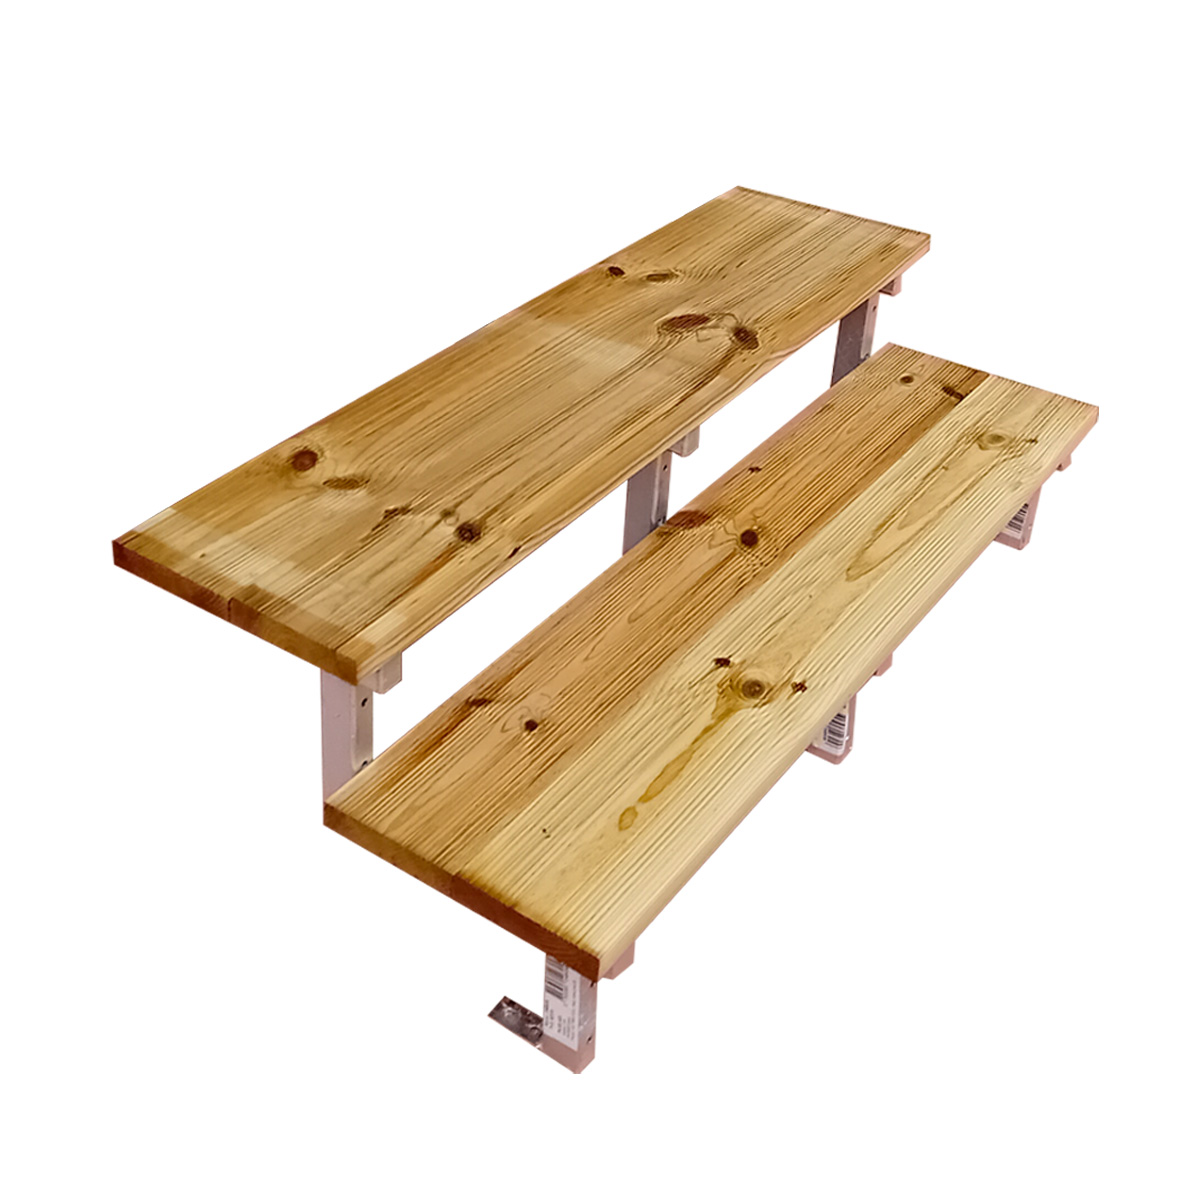
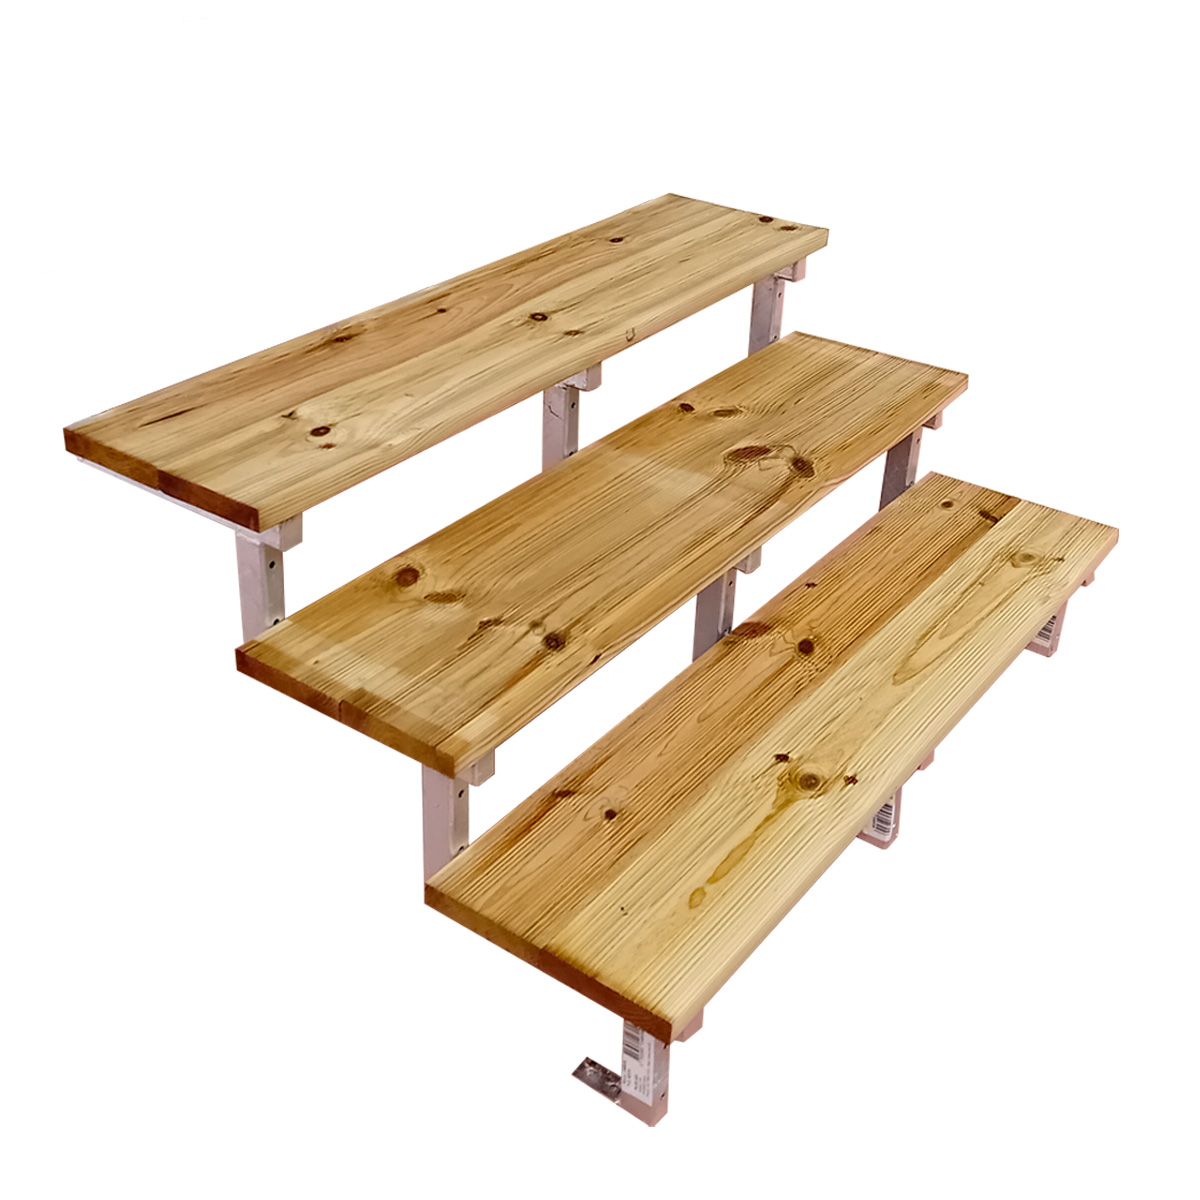
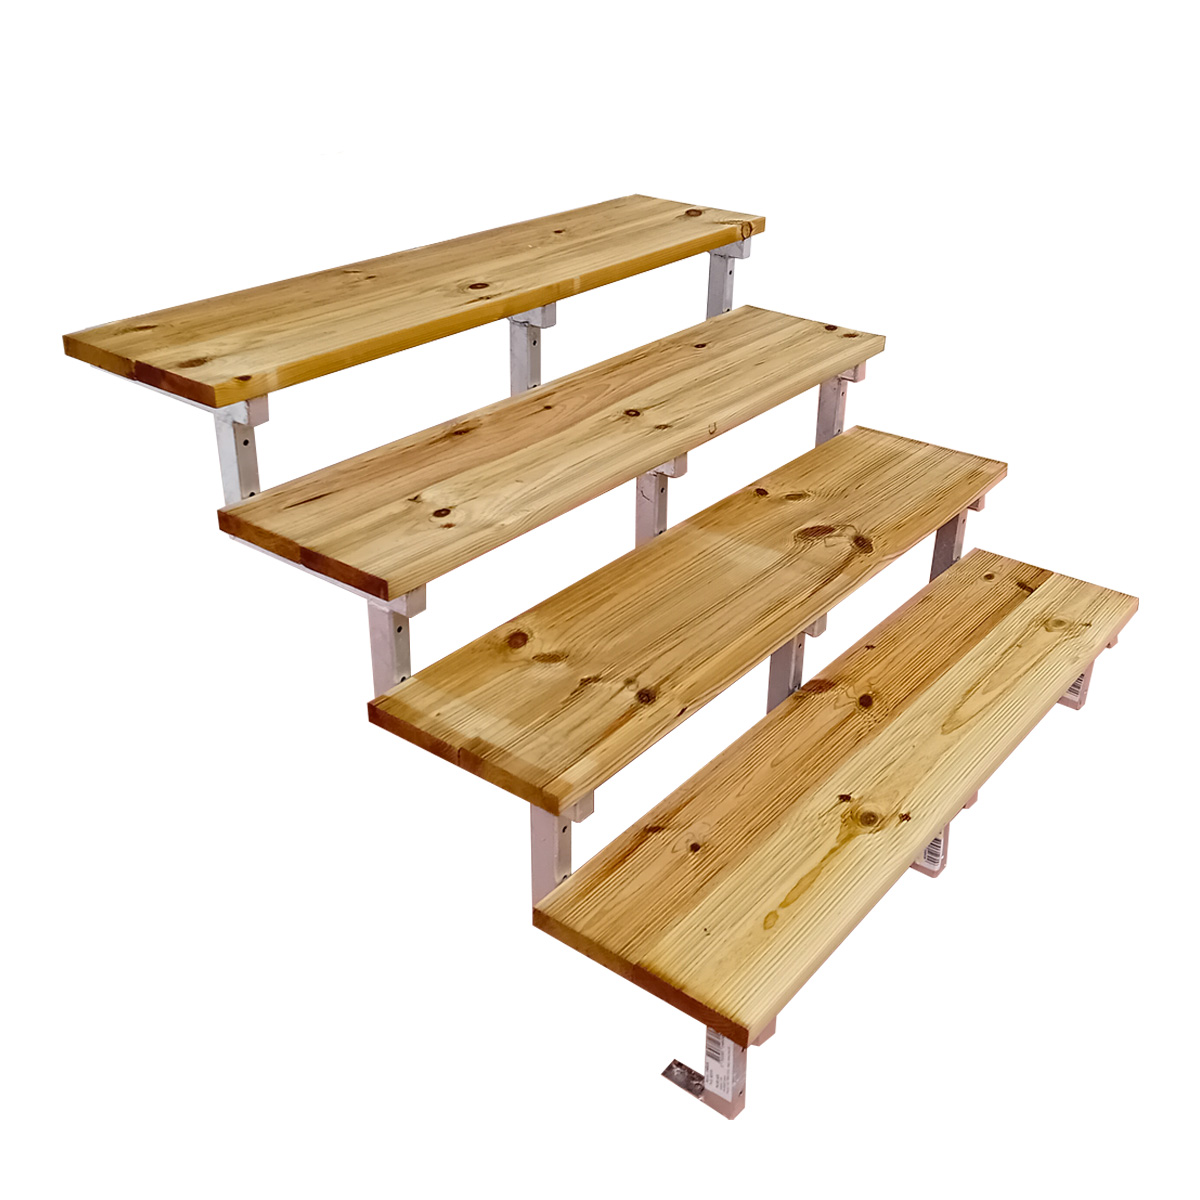
- 2 to 16 steps: 37cm to 275cm
- Length: 60-80-100-120-140-160cm
- Depth of the steps: 29cm
- with or without countersteps
starting at €90

- 2 to 5 steps: max. 85cm
- Length: 60-80-100-120-140-160cm
- Depth of the steps: 29cm
- modular garden steps for the garden, terrace or the entrance
starting at €39.95
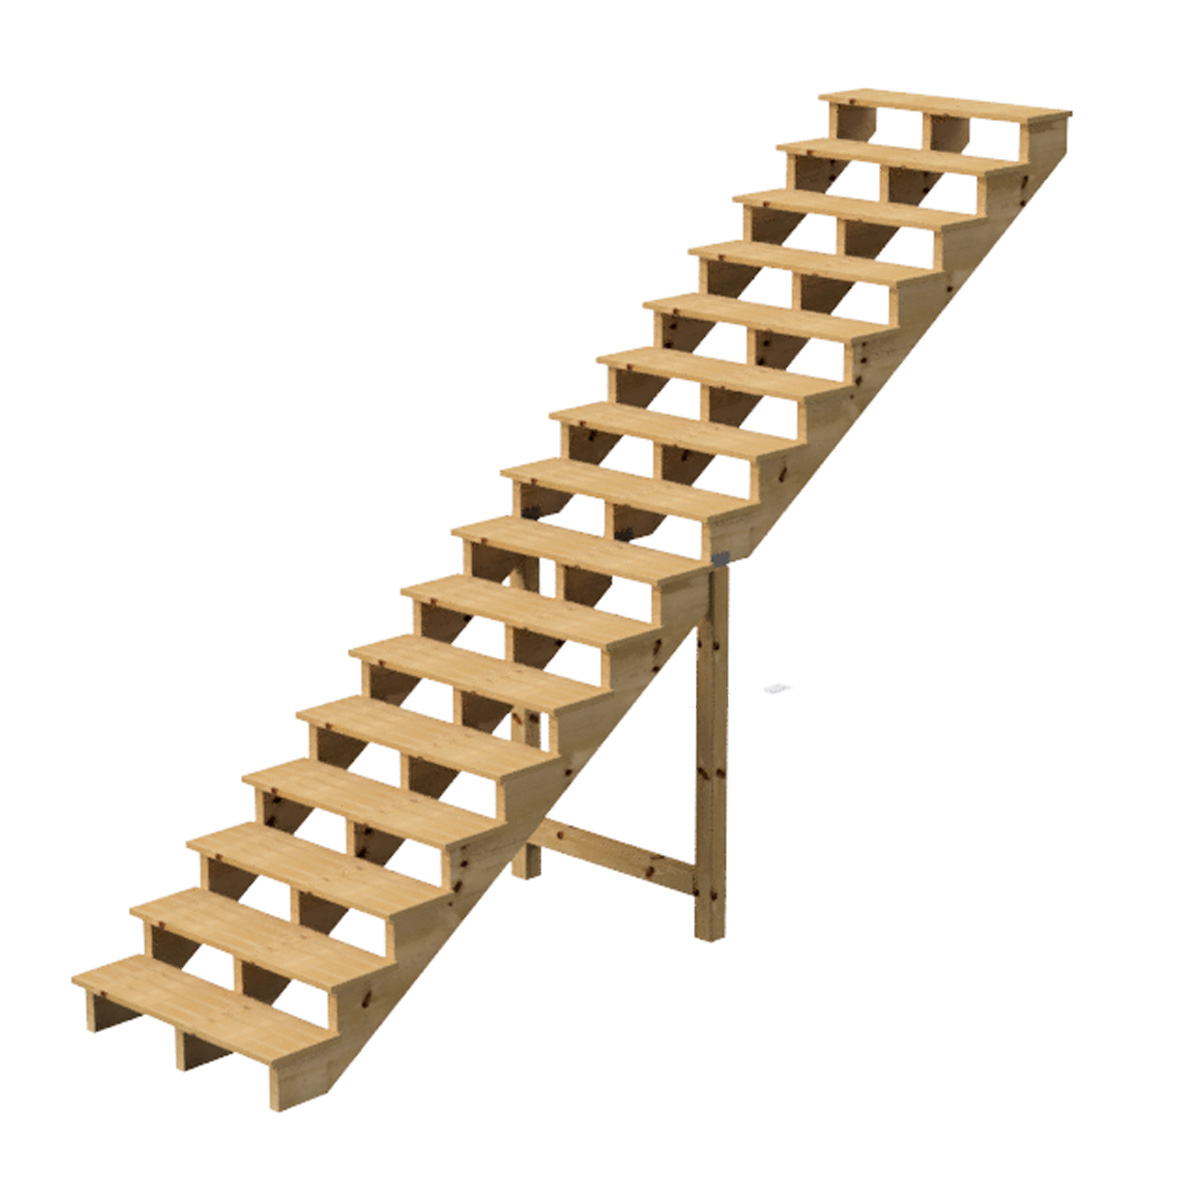
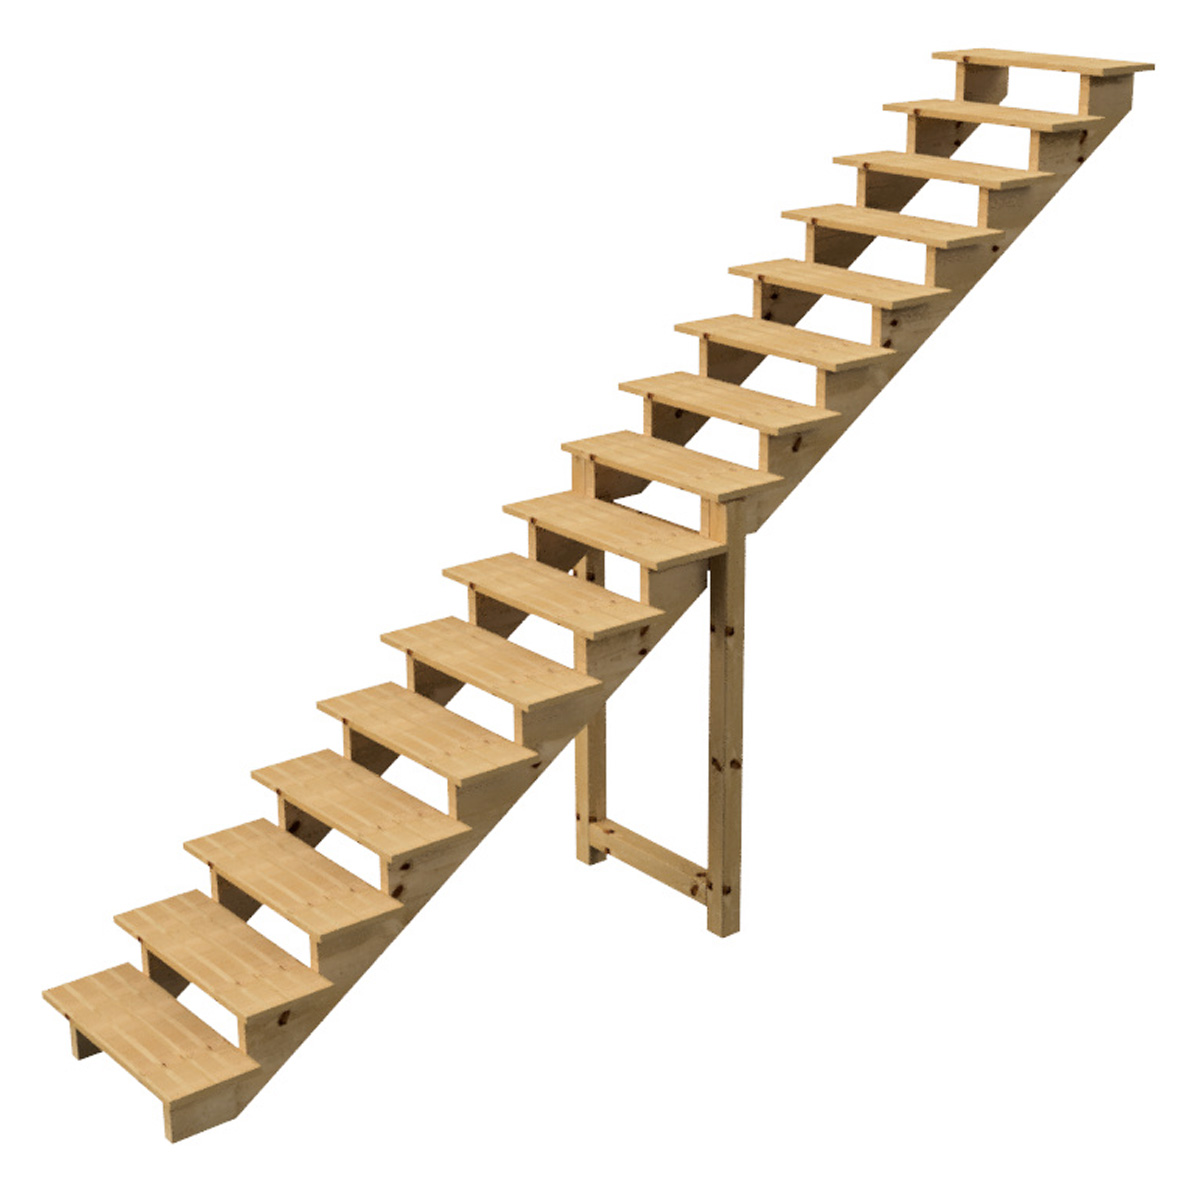
BERLIN - Outdoor Wooden Stair Kit; Up to 16 Steps High!
With a ready-to-assemble outdoor wooden stair kit from Vinuovo, building your own outdoor stairs is easy.
All components, including the stringers and treads, come pre-assembled. Stainless steel screws are included—just screw everything together.
Vinuovo outdoor stairs are crafted from high-quality, pressure-treated wood sourced from Northern Europe. Thanks to the Class 4 impregnation, your wooden stairs will require no maintenance.
These stairs can be used to overcome height differences ranging from 35 cm to 275 cm.
The deck stairs are available with or without countersteps. Countersteps can be ordered separately.
Additional steps are also available for separate purchase.
Don't forget the fixings to secure your stairs to the wall or floor (not included in the kit).
MADRID XL Outdoor Stair with Extra Deep Treads
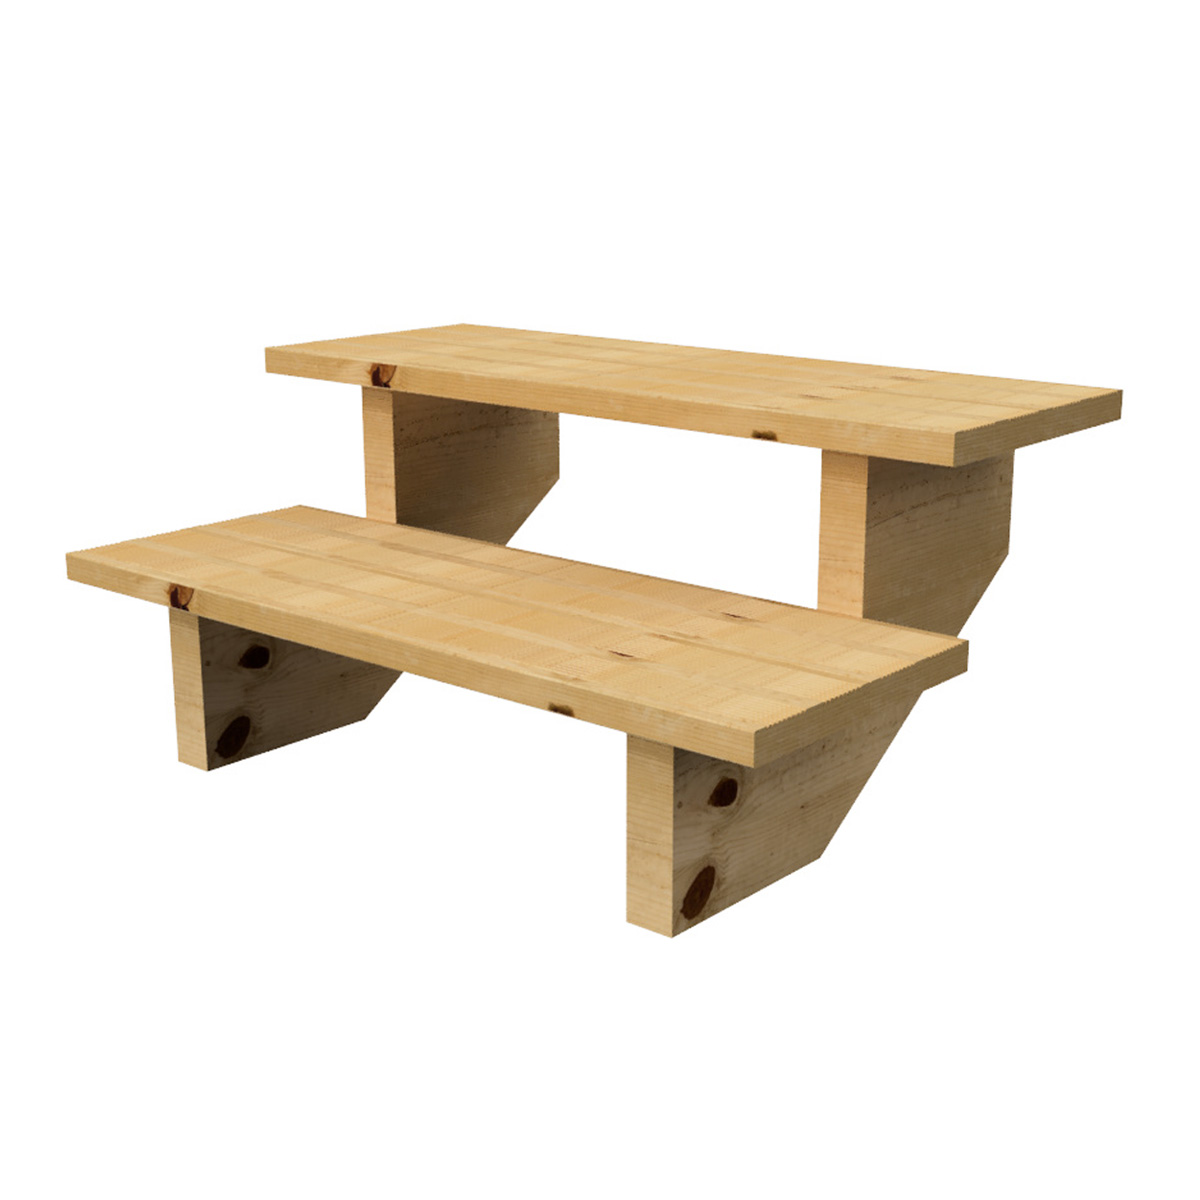
The Madrid XL Outdoor Stair features extra deep treads and a low rise angle.
A low rise angle means the stairs ascend more gradually. Each tread is only 13 cm high, compared to the usual 17 cm for standard wooden outdoor stairs.
The Madrid XL outdoor stair treads are also extra deep: 39 cm, whereas a regular outdoor stair has treads that are typically 25 or 29 cm deep.
Don't forget the fixings to secure your stairs to the wall or floor (not included in the kit).
Another step towards creating your deck stairs: with a kit!
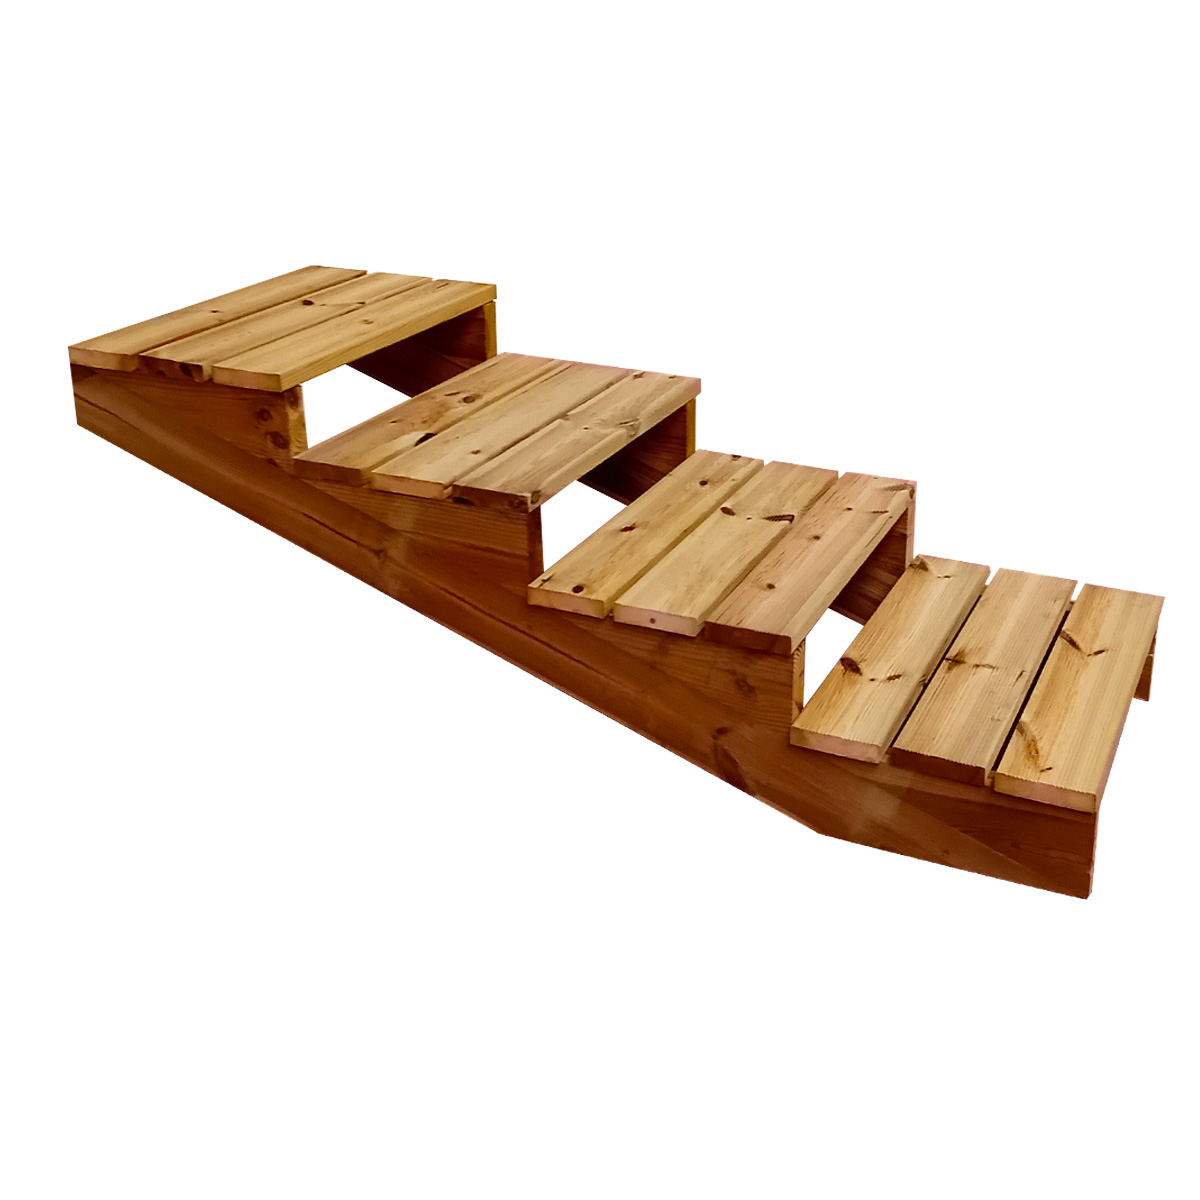
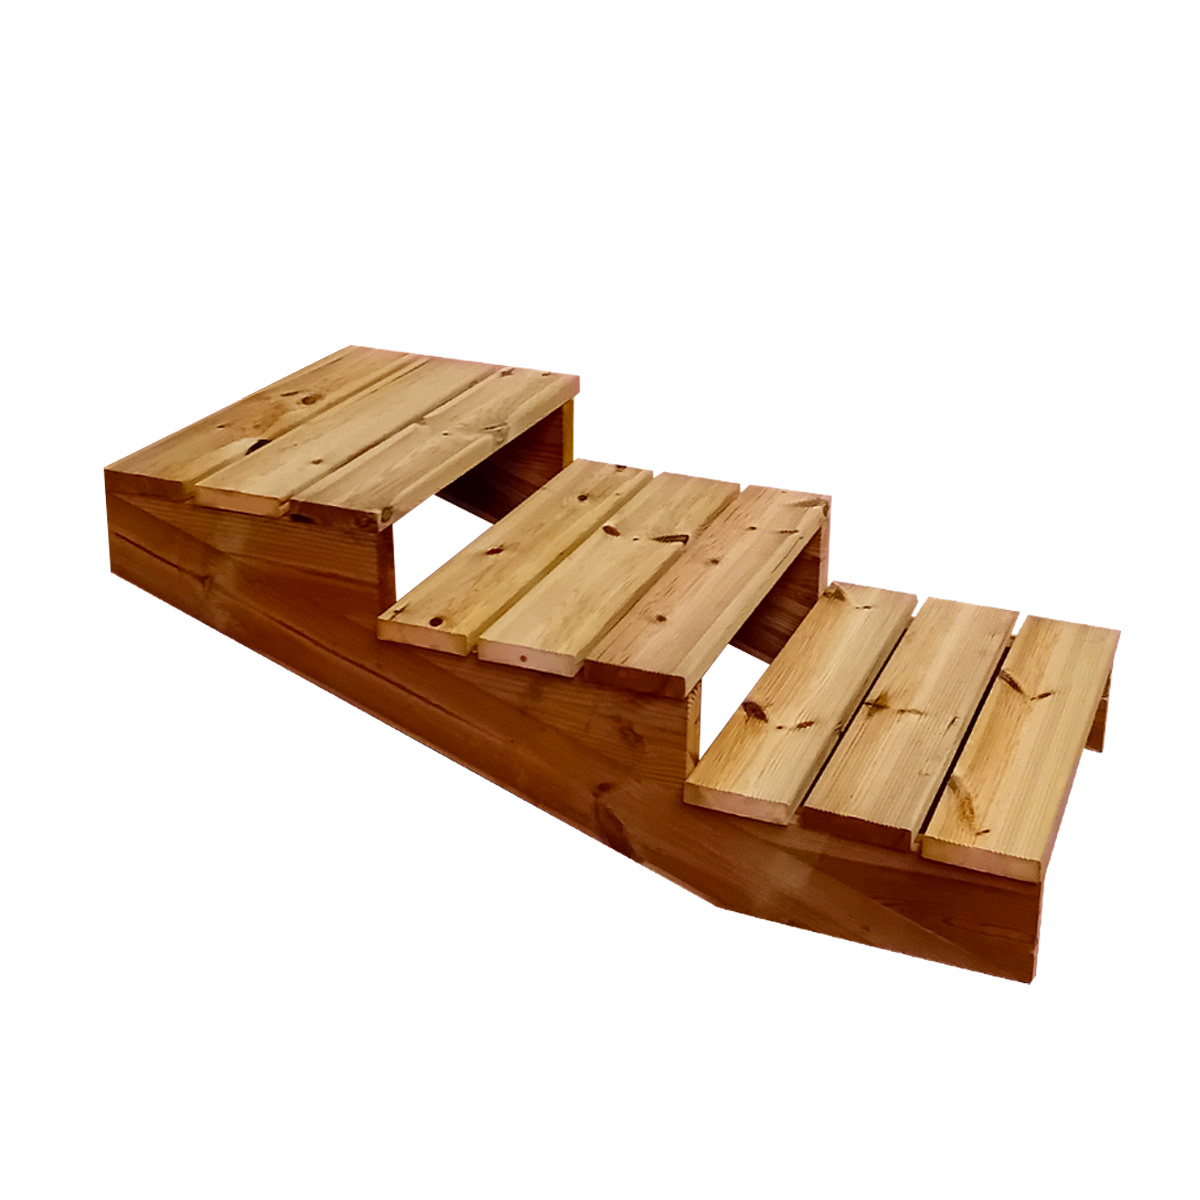
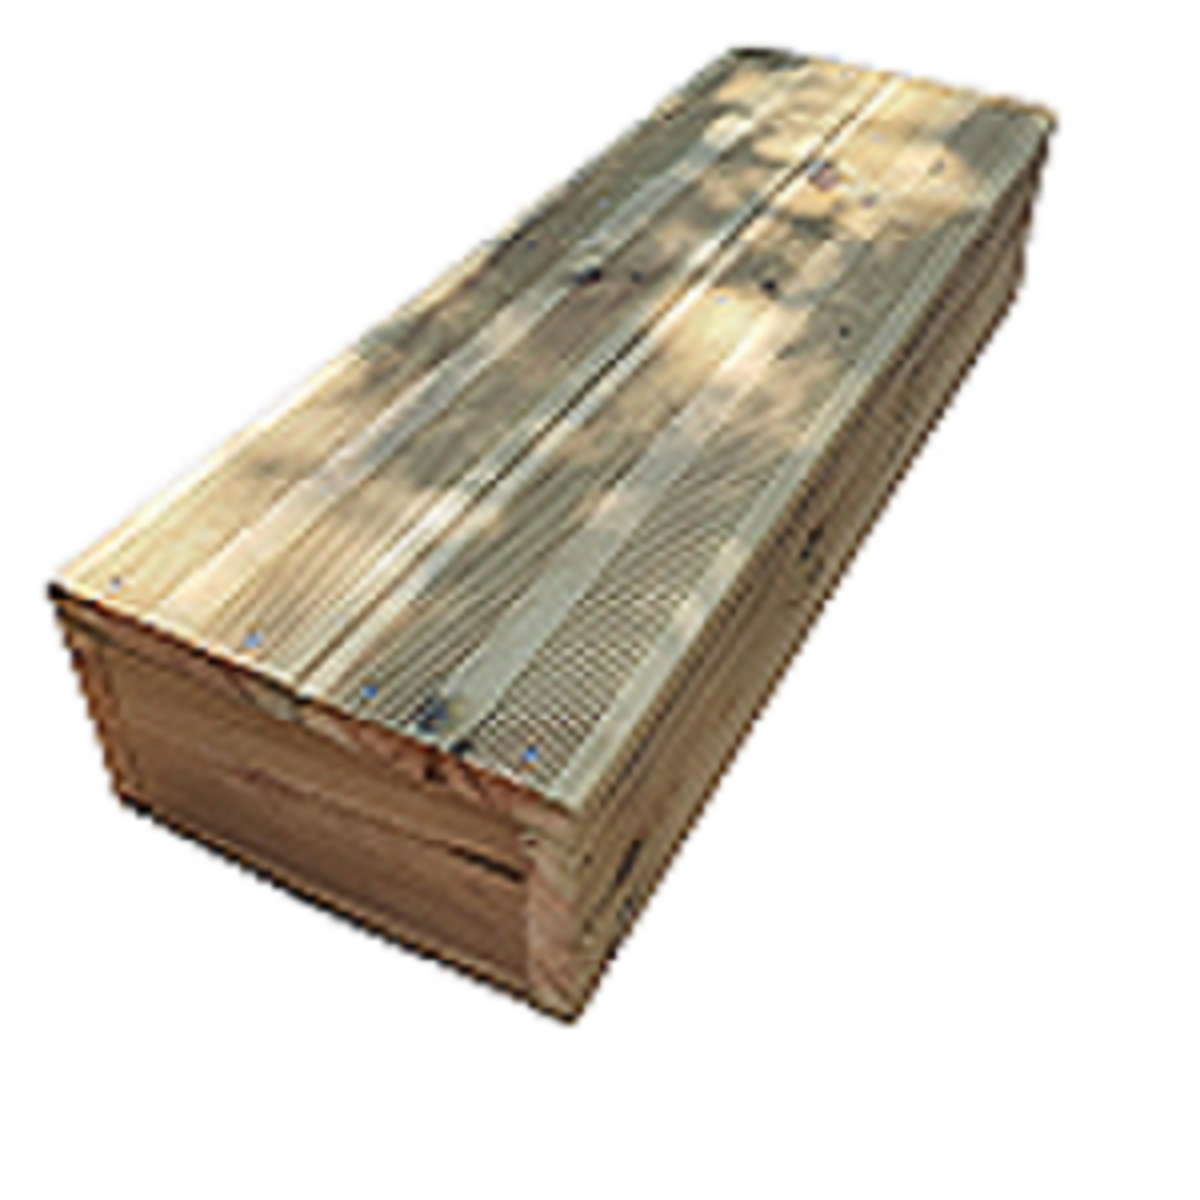
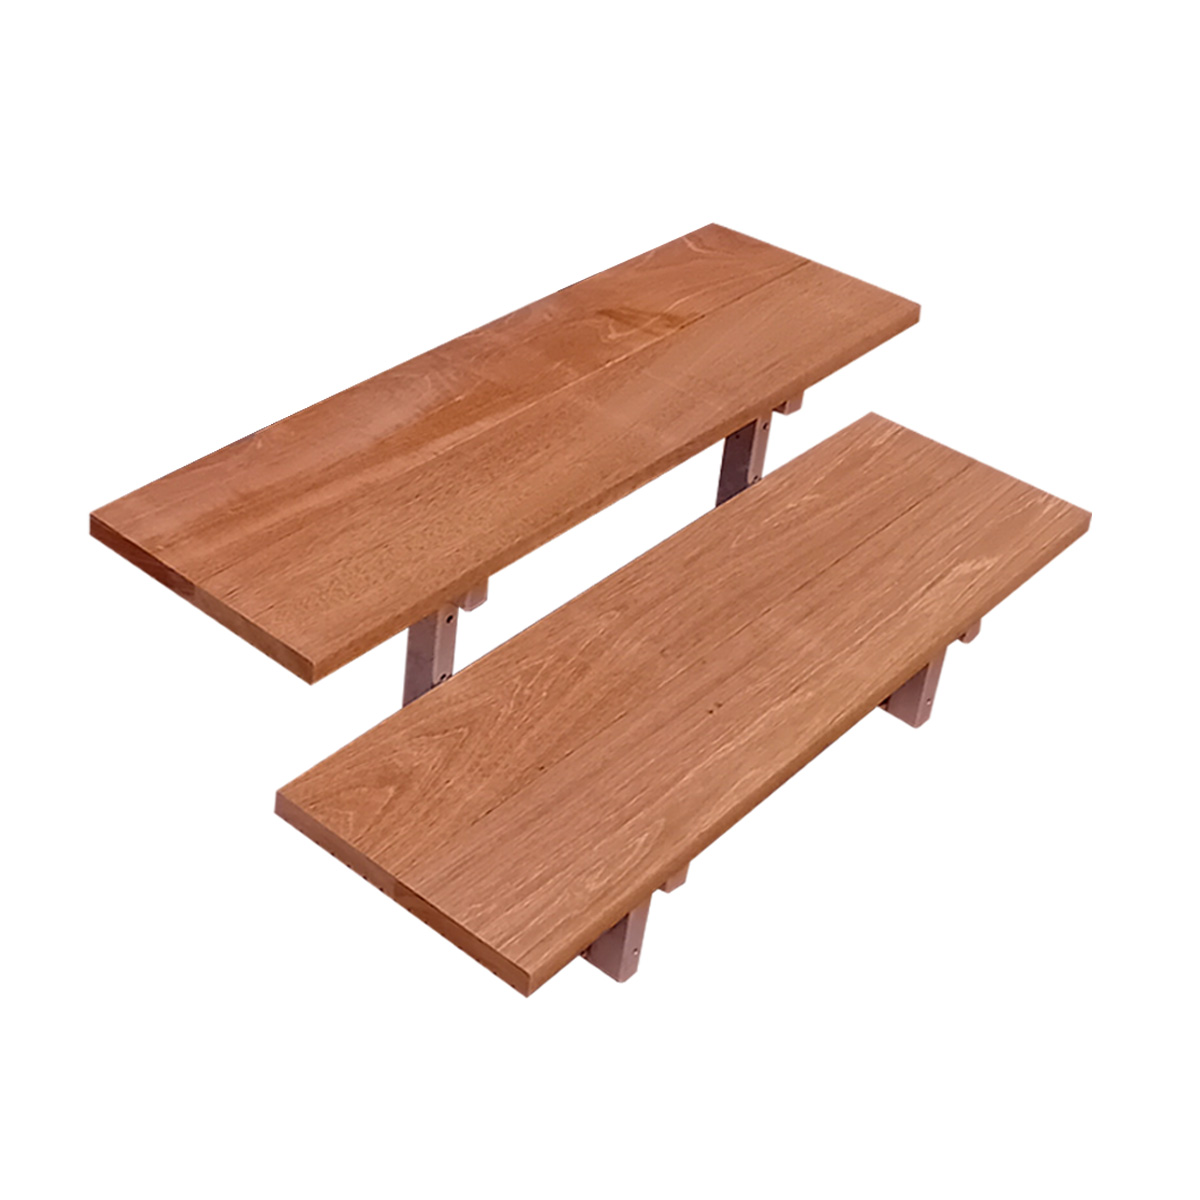
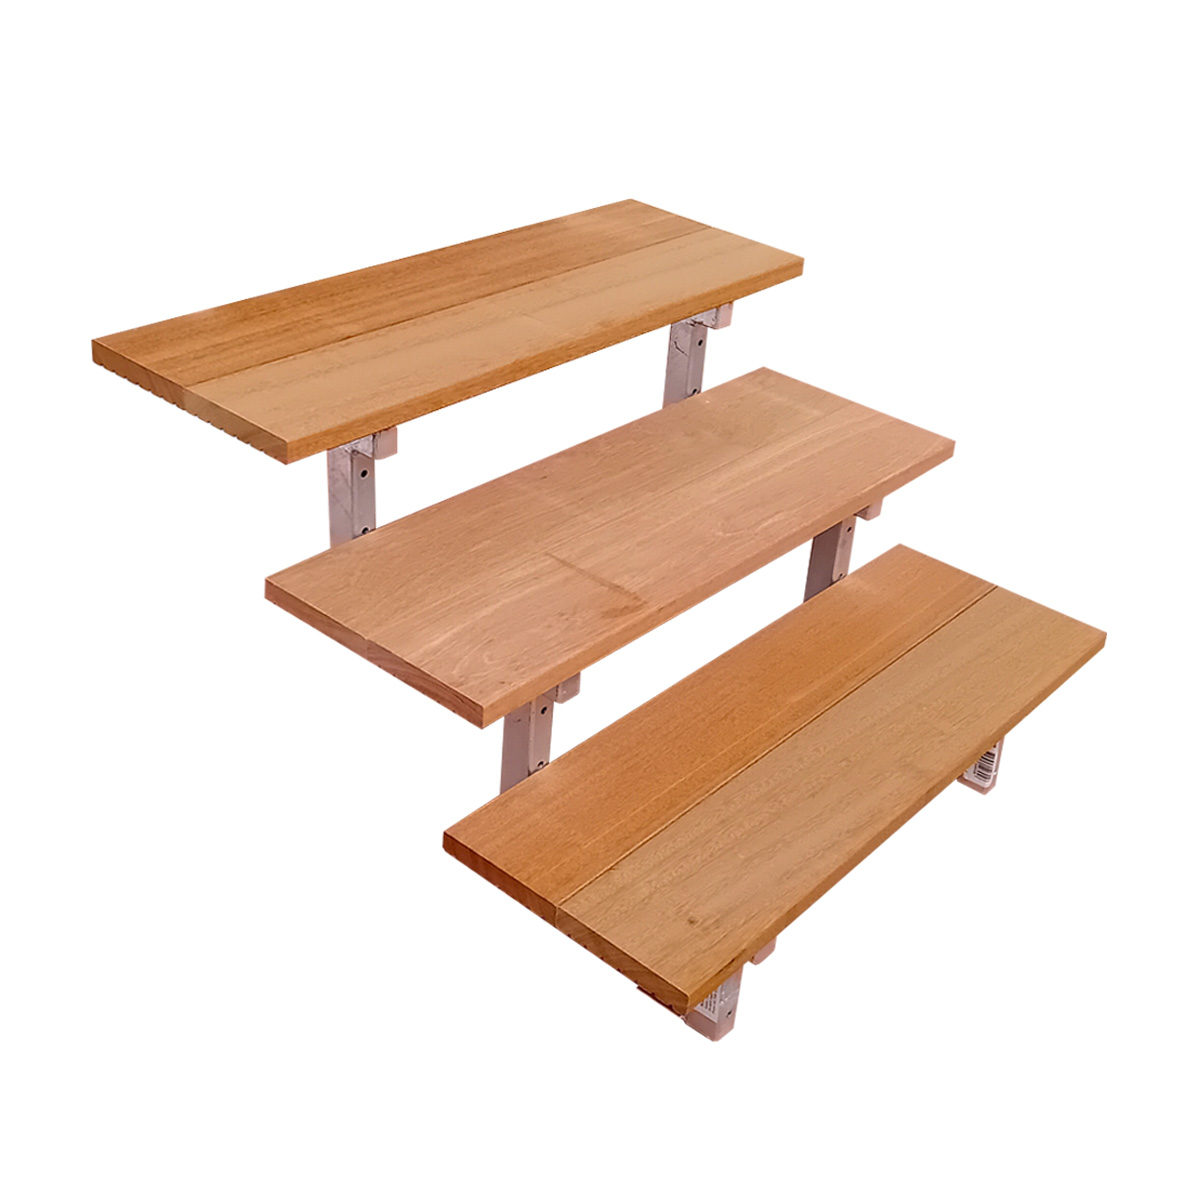
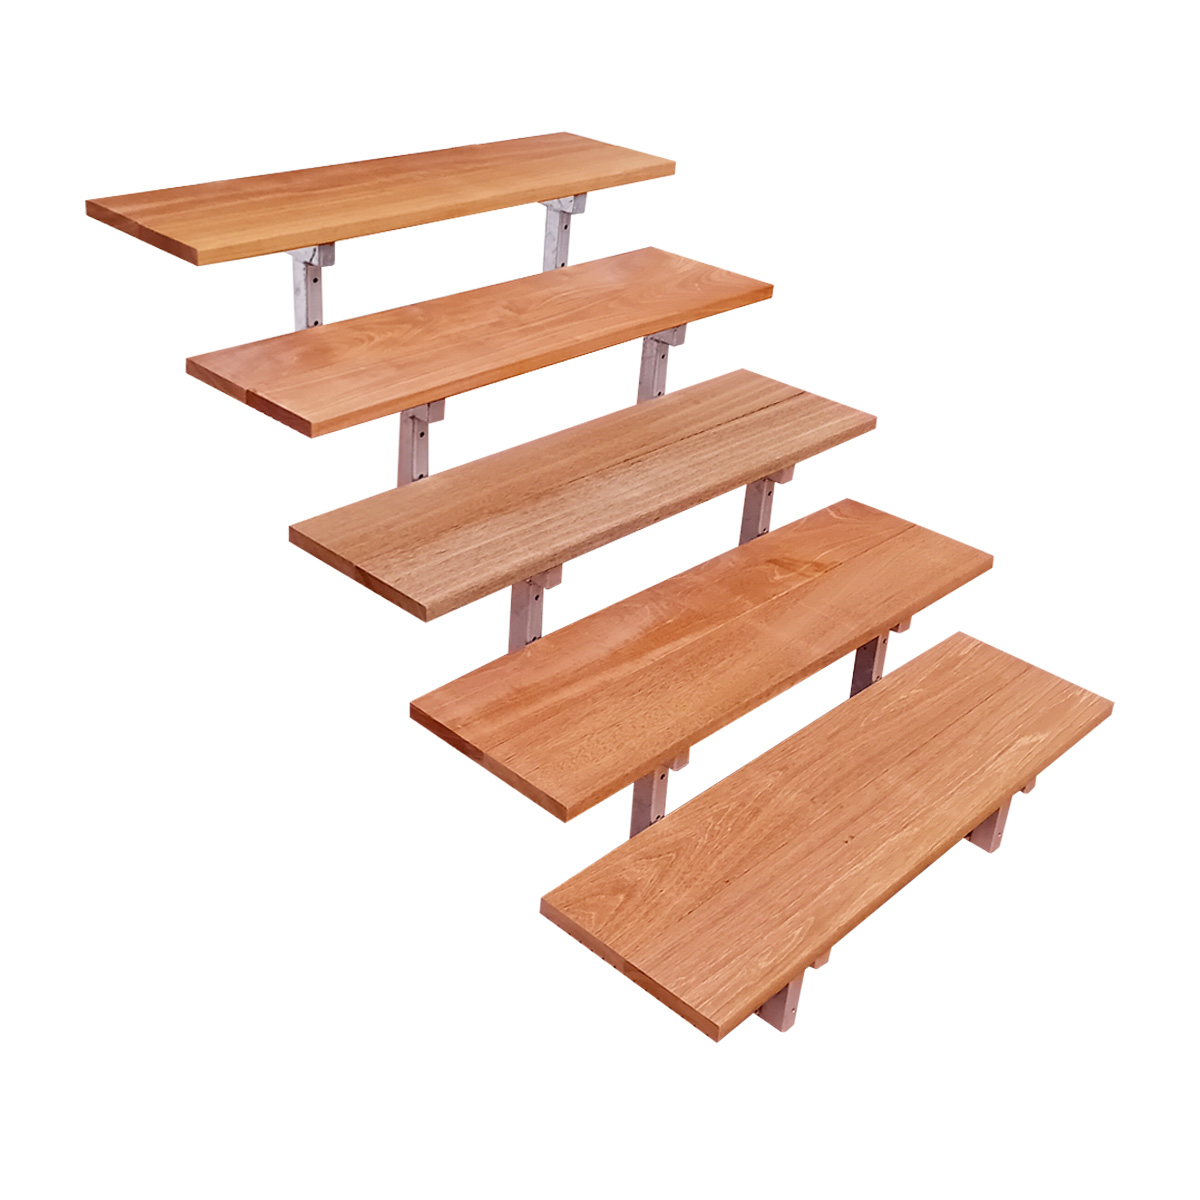
Modular step for outdoor steps with a height of 17cm.
This step can be installed/placed under a deck stair to reach a door or to raise up a deck stair to another height. It is available in various sizes and also individually.
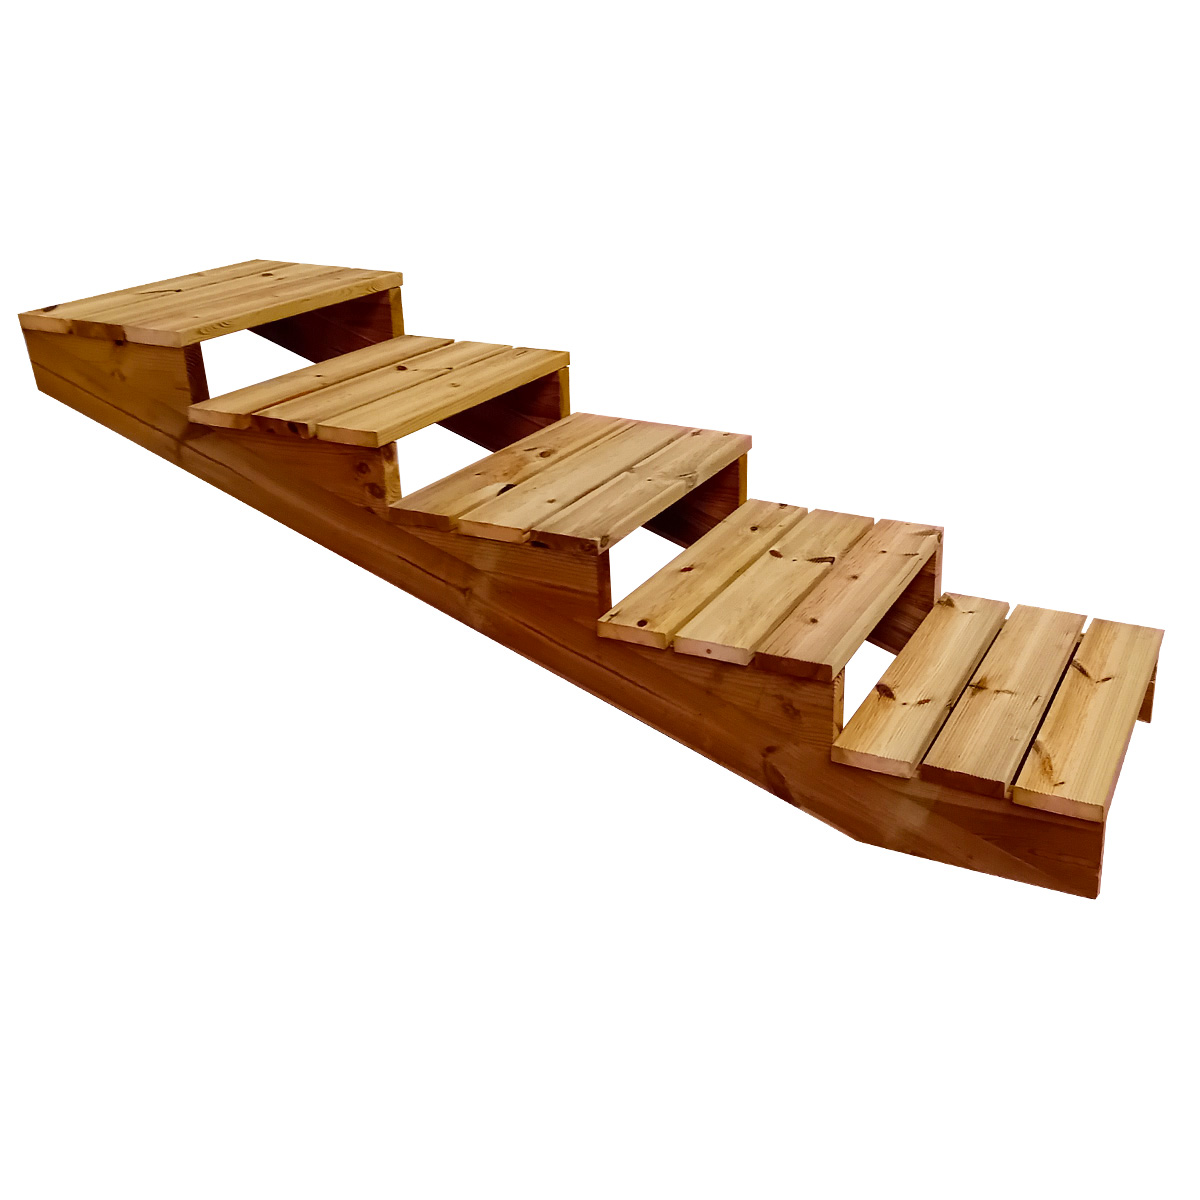
The possibilities of these steps are unlimited. By mixing different widths and lengths, an outdoor deck stair can be built with multiple dimensions.
The planks for the steps are flat on one side and ribbed on the other side. But they are not pre-drilled. So you can choose whether you want to use the flat or the ribbed side.
The widths correspond to the standard width of the VINUOVO outdoor stairs. You can choose between the width of 60-80-100-120-140-160cm.
The depth or length corresponds to width of the wooden planks of 14.5cm. You can choose between 2 or 12 depths or lengths to create the size of the deck stair you need!
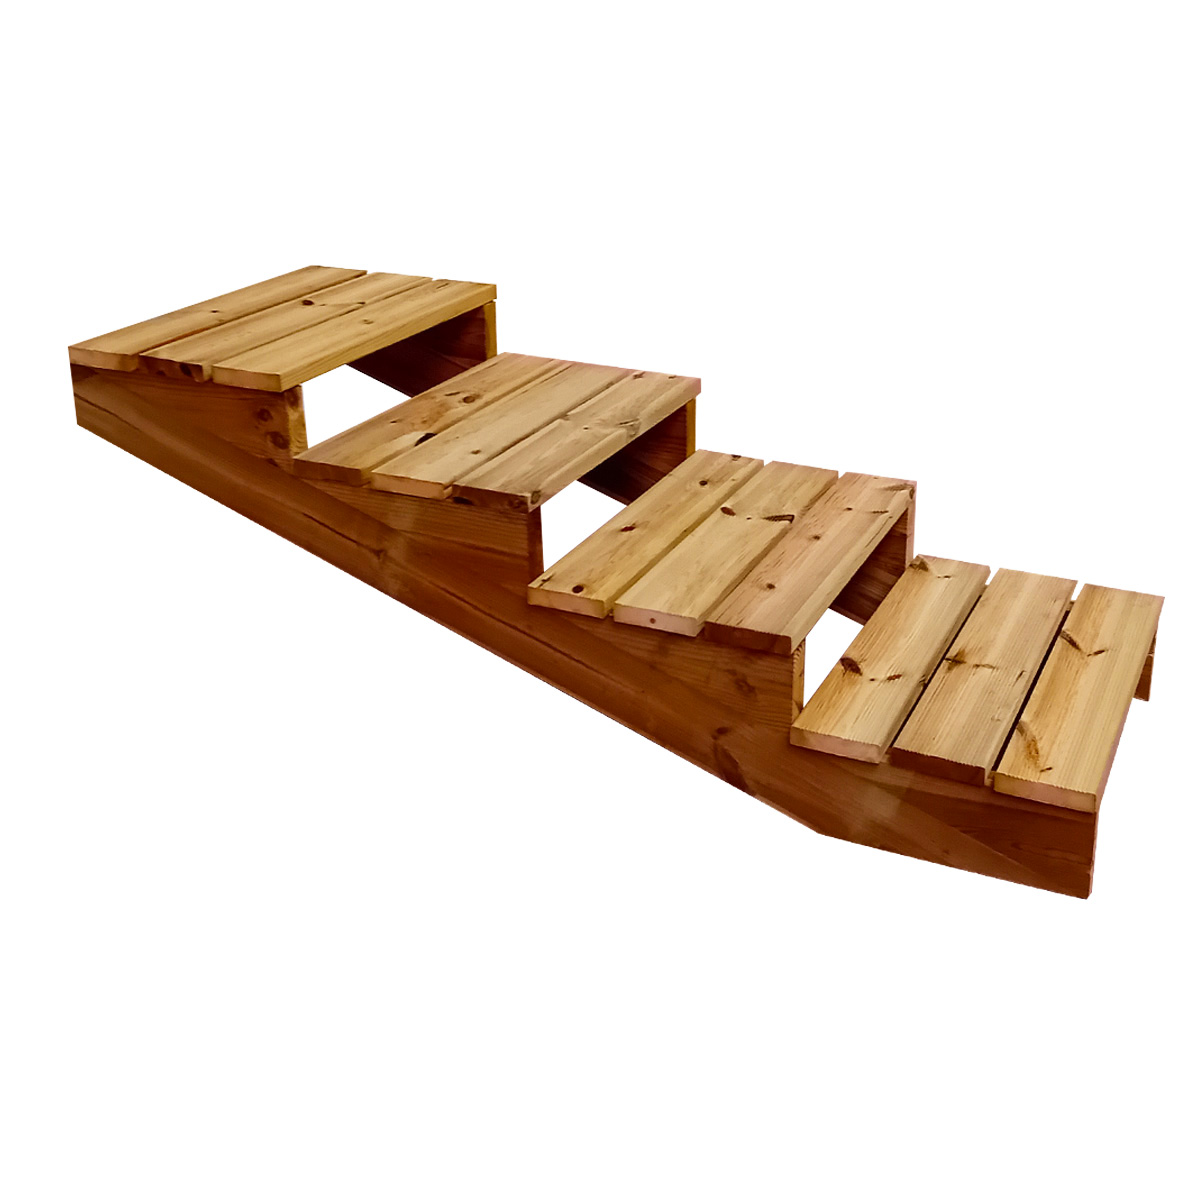
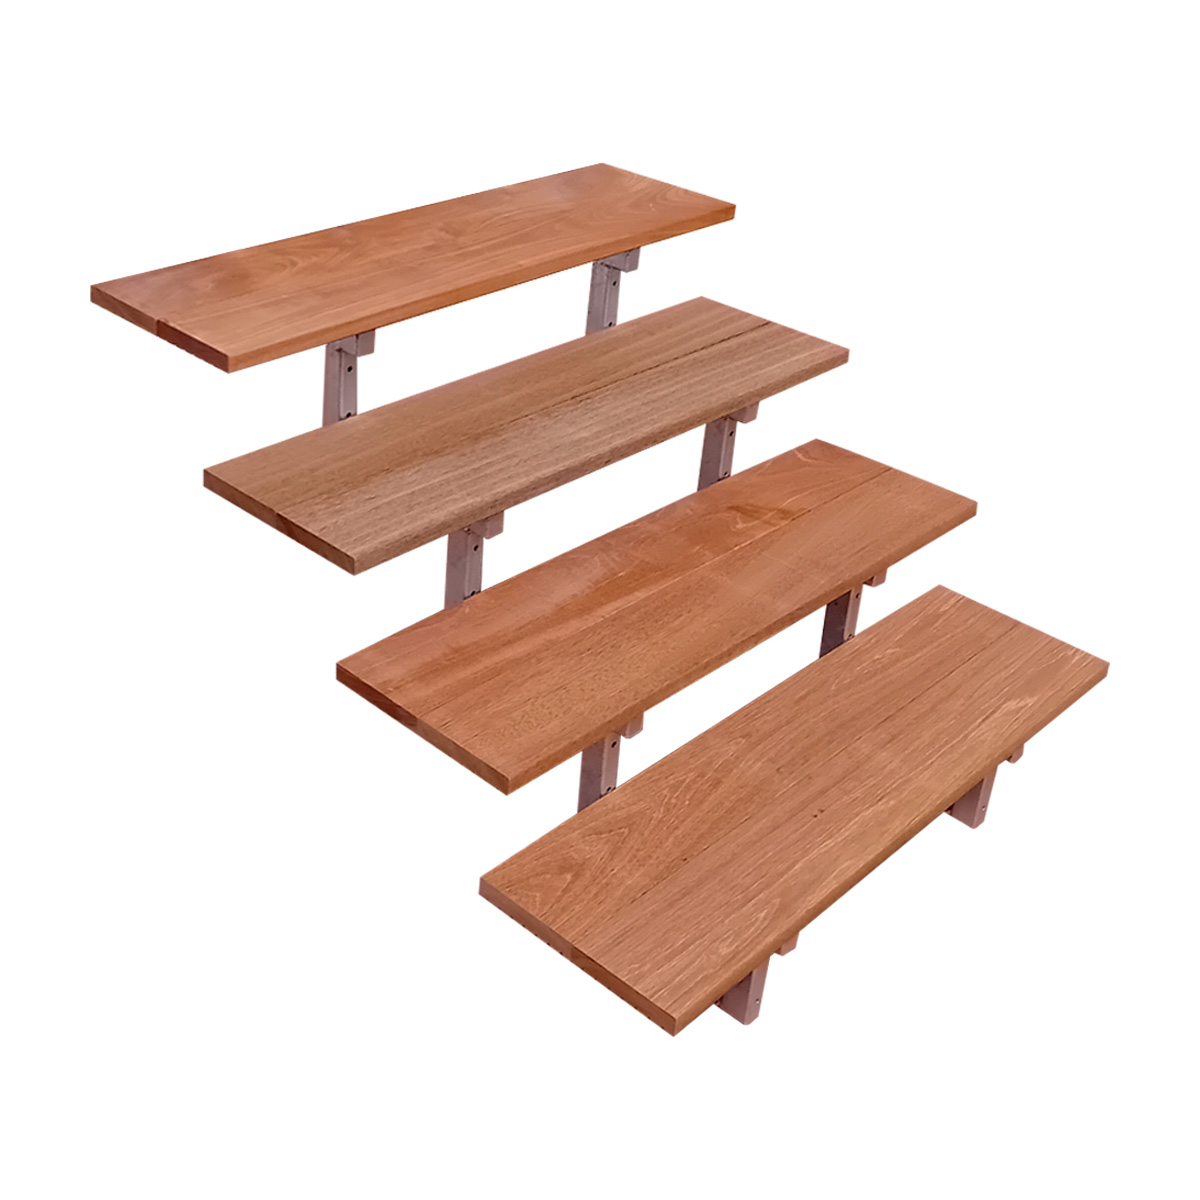
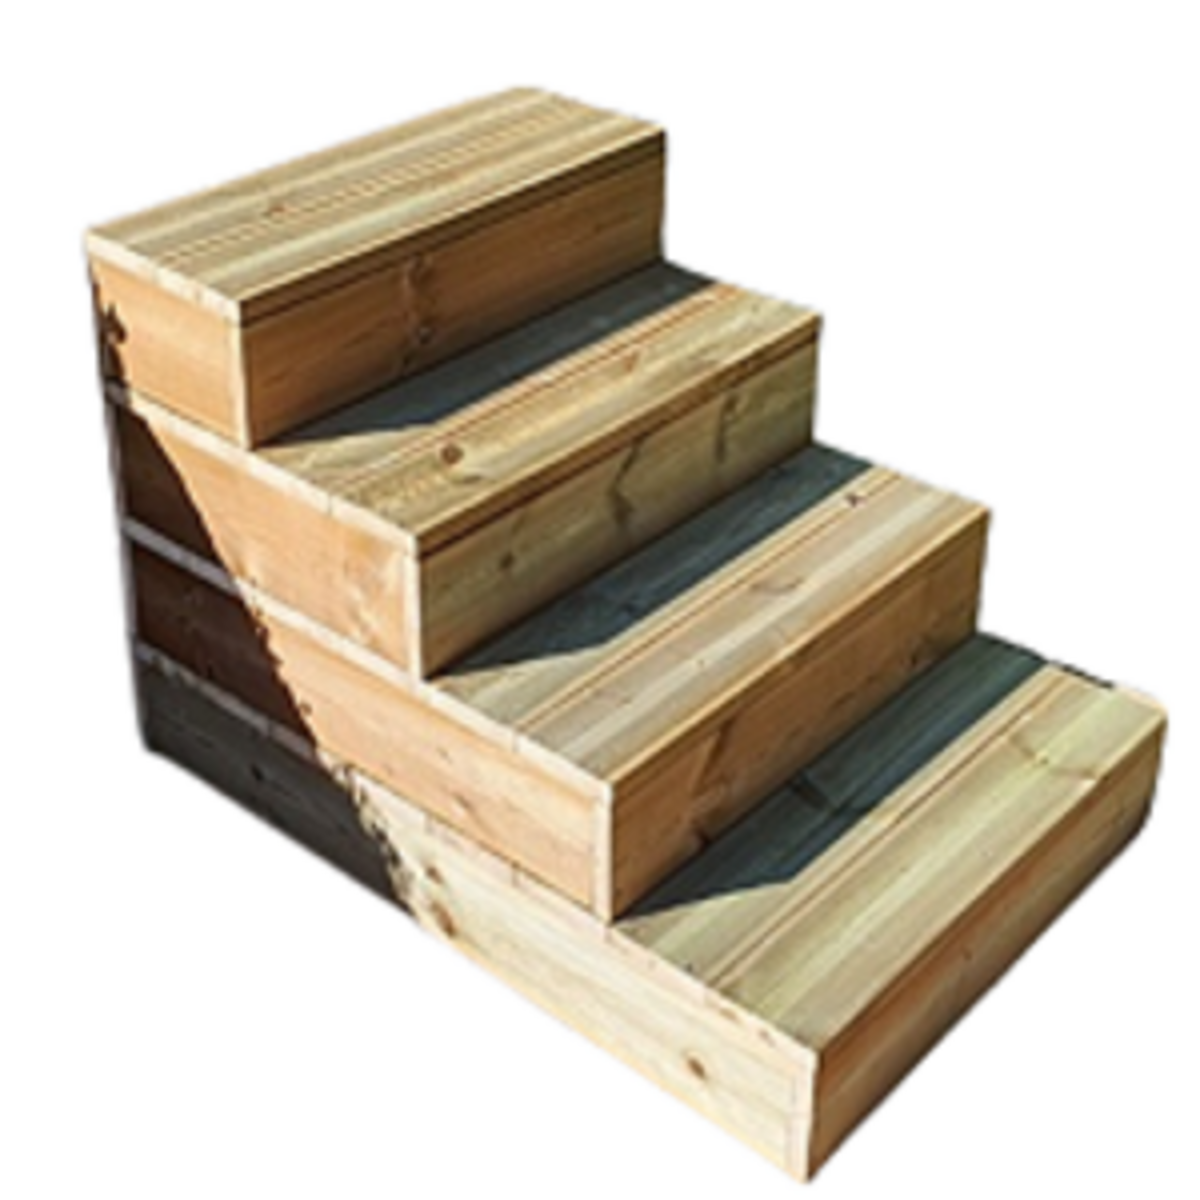
If you want to create outdoor steps with the modular steps, you can easily stack the steps on top of each other, as you prefer. If you want a deck stair like on the photo, you will need:
Steps of the same width, BUT with different depths. Example as on the photo:
- 4 modular steps, width 80cm
- with different depths: from the top to the bottom, the depth of the steps is: 2 planks - 4 planks - 6 planks - 8 planks (height 17cm and width 80cm)
The step can even be used as a planter. Simply turn it upside down :-)
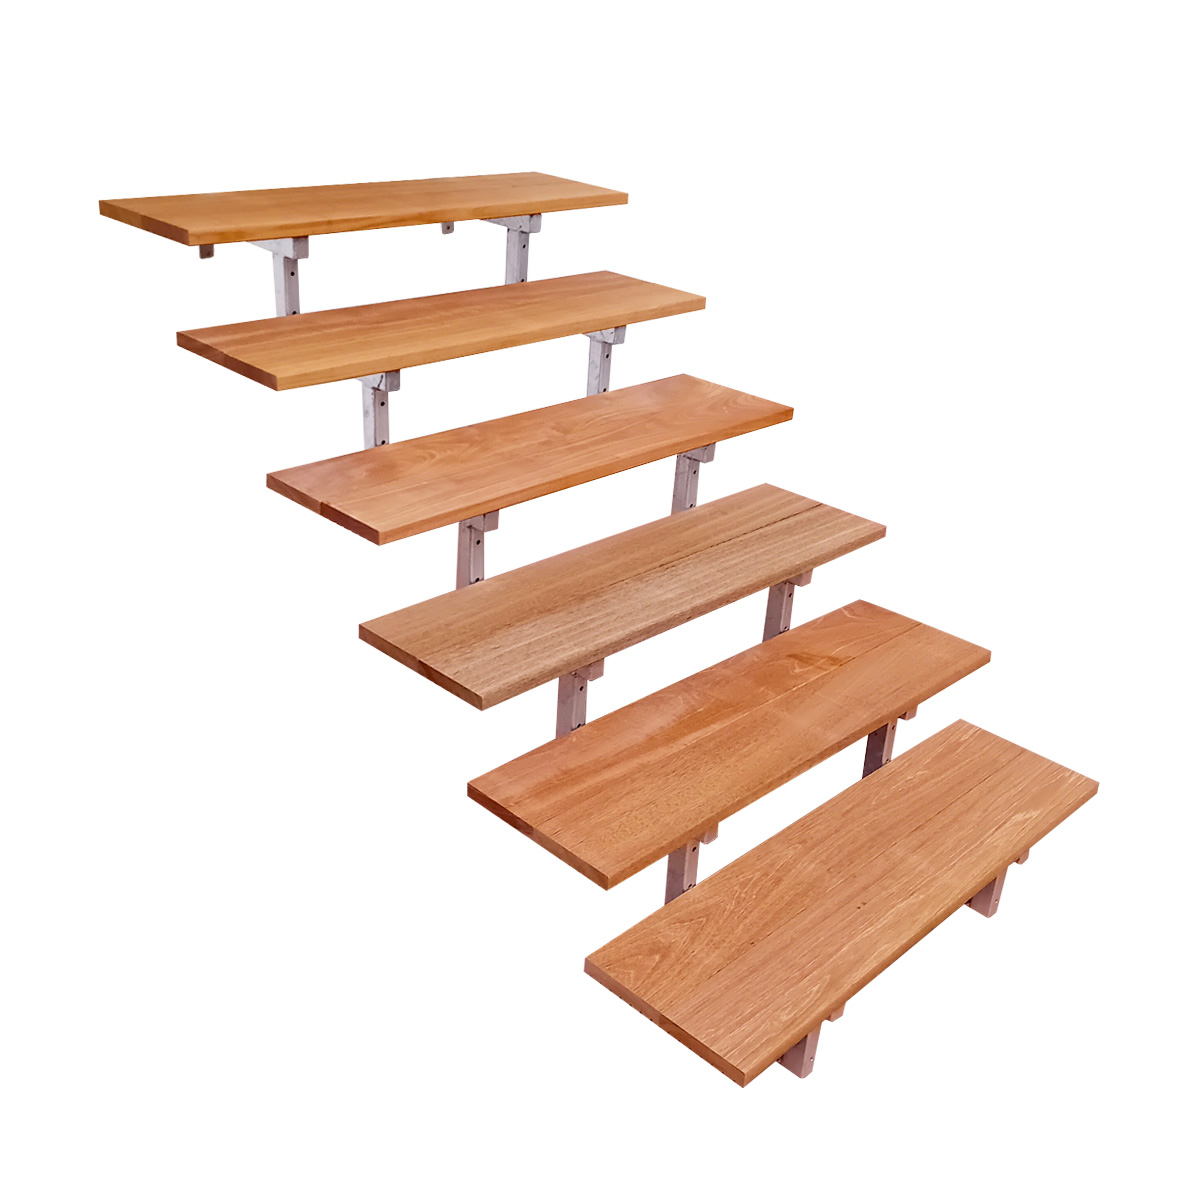
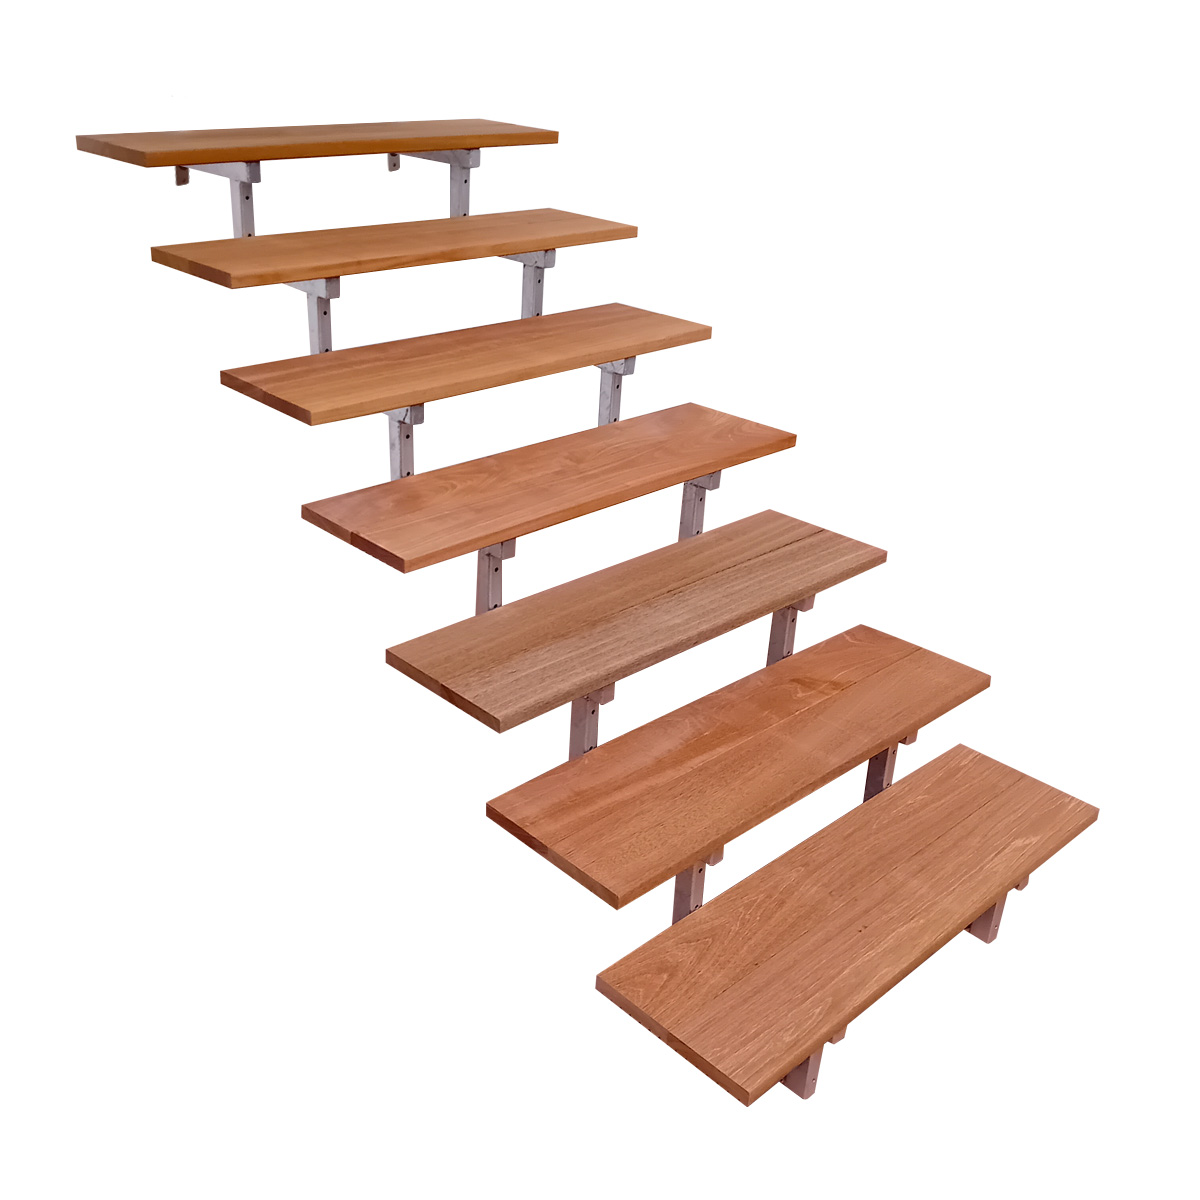
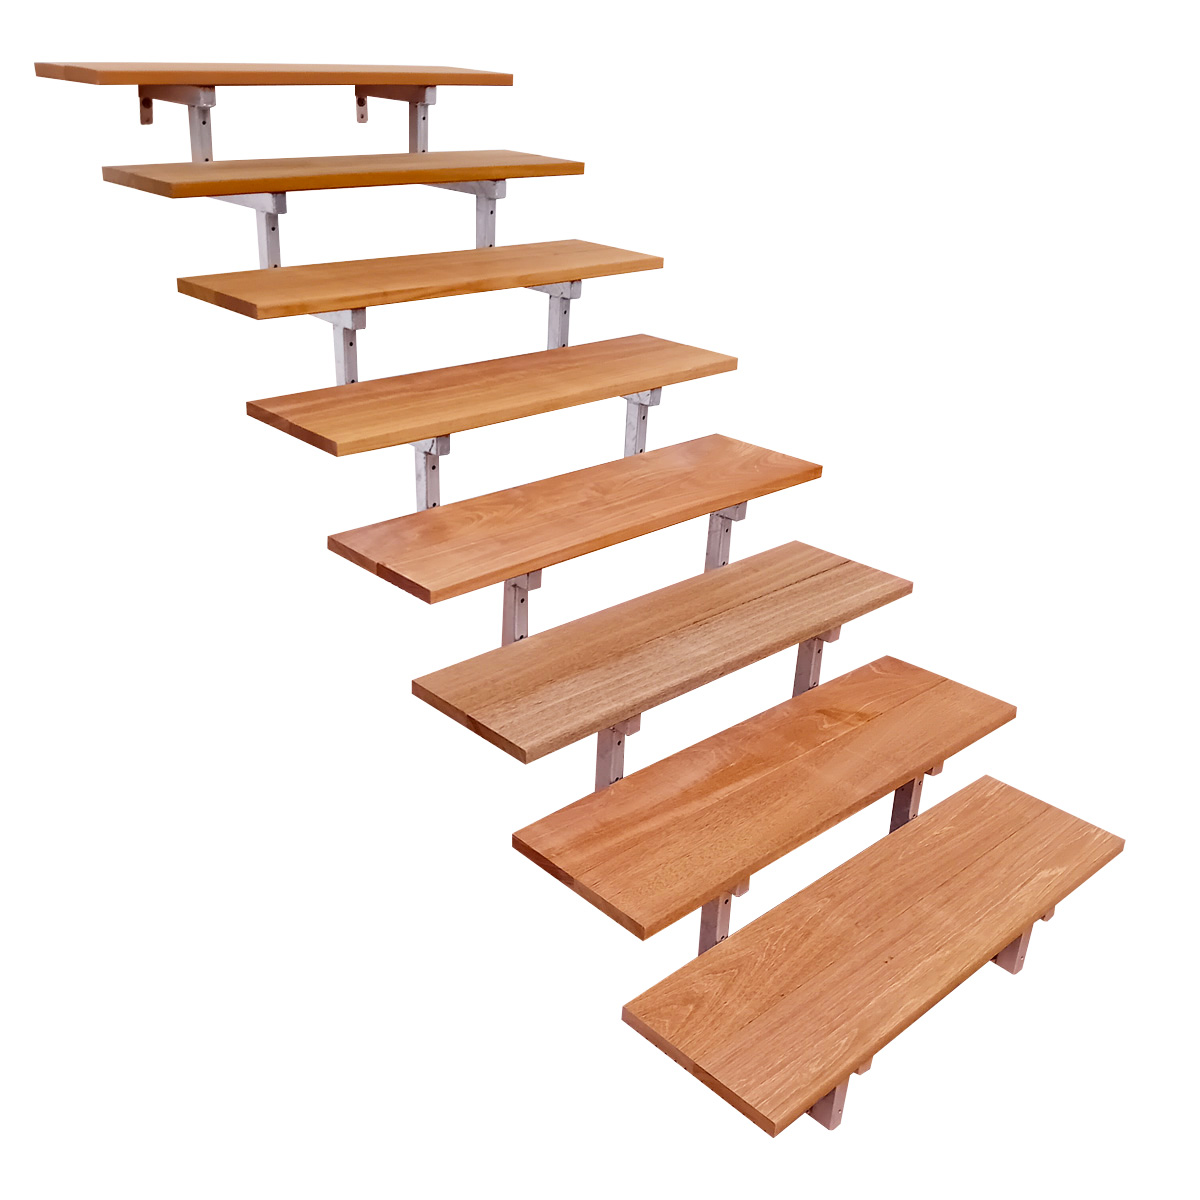
OSLO - Kit for Outdoor Metal Stairs with Pressure-Treated Wooden Treads
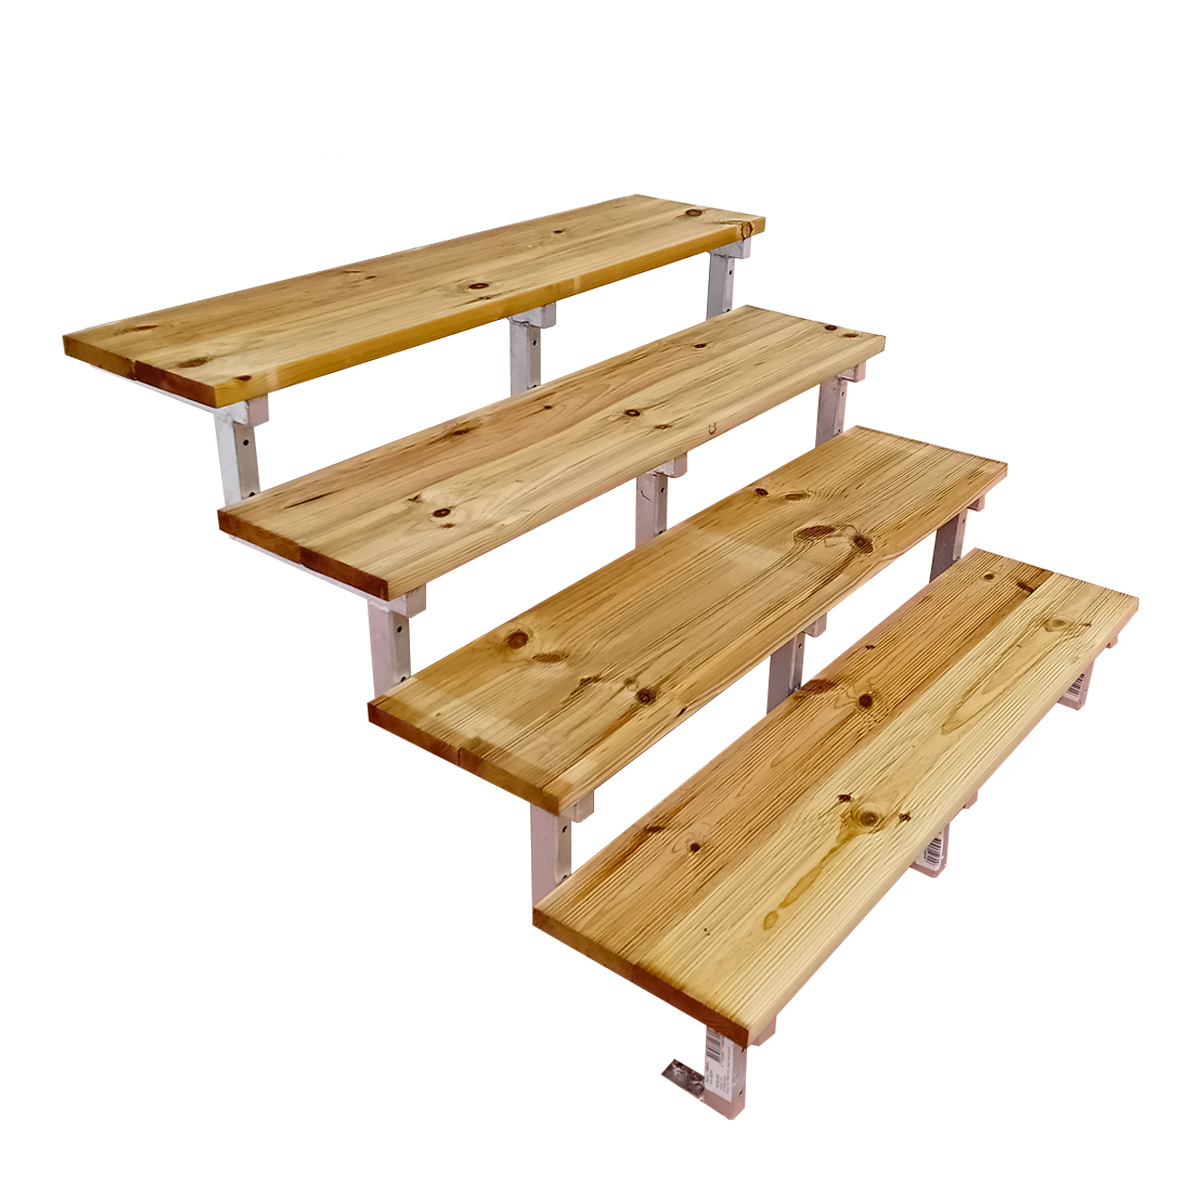
The OSLO staircase combines elegance and functionality, transforming your outdoor space into a modern and welcoming environment. Built with a sturdy galvanized steel frame, this staircase is designed to provide long-lasting durability with minimal maintenance requirements.
The treads are made from pressure-treated pine wood, featuring one smooth side and one grooved side, ensuring both safety and comfort.
Ideal for overcoming height differences ranging from 37 to 139 cm, the OSLO staircase is the perfect solution to enhance and make your outdoor spaces more functional.
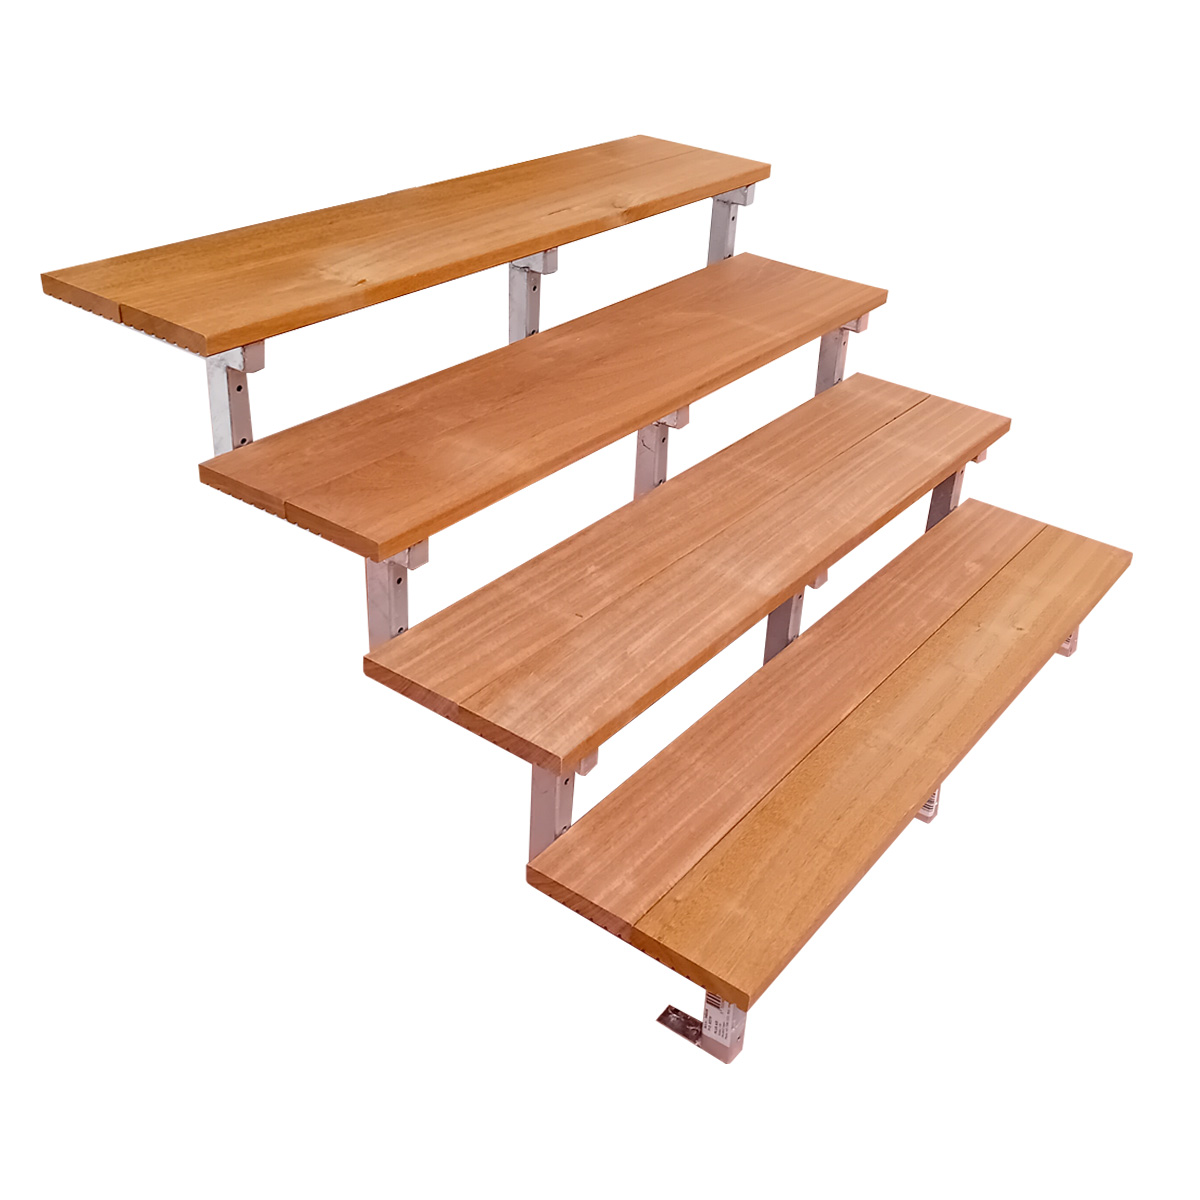
At vinuovo.com, you can easily purchase an outdoor metal stair with Bangkirai hardwood treads.
This garden stair is available with 2 to 8 steps, offering a maximum height of 139 cm.
What are the advantages of an outdoor metal stair with Bangkirai hardwood treads?
Bangkirai is hardwood, strong, durable, and beautiful. Hardwood treads are highly resistant to wear and last a very long time.
The steel stringers are galvanized and specially manufactured for Vinuovo, ensuring that we control the quality—and we are proud of it! A galvanized steel stringer requires no maintenance and lasts for years.
The holes in the stringers for the bolts are pre-drilled. You only need to drill the holes in the Bangkirai treads for the metal stair. This allows you to place the stringer wherever you like.
This kit includes stainless steel lock bolts from the German brand Reisser.
The outdoor metal stair is delivered as an open stair.
Possibility of attaching a platform and a handrail
You can add an elegant and solid platform or handrail to your outdoor steps. Whether you are looking for a touch of style or simply an additional safety element. Your path can be individualised with these products.
You can find more information on this page: Deck stairs with landing or on our blog post page: How to build deck stairs with landing?
We also offer complete stair kits with handrail and landing, perfect for those looking for a ready-to-install solution. If you want more information: Outdoor stair banister
Prefabricated outdoor steps: high quality, fast installation and environmental compatibility

Why should you buy deck stairs from VINUOVO?
If you are looking for high-quality products for outdoor or indoor deck stairs or you want simply replace your steps , then you have come to the right place! Vinuovo is specialist in manufacturing robust, durable, stabile wooden or steel outdoor steps, which are sold in prefabricated kits. Ready for the assembly at home!
The most important features:
-
Simple assembly:
- Our outdoor steps are sold in kits, simple for the assembly at home so that you will be able to enjoy your new deck stairs soon.
-
High-quality materials:
- We use high-quality materials such as pressure-treated impregnated wood class 4 and hardwood. Durability and robustness are at the focus of our production.
-
Customer satisfaction:
- Our customers are highly satisfied. The quality of our deck stairs guarantees you a professional, low-maintenance and durable product.
- You can find photos of our customers on the following page: Customer experiences
-
Diverse options:
- Whether you are looking for outdoor steps to decorate your garden or indoor deck stairs to enhance your interior. You will find the perfect solution with our products and offers.
Why you should choose outdoor steps from VINUOVO?
-
Robustness and durability: Our outdoor stairs are sustainable, robust and weather-resistant.
-
Ready for use: Thanks to our idea to create "kit", we make the assembly process as simple as possible and accessible to everyone.
-
Low maintenance: Once installed, our outdoor steps are very easy to maintain, so you will enjoy our products for a long time to come.
Chose quality and stability with VINUOVO. Find your perfect outdoor steps for your room, garden, outdoor area and change the way you enter or you leave your home/garden. Discover our options now and contact us if you have any questions. Your ideal deck stairs are waiting for you - at VINUOVO!
Frequently asked questions / FAQ:
How do you choose your outdoor steps?
Outdoor steps in the outdoor area connects the different levels inside and outside the house.
First measure the exact height difference you want to overcome.
Read the information on the different types of outdoor steps carefully and choose the right height/number of outdoor steps that suits best for your height difference.
You can also choose whether you want a wooden or metal stair stringer (you always need at least 2 stair stringers for our deck stairs).
Choose the type of step (wood type A, wood type C, wood type D).
At the end you enter the width which you need/wish.
Which steps you should choose for the deck stairs?
The outdoor steps are supplied with pressure-treated wood or exotic Bangkirai wood. The exotic Bangkirai wood is easy to maintain, resistant and more stable than autoclave/pressure-treated impregnated wood.
The size of the steps can vary between 120/145mm in the depth. Outdoor steps have two planks per step in "normal size" and 3 planks per step for our XL outdoor steps.
The thickness of the wooden planks varies between 28mm and 42mm and the width between 60cm and 160cm.
How many stair stringers are necessary for building deck stairs?
The steps are fixed at the outdoor steps. We recommend installing a stair stringer every 60cm. If the distance is greater, the step could break, because it can not support the full weight.
However, it is possible that the outdoor steps protrude approx. 10cm beyond the stringers, depending on the width of the steps and the number of the selected stair stringers.
For example, have you choosen deck stairs which are 80/100cm wide? Then you can install stair stringers in a distance of 50cm and let the step protrude 10cm or 20cm on each side. But when we go up or down the deck stairs, we generally walk in the middle of the step. So we have more resistance there.
We recommend: for steps with a width of 60cm up to 100cm: 2 stair stringers / for a width of 120cm up to 160cm: 3 stair stringers.
A stair stringer must be added every additional 60cm.
How are the outdoor steps fixed at the stair stringers?
The outdoor steps are supplied with pre-drilled holes (wood type A), so that you can fix the steps with the supplied stainless steel screws at the stair stringer.
The outdoor steps type C (pressure-treated wood, one side flat and the other side ribbed) and the type D (exotic wood, one side flat and the other side ribbed) are not pre-drilled. You can position the screws as you wish.
The number of the supplied screws depends on the width and the height of the deck stairs. It depends as well from the number of the steps, you have to attach.
What if the deck stairs Vinuovo suggest are not suitable for my needs?
You can find on our website no outdoor steps, which meet you requirements?
In this case we propose you 4 possibilities:
- Choose the outdoor steps that are lower than the height you actually need. The remaining height corresponds to an additional step to your desired height.
- For wooden deck stairs, you can order a higher deck stair in a kit and you can shorten the stair stringers a little bit to reach the desired height. (Don't forget to take the height of the step into consideration.) This is because the first step will then be less high than all the others, which will not be a problem in using the outdoor steps.
- If your floor is a little bit sandy, you can dig the stair stringers on the side into the ground so that your stairs are lower (ATTENTION: Place a hardwood or pressure-treated wood plank under the supports/stair stringers so that the deck stairs do not sink into the ground with the use.)
- We are working on a solution that allows to place a mini platform under your deck stairs so that the whole thing fits exactly to the height of the deck stairs. At the moment we produce different prototypes. Please contact our customer service for more information.


